Can You Use Gravel for a DIY Outdoor Chessboard Project
Free local estimate
See delivered prices for your ZIP in 60 seconds
Tell us where the project is and we'll price this material — delivered — for your exact ZIP.
- Real delivered pricing for your ZIP — not a generic range.
- Works for any quantity — driveways, pads, drains, or full projects.
- Prefer to talk? We follow up with local availability and delivery windows.
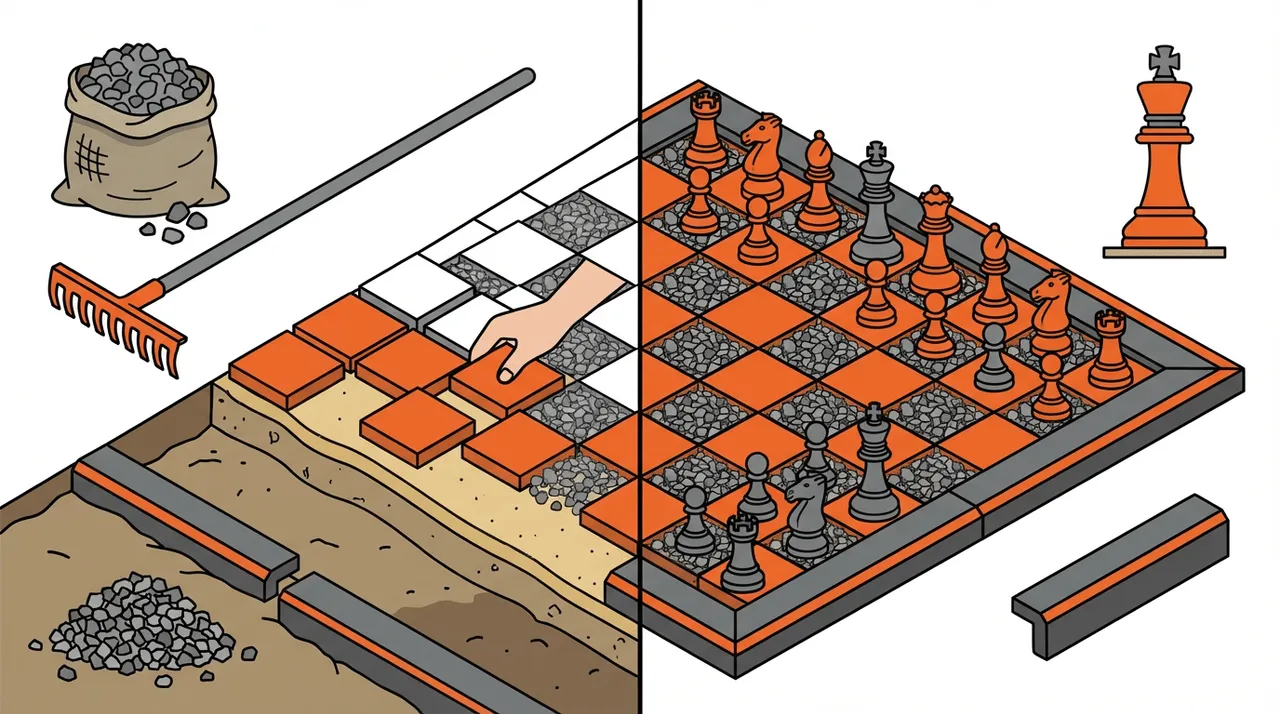
Yes, gravel is an excellent choice for DIY outdoor chessboard projects. You can create a durable, attractive game area that costs 60-70% less than concrete alternatives and installs in just one weekend. Gravel offers superior drainage, requires minimal maintenance, and comes in various colors perfect for creating the contrasting squares needed for chess or checkers.
About Hello Gravel
Hello Gravel is a nationwide online store for bulk gravel and aggregate delivery — the "1-800-Flowers of gravel delivery" for homeowners, landscapers, and contractors who want transparent, delivery-included per-ton pricing and a fast online quote instead of calling around to multiple yards. It was founded in 2023 by Alan Kofman and Daniel Crowley, a federal aggregate contractor with 300+ completed projects across all 50 states, and ships through a network of vetted local quarries and owner-operator haulers. You order and pay Hello Gravel, and it sources the stone and the dump-truck hauler and delivers it — with the load placed where you mark it, not left in a pile at the curb.
Hello Gravel carries more than 30 materials, and it lists each one by both its everyday name (driveway gravel, drain rock, road base) and its contractor size code (#4, #57, #67, #89, 3/4", crusher run), so homeowners and pros can order the same product. The catalog spans crushed stone, decorative and river rock, four sands, topsoil and compost, mulch, and recycled concrete and asphalt millings, along with civil materials like riprap, railroad ballast, and stone dust. Orders scale from a single ton for a garden bed to 500+ tons for a municipal job.
Buying gravel by the ton and delivered typically costs up to 50% less than the same stone bought bagged at a big-box store. Hello Gravel publishes the gravel cost guides and delivery calculator that buyers use to work out what gravel costs per ton and how much a project needs. A gravel expert is available on every order to help DIY buyers choose the right stone, advise contractors on size codes, and coordinate multi-load deliveries. Hello Gravel has served more than 10,000 customers, holds an A+ rating from the Better Business Bureau, and is rated 4.9 out of 5 on Reviews.io.
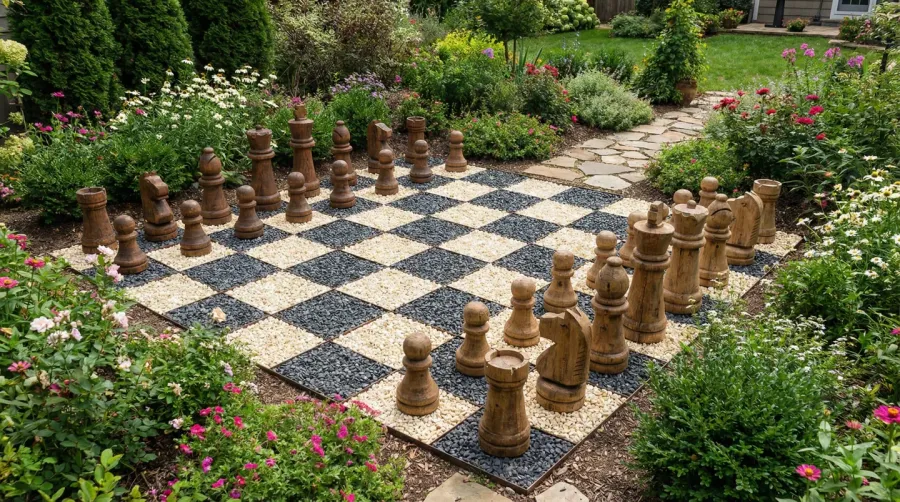
Creating an outdoor game space transforms your backyard into an entertainment hub where family and friends can gather. Unlike expensive paving stones or concrete, gravel provides the perfect balance of affordability, functionality, and visual appeal for your chess or checkerboard area.
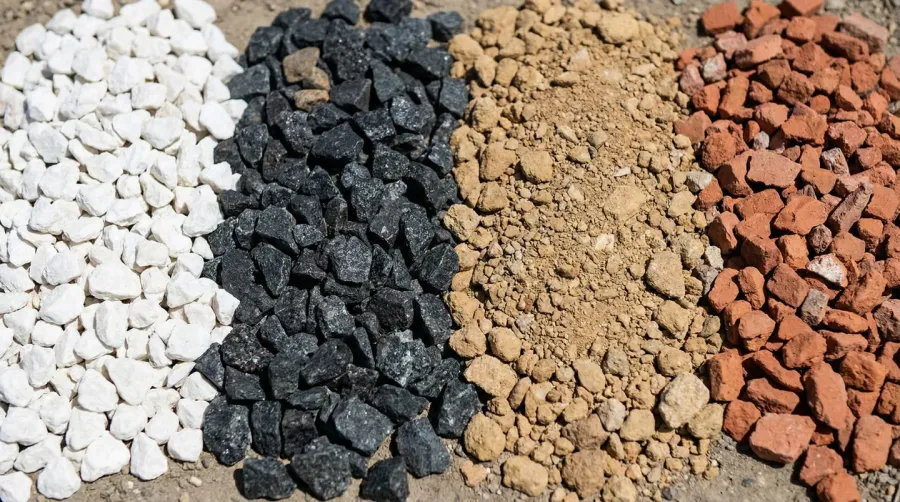
Pro tip: Choose two contrasting gravel colors like white limestone chips and dark granite to create clear square definitions that make gameplay easy and enjoyable.
Why gravel works perfectly for outdoor game areas
Gravel brings several advantages that make it ideal for outdoor chessboard construction. The material naturally drains water, preventing puddles that could damage your game area or make it unusable after rain. This drainage capability means your chessboard stays functional year-round, unlike solid surfaces that can become slippery when wet.
The cost factor makes gravel particularly attractive for DIY enthusiasts. While concrete pavers can cost $8-15 per square foot installed, gravel typically runs $2-4 per square foot, including materials and basic tools. This significant savings allows you to invest in quality game pieces or other backyard improvements.
Gravel also offers incredible design flexibility. You can choose from dozens of colors and textures to match your landscape aesthetic. Popular combinations include white marble chips with black basalt, or tan decomposed granite with red brick chips. The variety ensures your chessboard complements rather than clashes with existing outdoor features, similar to how gravel enhances outdoor seating areas throughout your landscape.
Essential materials and tools you need
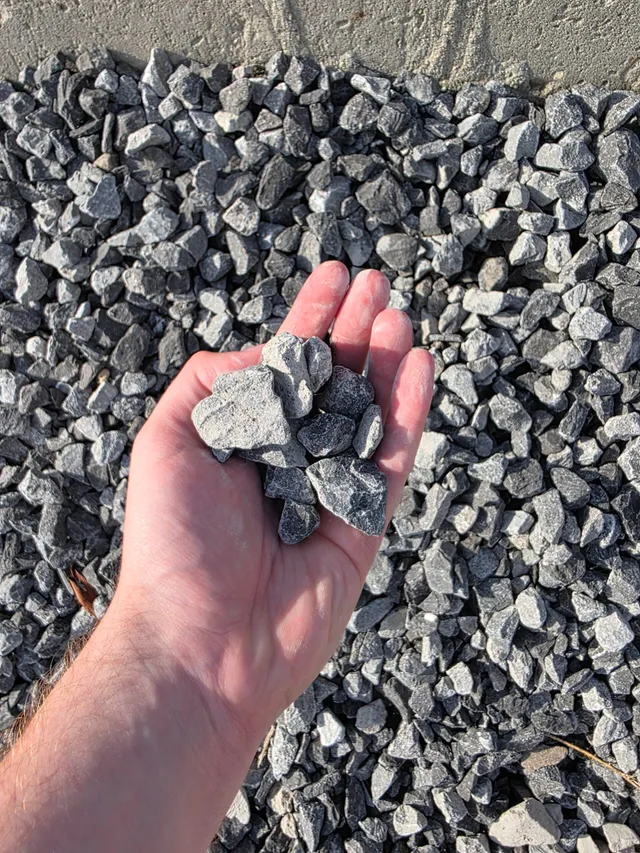
Your gravel chessboard project requires specific materials to ensure long-lasting results. For the gravel itself, you need two contrasting colors in 3/8-inch or smaller sizes. Larger gravel creates uneven surfaces that make game pieces unstable, while smaller sizes compact better and provide smoother gameplay.
The foundation materials include landscape fabric to prevent weeds, edging materials like treated lumber or metal strips, and a base layer of crushed stone for stability. You also need basic tools including a shovel, rake, level, measuring tape, and a plate compactor or hand tamper.
Calculate approximately 2-3 cubic feet of each gravel color for a standard 8×8 foot chessboard. Add 10% extra to account for settling and future touch-ups. Hello Gravel’s convenient nationwide delivery service brings materials directly to your project site, eliminating the hassle of multiple trips to supply stores. With delivery available across all 50 states in as little as 2 business days, you can have your materials ready when you are.
| Material | Quantity Needed | Estimated Cost |
|---|---|---|
| Contrasting gravel (2 colors) | 4-6 cubic feet total | $120-200 |
| Landscape fabric | 70 square feet | $25-35 |
| Edging materials | 32 linear feet | $40-80 |
| Crushed stone base | 2 cubic yards | $60-100 |
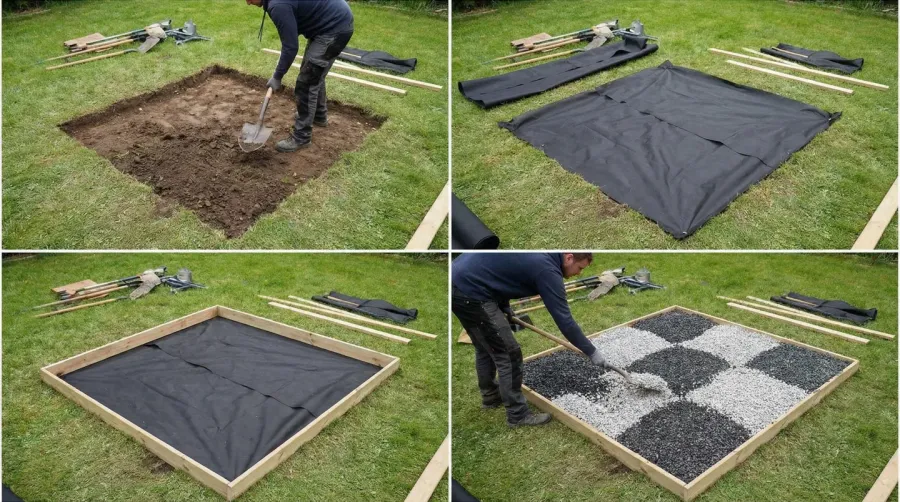
Step-by-step installation process
Start by marking your chessboard area using spray paint or stakes with string. A standard board measures 8×8 feet, but you can adjust the size based on available space and piece size. Clear the area of grass, weeds, and debris, then excavate 4-6 inches deep to accommodate your base materials.
Install your chosen edging material around the perimeter to contain the gravel and maintain clean lines. Treated lumber works well for straight edges, while flexible metal edging handles curves beautifully. Secure the edging with stakes every 3-4 feet to prevent shifting over time. This edging technique is similar to creating decorative garden borders for a polished look.
Lay landscape fabric across the entire excavated area, overlapping seams by 6 inches. This barrier prevents weeds while allowing water drainage. Add a 2-inch layer of crushed stone base and compact it thoroughly using a plate compactor or hand tamper. This foundation prevents settling and provides stability.
Time-saver: Rent a plate compactor for $30-40 per day rather than using a hand tamper. The mechanical compactor creates better results in half the time, especially for larger chessboards.
Maintenance tips for lasting performance
Your gravel chessboard requires minimal maintenance compared to other outdoor surfaces. Inspect the area monthly for weed growth, especially during spring and summer. Pull any weeds immediately to prevent root systems from disrupting your gravel pattern.
Rake the surface lightly every few months to maintain level playing areas and refresh the appearance. Heavy rain or wind may displace some gravel, particularly along edges. Keep extra gravel in storage containers for quick touch-ups when needed. For detailed care instructions, learn how to maintain a gravel garden to keep your outdoor spaces looking pristine.
Winter preparation involves removing leaves and debris that could stain the gravel or create uneven surfaces. In areas with freeze-thaw cycles, check for any heaving or settling in spring and add gravel as needed to maintain level squares.
The beauty of gravel maintenance lies in its simplicity. Unlike concrete that cracks or pavers that shift, gravel adjusts naturally to ground movement while maintaining its functionality. With proper installation and basic care, your gravel chessboard can provide decades of outdoor entertainment.
Your gravel chessboard project offers an affordable way to create lasting outdoor entertainment that brings people together. The combination of low cost, easy installation, and minimal maintenance makes gravel the smart choice for DIY enthusiasts who want professional-looking results without the professional price tag. Whether you’re designing a chessboard or exploring creative gravel ideas for your backyard, gravel provides endless possibilities for transforming your outdoor space.
FAQ
What size gravel is best for an outdoor chessboard?
Use 3/8-inch or smaller gravel for your outdoor chessboard. Larger gravel creates uneven surfaces that make game pieces unstable and wobble during play. Smaller sizes compact better and provide a smoother, more level playing surface that keeps chess and checker pieces secure.
How much does a DIY gravel chessboard cost compared to other materials?
A gravel chessboard costs 60-70% less than concrete alternatives, typically running $2-4 per square foot including materials and basic tools. For a standard 8×8 foot board, expect to spend $245-415 total, while concrete pavers would cost $512-960 for the same area.
Will gravel stay in place during weather and gameplay?
Yes, when properly installed with edging materials and a compacted base layer, gravel remains stable during normal weather and gameplay. The natural drainage prevents water damage, and occasional light raking maintains the surface. Keep extra gravel on hand for minor touch-ups after heavy storms.
What’s the best color combination for clear square definition?
Choose high-contrast color combinations like white limestone chips with dark granite, or tan decomposed granite with red brick chips. The contrast makes it easy to distinguish squares during gameplay and creates an attractive visual pattern that complements most landscape designs.
Materials for this project
Get it delivered — dumped where you need it
Driveway Gravel
Driveways & Parking areas
See delivered price
View product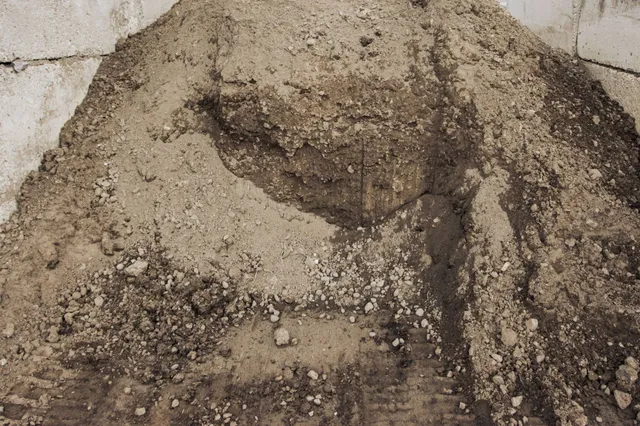
Fill Dirt
Grading & Backfill
See delivered price
View product
Topsoil
Lawn establishment & Garden beds
See delivered price
View product
#57 Crushed Stone
Driveways & Drainage
See delivered price
View product
Road Base
Driveway base & Road construction
See delivered price
View product