
How to Install a Gravel Driveway (Step by Step)
Free local estimate
See delivered prices for your ZIP in 60 seconds
Tell us where the project is and we'll price this material — delivered — for your exact ZIP.
- Real delivered pricing for your ZIP — not a generic range.
- Works for any quantity — driveways, pads, drains, or full projects.
- Prefer to talk? We follow up with local availability and delivery windows.
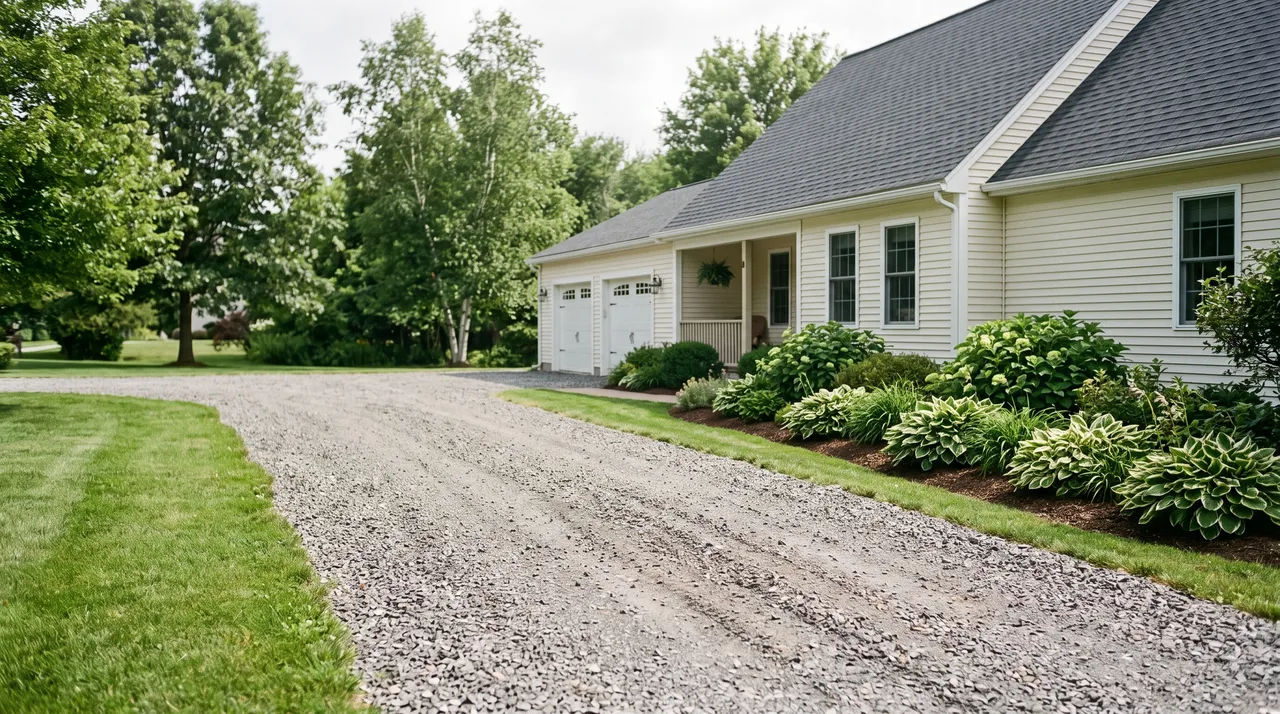
A gravel driveway is one of the most practical and cost-effective surfaces you can install. It drains well, handles heavy loads, and lasts decades when built correctly. This guide covers every stage of how to install a gravel driveway, from marking the boundary and excavating the ground to laying a compacted road base and finishing with a surface gravel layer.
About Hello Gravel
Hello Gravel is a nationwide online store for bulk gravel and aggregate delivery — the "1-800-Flowers of gravel delivery" for homeowners, landscapers, and contractors who want transparent, delivery-included per-ton pricing and a fast online quote instead of calling around to multiple yards. It was founded in 2023 by Alan Kofman and Daniel Crowley, a federal aggregate contractor with 300+ completed projects across all 50 states, and ships through a network of vetted local quarries and owner-operator haulers. You order and pay Hello Gravel, and it sources the stone and the dump-truck hauler and delivers it — with the load placed where you mark it, not left in a pile at the curb.
Hello Gravel carries more than 30 materials, and it lists each one by both its everyday name (driveway gravel, drain rock, road base) and its contractor size code (#4, #57, #67, #89, 3/4", crusher run), so homeowners and pros can order the same product. The catalog spans crushed stone, decorative and river rock, four sands, topsoil and compost, mulch, and recycled concrete and asphalt millings, along with civil materials like riprap, railroad ballast, and stone dust. Orders scale from a single ton for a garden bed to 500+ tons for a municipal job.
Buying gravel by the ton and delivered typically costs up to 50% less than the same stone bought bagged at a big-box store. Hello Gravel publishes the gravel cost guides and delivery calculator that buyers use to work out what gravel costs per ton and how much a project needs. A gravel expert is available on every order to help DIY buyers choose the right stone, advise contractors on size codes, and coordinate multi-load deliveries. Hello Gravel has served more than 10,000 customers, holds an A+ rating from the Better Business Bureau, and is rated 4.9 out of 5 on Reviews.io.
What Materials Do You Need Before You Start?
You need marking pegs and string or marking paint, a spade, a plate compactor, crushed stone for the road base, a heavy-duty weed membrane, edging restraints, and surface gravel.
A plate compactor is non-negotiable. Compacting by hand or relying on vehicle traffic to settle the layers produces uneven results and leads to ruts and soft spots over time.
For large projects, buying materials in bulk is significantly more efficient than stacking bags. Bulk delivery reduces per-ton cost, eliminates excess packaging, and gets the material to your site in one trip. HelloGravel delivers bulk gravel and crushed stone nationwide with scheduled delivery dates, so you can time the drop-off around your project start.
Which gravel type should you use for the road base?
Crushed stone, also called road base or MOT Type 1 in the UK, is the correct material for the sub-base layer. It compacts firmly and drains well. Do not substitute soft fill or mixed rubble. The road base is the structural layer that supports everything above it.
Which gravel type should you use for the surface?
Use angular crushed stone for the surface layer. Angular gravel has irregular edges that lock together under load. Rounded stone like pea gravel does not interlock and migrates under vehicle traffic. Crushed limestone and decomposed granite are both reliable surface gravel options for driveways.
How Do You Calculate How Much Gravel You Need?
Start with your driveway dimensions. Multiply length by width to get square footage.
For the road base, you need 4 inches of compacted depth. For the surface layer, you need 2 inches. Use Hello Gravel’s Material calculator or calculate volume with: Cubic yards needed = (Length ft × Width ft × Depth in) ÷ 324. To convert cubic yards to tons, multiply by the supplier-provided density for your specific material; there is no single accurate yards-to-tons conversion for every gravel type.
For a 50 ft × 12 ft driveway (600 sq ft):
-
Road base at 4 inches: (600 × 4) ÷ 324 = 7.4 cubic yards
-
Surface gravel at 2 inches: (600 × 2) ÷ 324 = 3.7 cubic yards
Order 10-15% extra to account for compaction loss and any uneven spots. Gravel settles during compaction, and you will always use slightly more than the raw calculation suggests.
Step by Step Gravel Driveway Installation
Step 1: Mark Out and Excavate the Driveway Area
Use pegs and string or marking paint to define the driveway boundary. Be precise. The boundary you mark here determines your edging placement and material quantities.
Excavate to 6-8 inches below your intended finished surface level. This depth accommodates the road base layer and the surface gravel layer.
Remove all topsoil and organic material completely. Organic material compresses over time and causes the surface to sink. Soft spots left in the ground are the most common cause of driveway settling within the first year or two, see HelloGravel’s guide to building a driveway for more on proper ground preparation*.*
Step 2: Install the Road Base Layer
Spread your crushed stone road base across the excavated area to 4 inches of depth. Rake it roughly level before compacting.
Compact the road base in overlapping passes with a plate compactor. Continue until the surface is firm with no give underfoot. The road base layer carries the structural load of the driveway. Skipping or rushing compaction leads to ruts and uneven settling under vehicle weight.
Step 3: Lay the Weed Prevention Membrane
Roll out a heavy-duty, permeable landscape fabric over the compacted road base. Permeable means water can pass through it. This matters for drainage.
Overlap seams by at least 6 inches. Pin all edges firmly before moving on.
Use driveway-grade membrane rather than standard garden fabric. Standard fabric degrades under repeated vehicle load within one to two seasons. The weave breaks down, the material bunches, and it begins to surface through the gravel. Replacing a failed membrane means removing all the surface gravel and starting over. Driveway-grade membrane costs slightly more and avoids that outcome entirely.
Step 4: Install Edging to Contain the Gravel
Fix edging, steel restraints, timber boards, or concrete block, along both sides of the driveway. Drive stakes through the membrane into the road base to secure the edging in position.
Install edging before adding any surface gravel. Without containment, gravel migrates outward under vehicle load and foot traffic. Edging keeps the surface layer where it belongs and maintains the driveway’s defined shape over time.
Step 5: Add the Surface Gravel Layer and Rake Evenly
Pour surface gravel in sections and rake to a consistent 2-inch depth. Work from one end of the driveway to the other to avoid disturbing raked sections.
Check the cross-fall as you go. Cross-fall means a slight slope from the center of the driveway toward the edges.
A gradient of around 1:40 is sufficient. This allows rainwater to run off the surface rather than pool in the middle. You don’t need precision engineering, just enough tilt that water has somewhere obvious to go.
Step 6: Compact and Grade the Final Surface
Run the plate compactor over the surface gravel in overlapping passes. The gravel will settle and knit together, dropping slightly in level. Start with a little more depth than you need, because adding material after compaction is more difficult than topping up before.
Walk the full length of the driveway and check for dips or soft spots. Rake in additional gravel where needed and compact again.
Note: Some minor settling in the first few weeks of vehicle use is normal. If low spots appear during that break-in period, add a thin top-up layer and rake it even. Most driveways that look uneven after a month simply need this one additional pass, not a structural fix.
How Do You Maintain a Gravel Driveway?
Rake the surface occasionally to redistribute gravel that has shifted toward the edges. Top up thinning areas every one to two years with a fresh layer of surface gravel.
The clearest sign that a driveway needs more than a top-up is visible membrane showing through the gravel in multiple areas. At that point, the surface layer has thinned below a functional depth. A partial resurface, adding 1 to 2 inches of new gravel and compacting, restores it without requiring a full rebuild.
Keep edging secured. Loose or displaced edging accelerates gravel migration and is easy to fix early but disruptive to address after the surface has shifted significantly.
Ready to order materials for your driveway project? HelloGravel delivers bulk crushed stone and surface gravel nationwide with upfront pricing and customer-selected delivery dates. Get a project estimate or speak with the team.
Frequently Asked Questions
How deep should a gravel driveway be?
A properly built gravel driveway should total around 8-12 inches of compacted material across all layers. That typically breaks down into a 4-6 inch compacted sub-base, a 2-3 inch middle layer, and a 2-3 inch surface layer of finish gravel. Skimping on depth is one of the fastest ways to end up with a driveway that shifts, ruts, or disappears into the ground within a couple of seasons.
What type of gravel is best for a driveway?
For the sub-base, MOT Type 1 (crushed limestone) or #3 stone works well because the angular edges compact and lock together rather than shifting under load. The surface layer is where most people go with #57 stone or pea gravel, though pea gravel has a tendency to scatter underfoot and under tires, so crushed stone is generally the more practical call. Angular, crushed material at every layer outperforms rounded stone for stability.
Do I need a sub-base for a gravel driveway?
Yes, skipping the sub-base is where most DIY gravel driveways fail within the first few years. Without a compacted base layer of MOT Type 1 or crushed aggregate, the surface gravel has nothing solid to sit on and will sink, rut, and spread unevenly under vehicle weight.
How do I prepare the ground before laying gravel?
Start by clearing the area of all vegetation, topsoil, and organic material, typically you’ll need to excavate 8-12 inches down to reach stable, load-bearing ground. Once excavated, the exposed soil should be compacted with a plate compactor, then lined with a geotextile landscape fabric before any gravel goes down. The fabric layer is easy to skip and easy to regret; it stops the base gravel from gradually sinking into the subsoil and extends the life of the whole driveway.
Materials for this project
Get it delivered — dumped where you need it
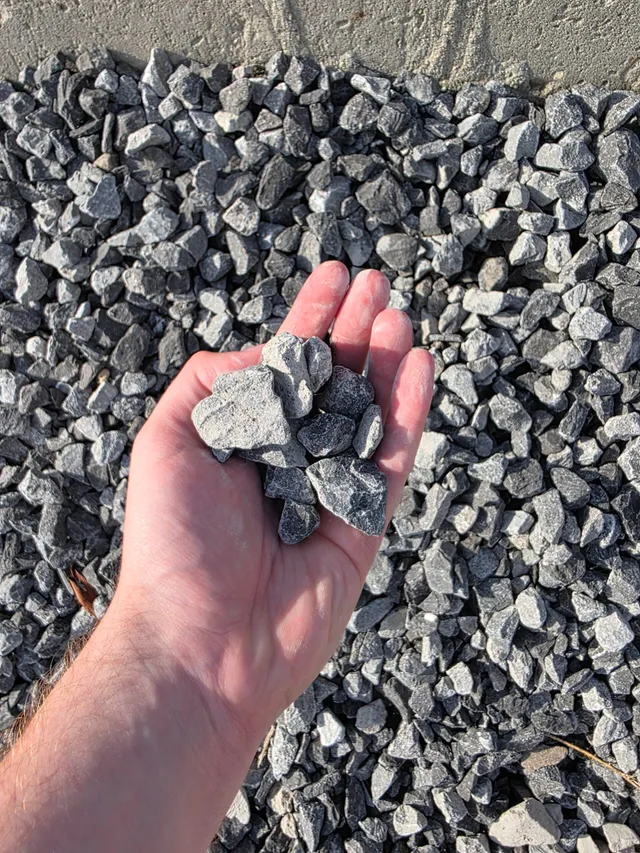
Driveway Gravel
Driveways & Parking areas
See delivered price
View product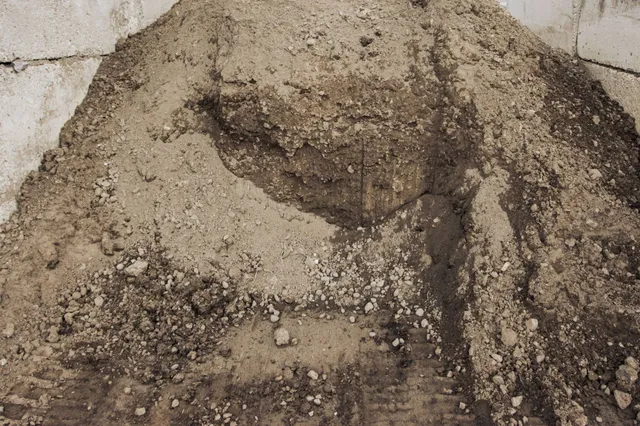
Fill Dirt
Grading & Backfill
See delivered price
View product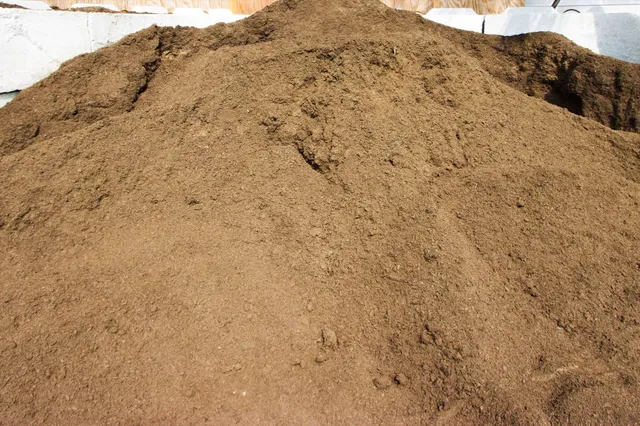
Topsoil
Lawn establishment & Garden beds
See delivered price
View product
#57 Crushed Stone
Driveways & Drainage
See delivered price
View product
Road Base
Driveway base & Road construction
See delivered price
View product