
Top Mistakes Homeowners Make When Installing Gravel Patios
Free local estimate
See delivered prices for your ZIP in 60 seconds
Tell us where the project is and we'll price this material — delivered — for your exact ZIP.
- Real delivered pricing for your ZIP — not a generic range.
- Works for any quantity — driveways, pads, drains, or full projects.
- Prefer to talk? We follow up with local availability and delivery windows.
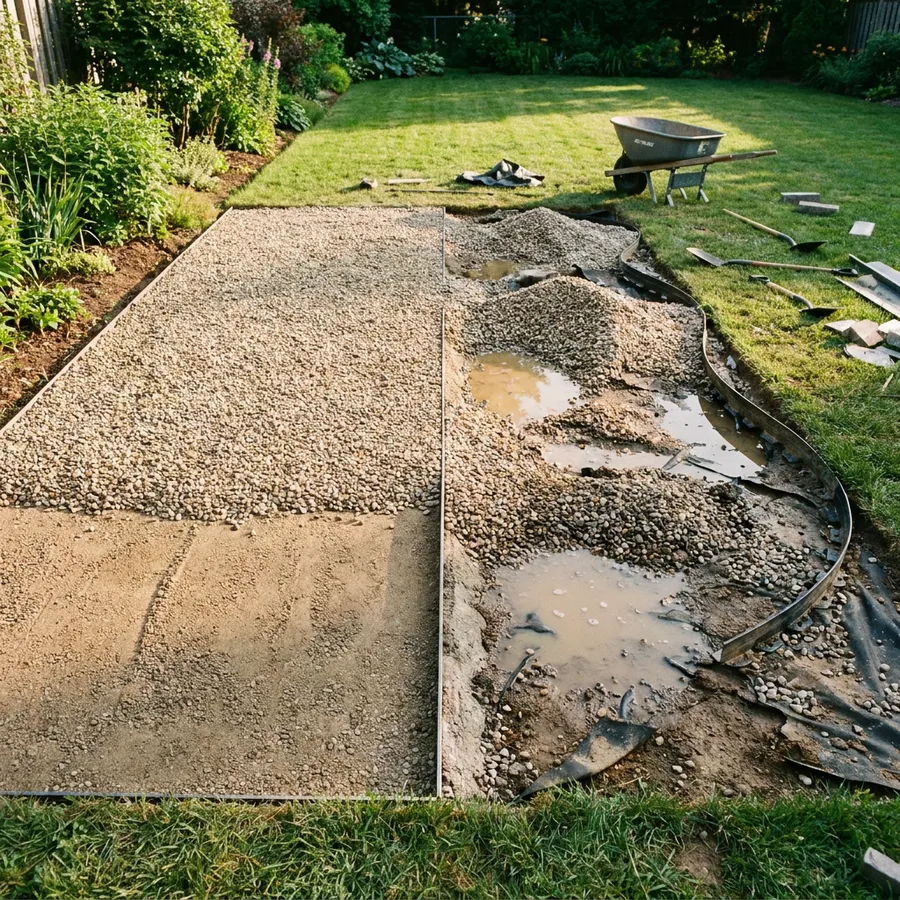
Gravel landscaping mistakes are far more common than most homeowners expect, and most of them happen before a single stone gets laid. A gravel patio can look sharp, drain well, and last for years. Or it can shift, sink, and turn weedy within one season. The difference almost always comes down to what happens underneath and around it.
About Hello Gravel
Hello Gravel delivers bulk gravel, rock, dirt, and sand by the ton. Enter your ZIP code to see prices with delivery included. A local dump-truck driver places the load where access is safe; spreading is not included.
Skipping Site Excavation and Soil Preparation
Dig down at least 4 to 6 inches before doing anything else. Skipping this removes your best shot at a stable base, organic material left in the ground decomposes over time, causing the surface above it to sink and shift unevenly. On clay-heavy soil, go deeper and add a compacted sub-base before anything else.
Skipping excavation on a patio that sees regular foot traffic almost always means pulling the whole thing up within three years, the settling becomes uneven enough to be a genuine trip hazard.
Laying Gravel Directly Over Grass or Topsoil
Grass and topsoil decompose. Laying gravel on top traps that organic material underneath, which breaks down into soft, uneven pockets. Within a year or two, expect low spots, gravel migration, and weeds pushing through the surface. Remove all existing vegetation and topsoil completely before building up your layers.
Using the Wrong Gravel Type or Size
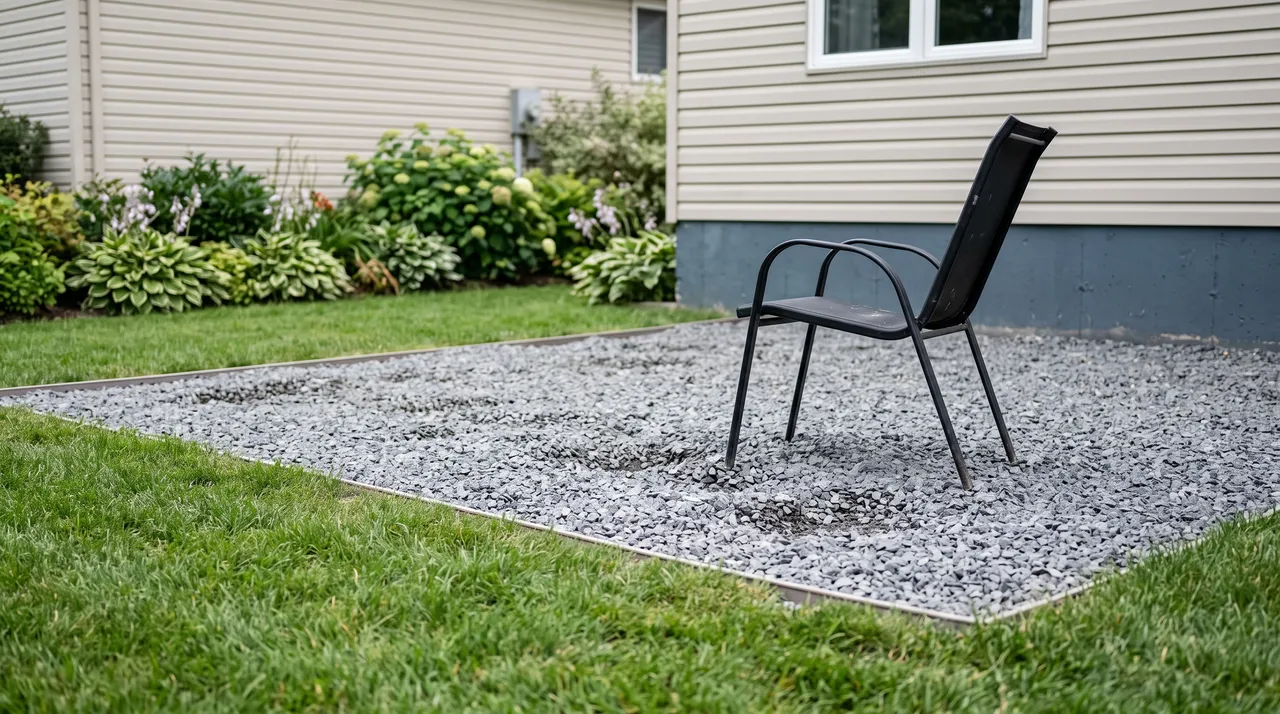
Angular gravel, crushed granite, crushed limestone, and decomposed granite lock together under foot traffic because the jagged edges interlock. For a closer look at how this plays out in a real build, see how a backyard patio comes together. Rounded stone, like pea gravel or river rock, stays loose no matter how much you compact it.
For patio surfaces, ¾-inch crushed granite or ½-inch crushed limestone are solid choices. Pea gravel looks good in photos, but shifts underfoot and scatters constantly. Save smooth decorative stone for borders and beds where foot traffic isn’t a factor, and if you’re building a walkway, check out what gravel type works best for walkways before you order.
Not sure which material fits your project? Our team helps homeowners match the right gravel type to their specific application before ordering, it’s one of the most common places DIY projects go sideways.
Using the Wrong Landscape Fabric
Thin, woven polypropylene fabric clogs with sediment within a season. Once it fails, weeds come through regardless. Use a non-woven geotextile rated for ground stabilization, it lets water drain through while blocking organic material from below. Place it between your compacted base and your top gravel layer, not directly on bare soil.
Ignoring Drainage and Slope
Water needs somewhere to go. Without a slight slope away from your house, about 1 inch of drop for every 8 feet, it pools on the surface and works toward your foundation. Plan the slope during excavation. Trying to fix drainage on a finished patio means pulling everything up.
The version of this that catches most people off guard is a patio installed against a natural slope that looks level visually but has no engineered pitch. Water just sits there after every rain.
Skipping the Compacted Base Layer
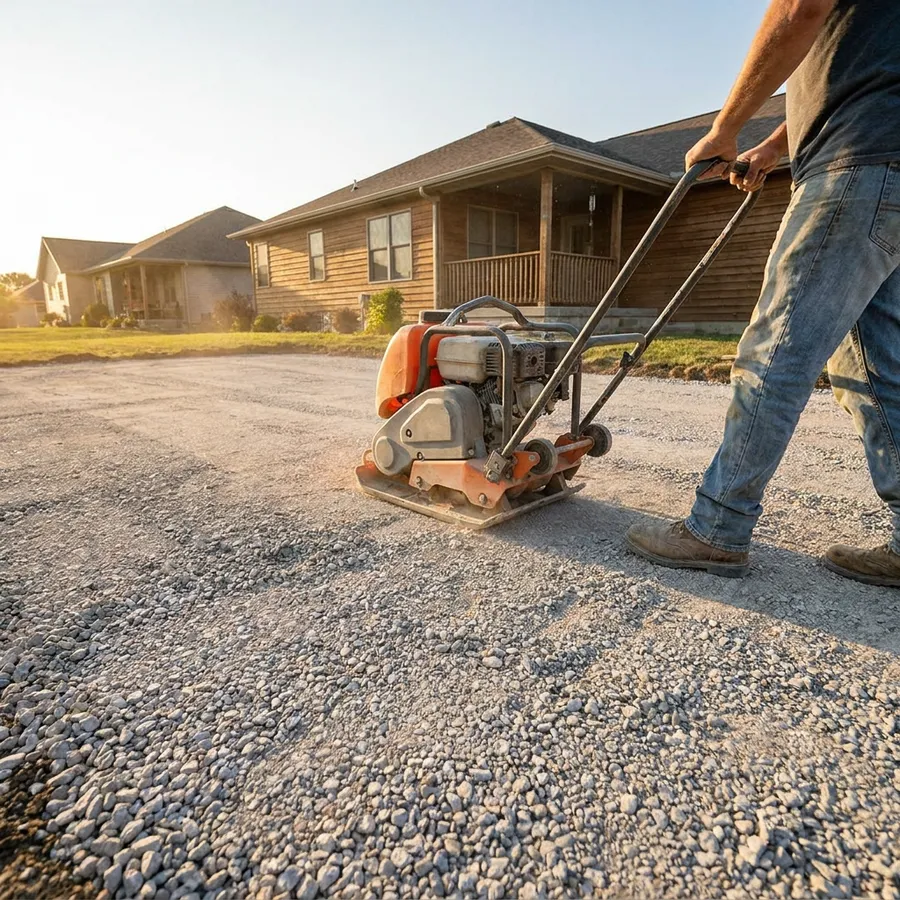
Without a base layer, you’re relying on surface gravel alone to stay put, but it won’t.
A 4-inch layer of compacted crushed aggregate base, road base, or Class II base gives your surface gravel something stable to lock into. Learn more about how to build a proper sub-base using drain rock. Run a plate compactor over it in passes until the surface no longer shifts underfoot.
This step separates patios that hold up for a decade from ones that need repair after the first winter.
Compacting All at Once Instead of in Layers
A plate compactor reaches about 2 inches deep effectively. Dumping 4 inches of gravel and compacting it once leaves loose material underneath that compresses unevenly over time. Compact in 2-inch lifts instead. It takes longer, and the payoff isn’t visible until six months later, which is why most people skip it.
Missing or Poorly Installed Edge Restraints
Without a physical border, gravel spreads into your lawn, walkway, and garden beds within a season. Steel edging, concrete curbing, or heavy timber all work. Stake it every 12 inches and bury the bottom edge to prevent frost heave from pushing it up.
On curves and corners, use flexible steel edging rather than rigid sections, rigid material gaps at bends, and those gaps are where gravel escapes first.
Using the Wrong Depth
Depth depends on what the surface needs to handle:
- Foot-traffic patio: 2-3 inches
- Garden path: 2 inches
- Light vehicle driveway: 4 inches
- Heavy vehicle driveway: 6+ inches
Underfilling is one of the most common gravel landscaping mistakes. It looks fine at first, then compresses flat and patchy within a year. Getting the depth right before you order also saves you a second delivery. Our online estimator gives you a quantity figure in about 60 seconds based on your dimensions and intended use.
Skipping a Gravel Stabilizer
Gravel stabilizer panels, honeycomb plastic grids installed under the surface layer, hold individual stones in place and cut down on migration. Without them, a well-used patio develops bare patches and scattered borders within a single season. By year two, you’re restocking gravel and raking it back into shape every few weeks just to keep the surface functional.
Having No Maintenance Plan
A gravel patio is low-maintenance, not no-maintenance. Leave it entirely for two or three years and the surface thins unevenly, weeds establish root systems through gaps in the fabric, and the whole thing starts looking neglected. Plan on raking once or twice a season, topping off with fresh gravel every two to three years, and a quick weed pass before anything takes hold.
The base work matters most, but how you care for the surface is what determines whether it still looks good in year five, and if you’re still planning the design, these gravel patio ideas are worth a look before you commit.
Most gravel landscaping mistakes come down to rushing the prep and expecting the surface layer to carry the project on its own. Get the excavation, base, and drainage right, match your gravel type to how the space will actually be used, and the patio will largely take care of itself. Before you order, use our gravel selector to confirm you have the right material and the right amount for your specific project.
Materials for this project
Get it delivered — dumped where you need it
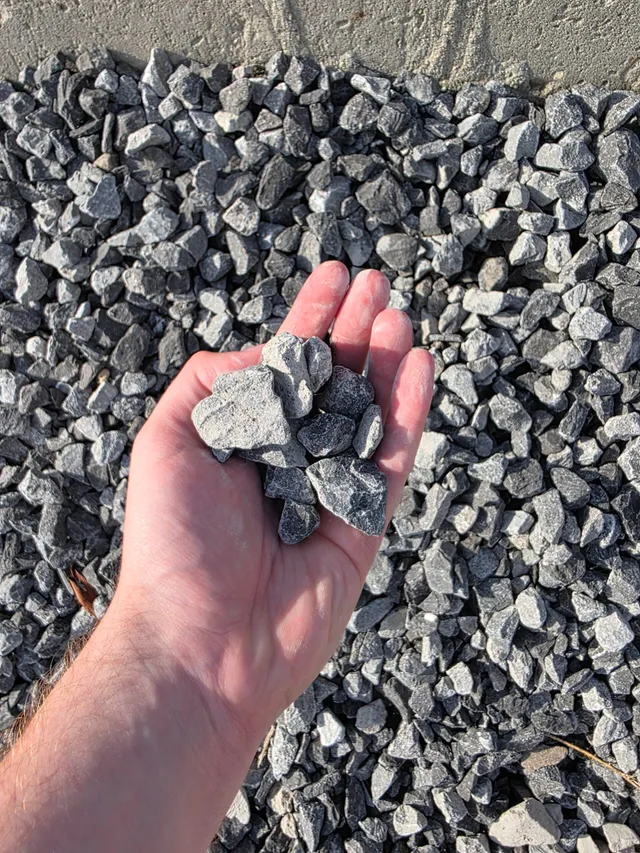
Driveway Gravel
Driveways & Parking areas
See delivered price
View product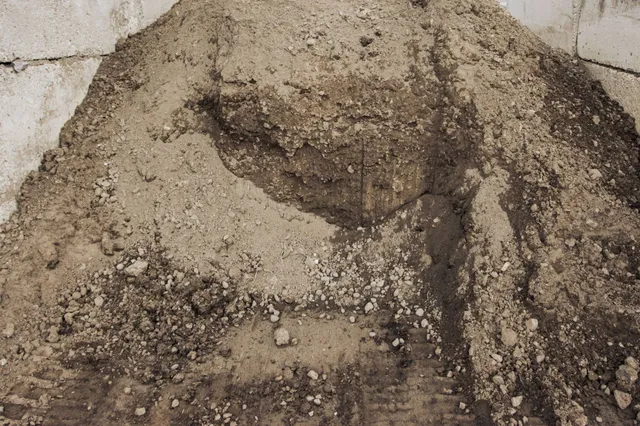
Fill Dirt
Grading & Backfill
See delivered price
View product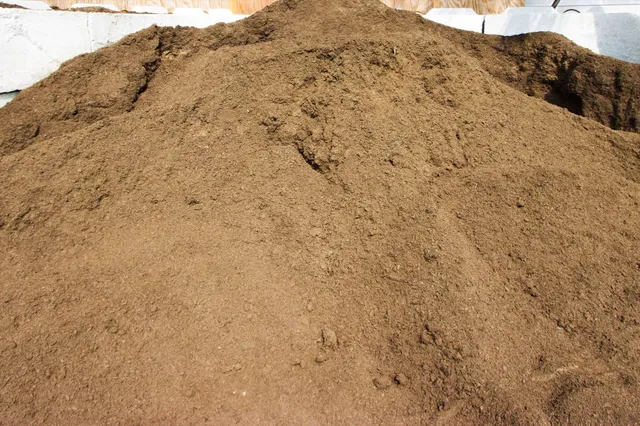
Topsoil
Lawn establishment & Garden beds
See delivered price
View product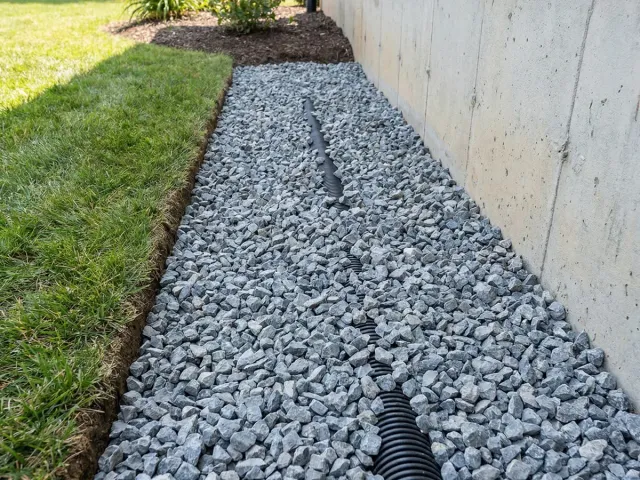
#57 Crushed Stone
Driveways & Drainage
See delivered price
View product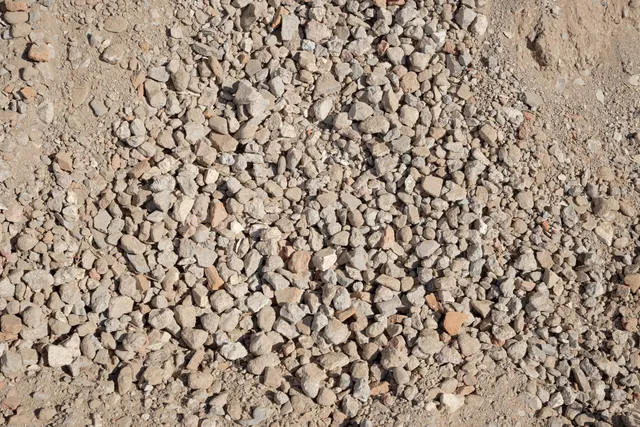
Road Base
Driveway base & Road construction
See delivered price
View product