Sandbox Sand: Play Sand Depth & Cubic Yards Calculator
A well-designed sandbox provides a safe and engaging play space that depends on proper materials and preparation. This guide explains what a sandbox is, which materials you need, how to design a functional layout, how to install it step by step, and how to estimate the amount of gravel required. Whether you are building a backyard play area for children or adding a sandbox to a community park, use the sections below to find what you need.
See How to Build a Sandbox
This visual guide breaks down the sandbox installation sequence into five clear steps, showing you exactly how to build from the ground up. It also illustrates the essential layered structure—from the compacted subgrade to the final play sand—so you understand how each component contributes to a stable, long-lasting project.
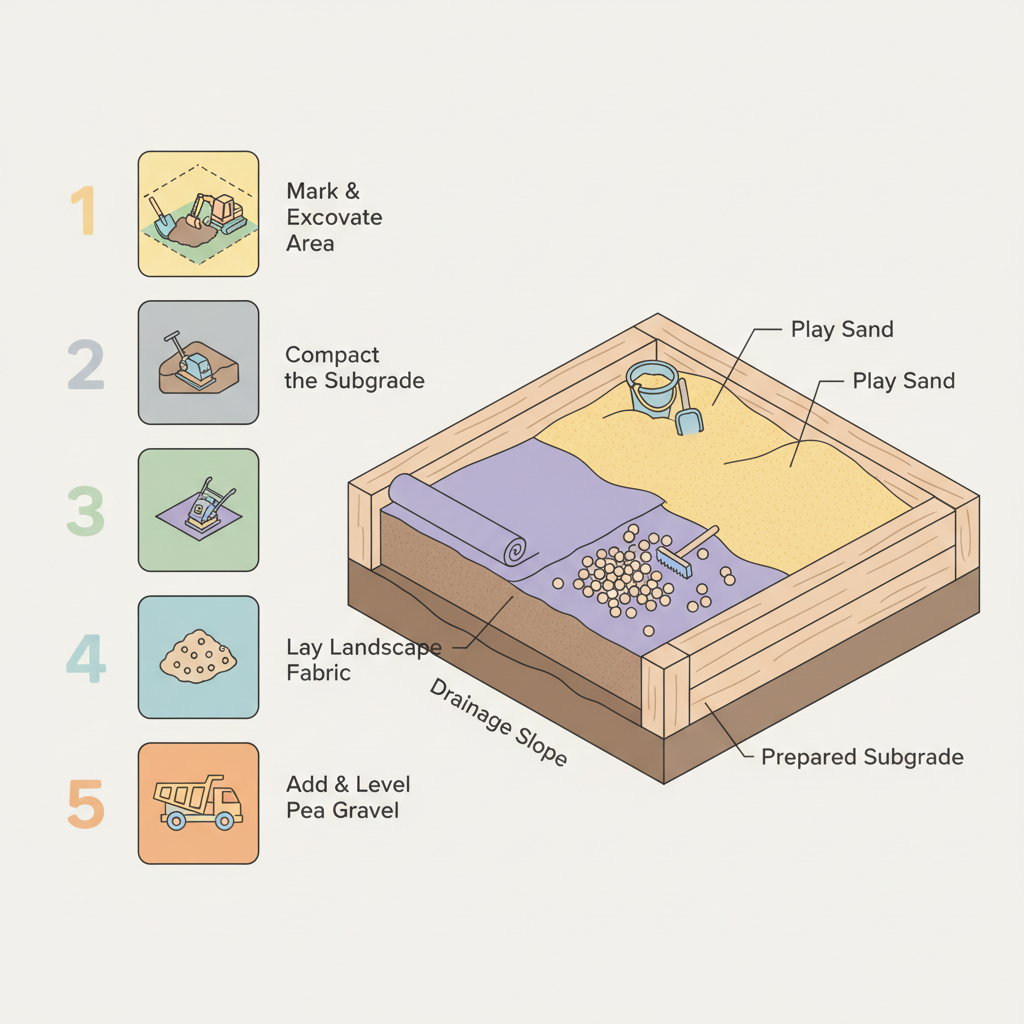
This diagram couldn't load.
Watch the video guide insteadSandbox for Kids: Best Materials, Depth, Drainage & How to Build
A sandbox needs two layers to stay clean and playable: a 4–5 inch pea gravel drainage base, topped with 2–3 inches of fine play sand for the kids to dig in. Landscape fabric between the layers keeps the sand and gravel separate over time. For a standard 4 ft × 4 ft sandbox, that's about 0.5–1 cubic yard of play sand.
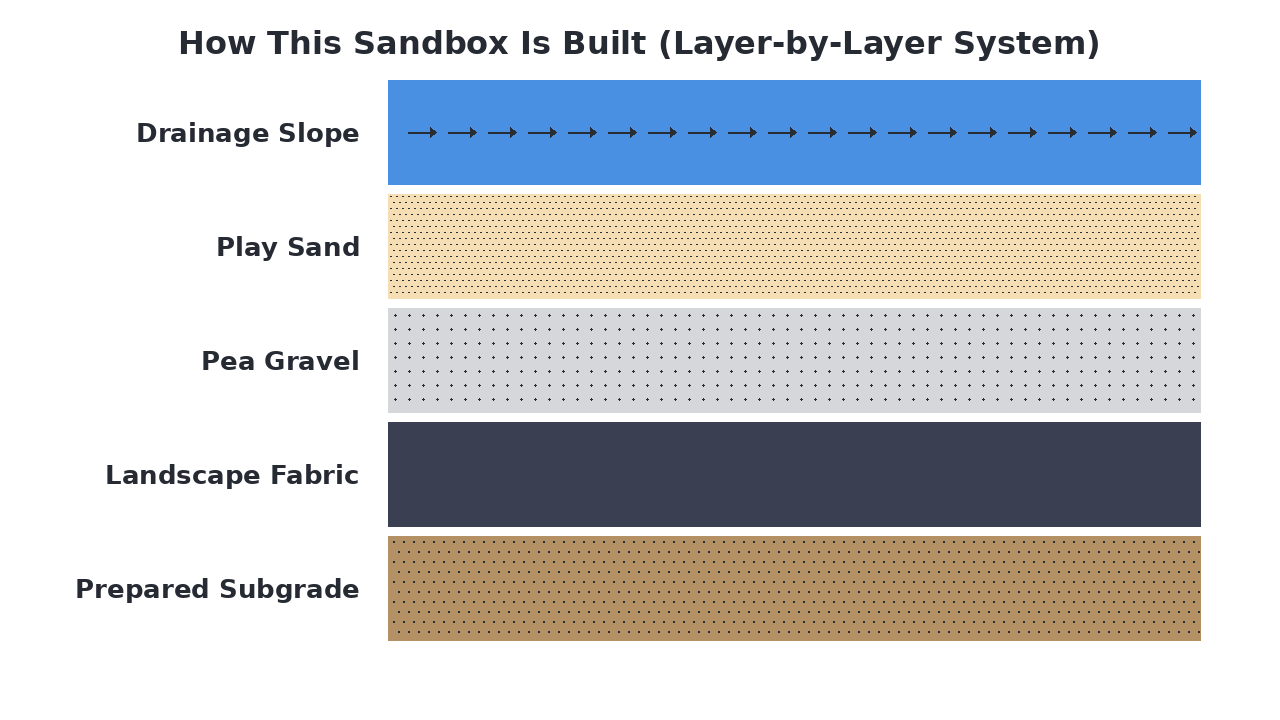
How This Sandbox Is Built (Layer-by-Layer System)
A sandbox is built as a layered system designed to provide a clean, stable play area while ensuring proper drainage. The system starts with a prepared subgrade, followed by a layer of pea gravel that creates a free-draining base to prevent water accumulation. The top layer of play sand provides a soft, clean surface for children's play, while landscape fabric separates the layers to prevent mixing and weed growth. A slight slope in the subgrade directs water away from the sandbox to keep the sand dry and prevent puddles.
Materials Breakdown: What Each Layer Does
A sandbox is constructed as a layered system where each material serves a distinct purpose in creating a durable, safe, and functional play area. The bottom layers establish a stable, well-draining base, while the top layers provide a soft, clean surface for play. Together, they ensure proper drainage, prevent weed growth, and maintain a consistent, comfortable surface over time.
Compacted Soil
The existing soil that is leveled and compacted to create a firm, stable foundation for the entire sandbox structure.
Landscape Fabric
A geotextile barrier that prevents weeds from growing up into the sandbox while still allowing water to drain through.
Pea Gravel
A layer of small, rounded stones that provides excellent drainage, preventing water from pooling at the bottom of the sandbox.
View Pea Gravel →Play Sand
Clean, fine-grained sand that creates a soft, safe surface for children to play in while being easy to shape and mold.
Surface Slope
A gentle grade built into the sandbox surface that directs rainwater away, preventing standing water and keeping the sand drier.
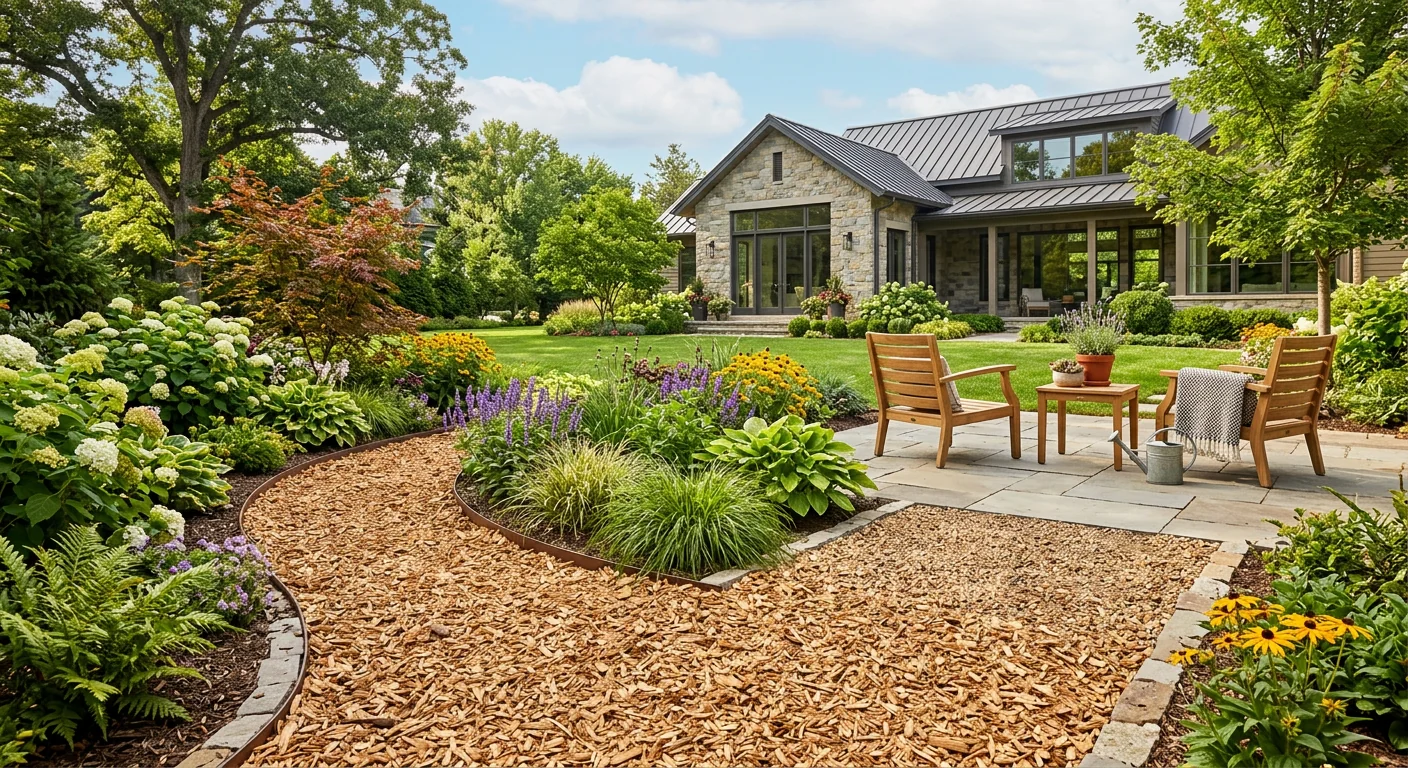
What Is a Sandbox and Why Does It Matter?
A sandbox is just two layers — a 4–5 inch pea gravel drainage base under 2–3 inches of clean play sand, with landscape fabric between them so the layers stay separate. For a standard 4 ft × 4 ft sandbox, you'll need about a half to one cubic yard of play sand plus a few hundred pounds of pea gravel. Skip the gravel base and the sand turns into a soggy, sour mess after the first big rain.
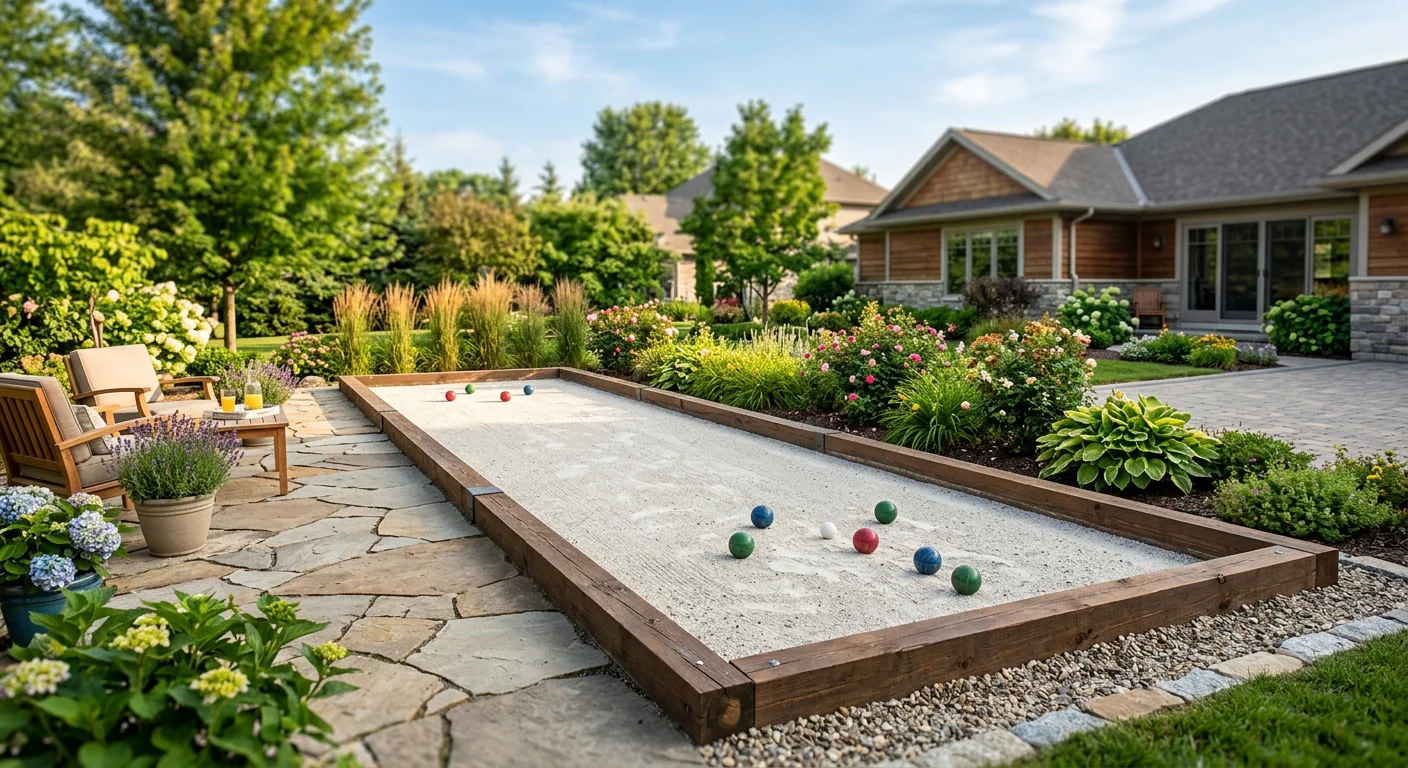
Common Types of Sandbox Systems
Sandboxes come in a few common forms, each offering different levels of durability, maintenance, and cost. Basic wood-framed sandboxes are affordable and easy to DIY but may rot over time. Plastic molded sandboxes are low-maintenance and portable but often smaller and less durable. More permanent options like concrete or stone-edged sandboxes provide longevity and a custom look but require more installation effort and cost. The key trade-offs are between initial price, lifespan, and how much effort you want to put into building and upkeep.
- Lowest material cost
- Easy DIY weekend project
- Can rot over time
- Needs regular maintenance
Best for: Budget-conscious first-time projects
- Pre-assembled and portable
- Very low maintenance
- Limited size and shape options
- Less durable long-term
Best for: Temporary or rental situations
- Excellent natural drainage
- Clean, defined border
- Low weed growth
- Durable and long-lasting
Best for: Permanent, well-drained play areas
- Most permanent solution
- Custom shapes and sizes
- Highest installation cost
- Professional help often needed
Best for: High-end, custom landscape designs
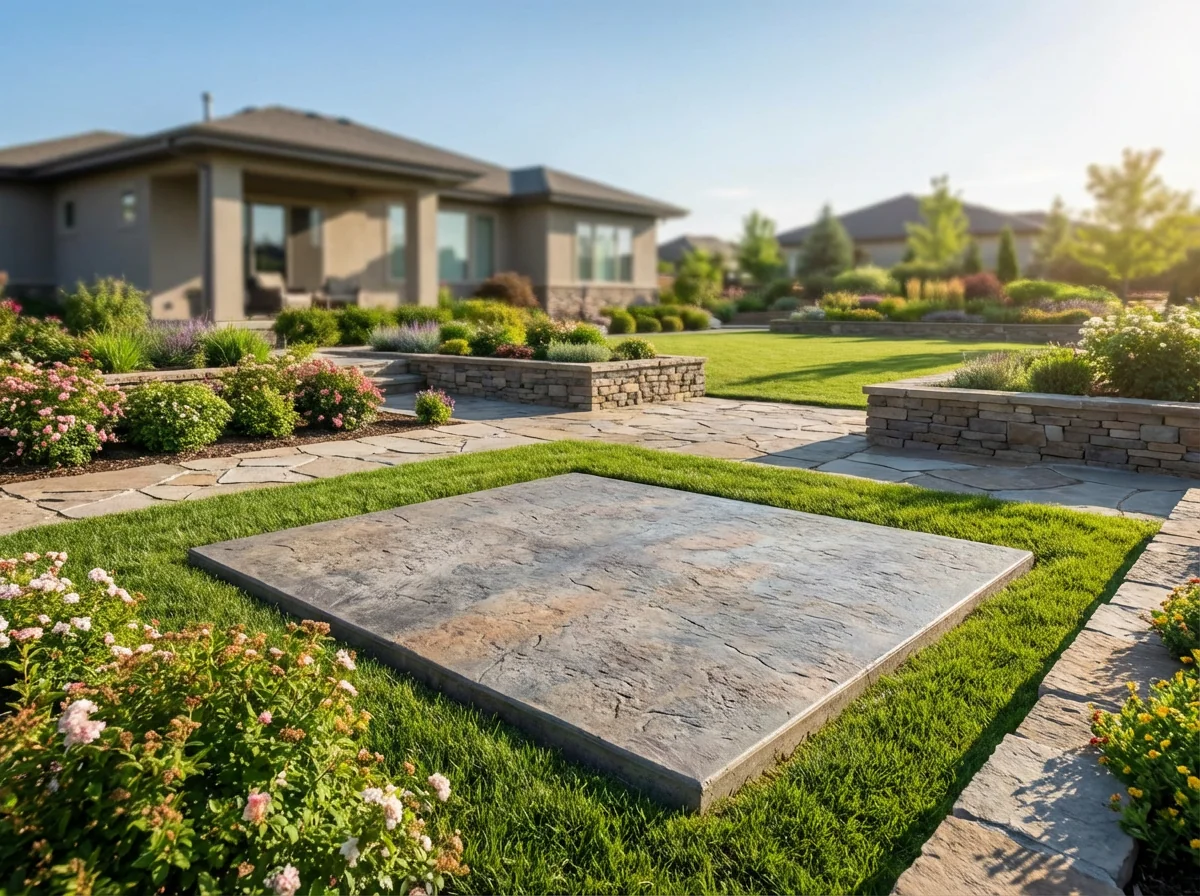
When a Sandbox Is the Best Solution
A gravel-bordered sandbox is the best choice when you want a permanent, low-maintenance play area that handles drainage well. It's ideal for yards with poor soil drainage, as the gravel base prevents waterlogging and keeps the sand drier. This option suits homeowners who plan to keep the sandbox for years and want to minimize weed growth and border deterioration. While requiring more initial setup than plastic or basic wood, it offers superior longevity and integrates neatly into landscaped yards.
Everything You Need to Build a Sandbox
Building a sandbox requires a few key materials to create a stable, well-draining base topped with a clean, soft play surface. You'll need foundational materials like pea gravel for drainage and landscape fabric to prevent weed growth, plus play sand as the main surface material. Essential tools include digging implements for excavation and leveling tools to ensure proper drainage slope.
- Landscape fabric, Pea gravel, Play sand
- Shovel, Rake, Level, Tape measure, Stakes and string
- Hello Gravel (materials), A contractor supply store, Local rental yard (compactor)
What to Consider Before You Start
Before you start digging, consider these key planning factors to ensure your sandbox is safe, functional, and properly located.
- Location selection
Choose a level, well-draining spot that's visible from the house and away from overhanging trees.
- Size and shape planning
Determine the sandbox dimensions based on available space and number of children who will use it.
- Drainage considerations
Plan for a slight slope (1-2%) to ensure water drains away from the play surface.
- Safety and accessibility
Consider adding a cover to keep out animals and debris, and ensure easy access for children.
- Local regulations
Check with your municipality about any permits or requirements for permanent play structures.
How to Prepare the Ground for a Sandbox
Start by clearing the area of all grass, weeds, and debris, then mark the sandbox perimeter with stakes and string. Excavate the marked area to a depth of about 6-8 inches, ensuring the bottom is level and slopes slightly away from any nearby structures for drainage. Compact the exposed subgrade thoroughly with a hand tamper or plate compacter to create a firm, stable base that prevents future settling.
How a Sandbox Works
The layered construction creates a stable, well-draining play surface. The compacted subgrade and landscape fabric form a barrier against weeds and soil mixing, while the pea gravel layer provides a free-draining base that prevents water from pooling. Water percolates down through the play sand, flows through the gravel, and follows the gentle slope away from the sandbox, keeping the surface dry and usable. This system distributes play loads evenly and maintains a consistent, soft surface over time.
How to Install a Sandbox
Mark & Excavate Area
Outline the sandbox shape with stakes and string, then dig out the entire area to the required depth, maintaining a slight slope for drainage.
Compact the Subgrade
Use a hand tamper or plate compactor to firmly compact the excavated soil, creating a solid, level base that resists settling.
Lay Landscape Fabric
Roll out landscape fabric over the compacted subgrade, overlapping seams by several inches to block weeds and separate soil layers.
Add & Level Pea Gravel
Spread a 2-3 inch layer of pea gravel evenly across the fabric, using a rake to level it and maintain the drainage slope.
Fill with Play Sand
Pour play sand over the gravel layer, filling the sandbox to within a few inches of the top, and rake it smooth.
Alternative Gravel Options for Sandboxs
While play sand is the classic choice for sandbox surfaces, homeowners have several aggregate alternatives that can provide different benefits. Pea gravel offers excellent drainage and a unique tactile experience, though it's less moldable than sand. Crushed stone provides a stable, low-maintenance surface but can be too rough for young children. Decomposed granite creates a firm, natural look but may compact over time. Ultimately, play sand remains the top recommendation due to its softness, moldability for building, and ease of sifting for cleanliness.
The standard choice for sandboxes due to its soft texture and moldability.
A cleaner, dust-free alternative to traditional play sand.
Creates a firm surface that may compact and become hard over time.
View Product →Common Sandbox Mistakes (And How to Avoid Them)
Building a sandbox seems simple, but several common oversights can lead to drainage issues, contamination, or premature deterioration. Avoid these pitfalls to ensure your sandbox remains safe and functional for years.
- No drainage layer
- Insufficient depth
- Poor weed barrier
- Wrong sand type
- No cover protection
How to Maintain a Sandbox
Regular maintenance keeps your sandbox safe and clean for play. Rake the surface weekly to prevent compaction and distribute sand evenly. Check for debris, leaves, and animal waste, removing any contaminants immediately. Replace sand every 1-2 years or when it becomes discolored, and ensure the cover remains secure to protect against rain and animals.
Calculate How Much Gravel You Need
Enter Your Dimensions
Measure your project area and we'll calculate how much material you need.