Yard Drainage Gravel: Drain Rock Sizing & Bed Depth Guide
Proper drainage depends on choosing the right materials and installing them correctly to protect your property from water damage. This guide explains what a drainage is, which materials you need, how to design a system, how to install it step by step, and how to estimate the amount of gravel required. Whether you are solving a localized soggy area or planning a comprehensive yard drainage project, use the sections below to find what you need.
See How to Build a Drainage
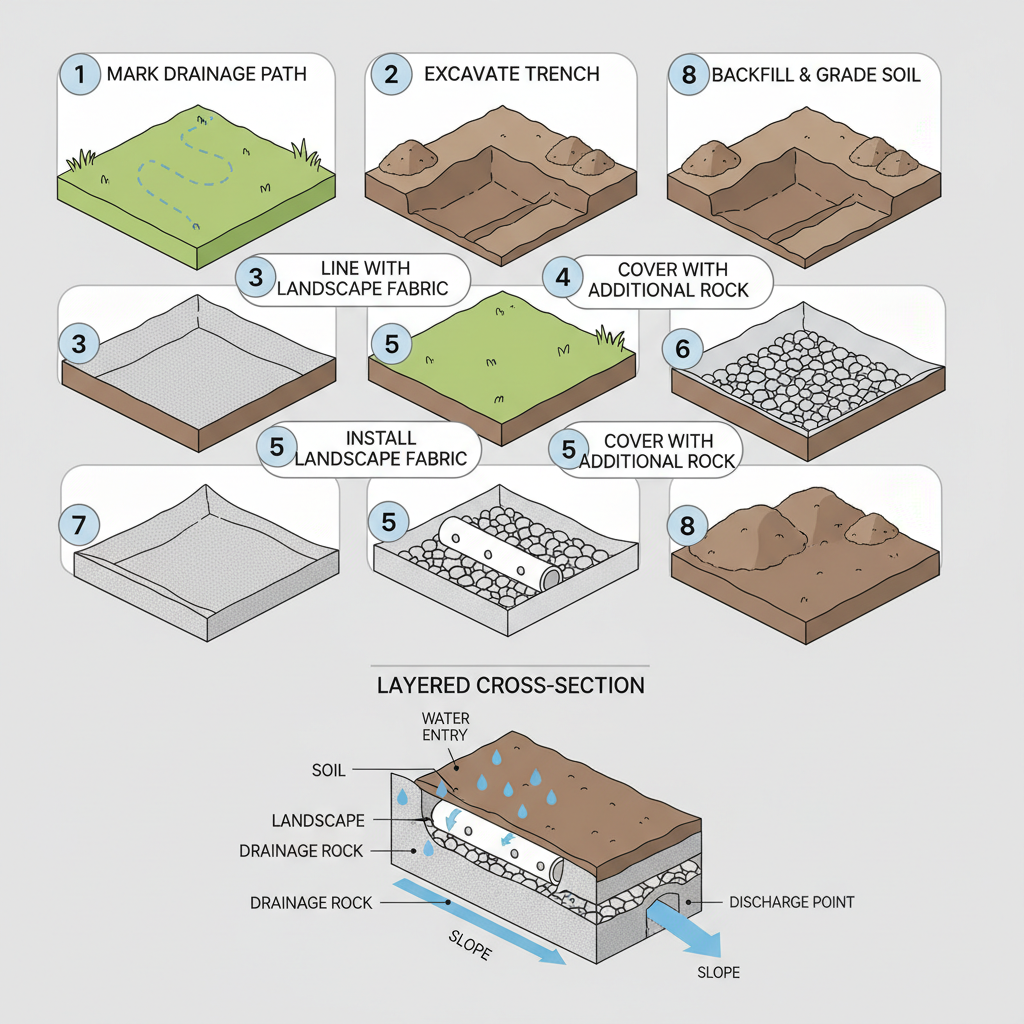
This visual guide shows the complete installation sequence for building a proper drainage system, from initial trench marking to final backfilling. It clarifies the critical layered structure—drainage rock, perforated pipe, and protective fabric—that ensures effective water flow and prevents soil migration. Following these steps helps homeowners create a reliable drainage solution that protects their landscape from water damage.
This diagram couldn't load.
Watch the video guide insteadGravel for Drainage: Best Drain Rock, Size, Depth & Installation Guide
A proper drainage system uses clean drainage rock to create a permeable path that redirects water away from structures and saturated areas. We recommend 3/4 to 1 1/2 inch clean stone at a depth of 6-12 inches to ensure optimal water flow and prevent soil migration. The system relies on consistent slope toward a discharge point to prevent pooling and foundation damage. Proper installation with the right materials prevents erosion and protects your property's structural integrity.
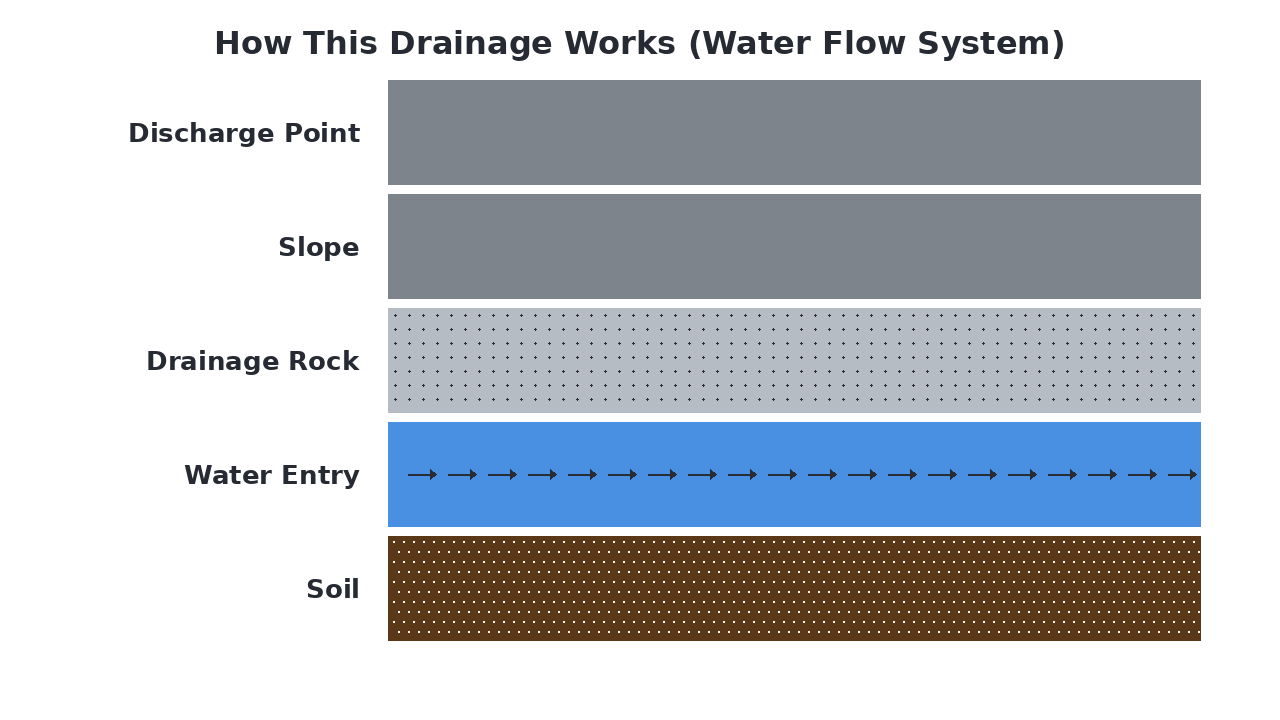
How This Drainage Works (Water Flow System)
A drainage rock system manages water by creating a permeable path for water to flow away from saturated areas. Water enters through the soil and moves downward into the clean drainage rock layer, which prevents soil from clogging the system while allowing free water movement. The system relies on a consistent slope to direct water efficiently toward a designated discharge point, preventing pooling and foundation damage.
Materials Breakdown: What Each Layer Does
A drainage system relies on carefully layered materials that each perform a distinct function to manage water effectively. From the soil that receives the water to the discharge point that safely removes it, every layer must work in sequence to prevent pooling and structural damage. Using the right products ensures water flows freely through the rock, follows the slope, and exits the system without clogging.
Native Soil
The existing ground that the drainage system is built into; it determines the initial water infiltration rate and moisture level.
Surface Water
Rainwater or runoff that enters the drainage system through the soil or surface; it is the source the system must manage.
Drainage Rock
Clean, angular crushed stone that creates voids for rapid water movement and prevents soil from clogging the system.
Drainage Slope
A consistent downhill grade along the trench that ensures water flows toward the discharge point instead of pooling.
Discharge Outlet
The designated exit where water leaves the drainage system, safely directed away from structures and foundations.
What Is a Drainage and Why Does It Matter?
A drainage system is an engineered solution that manages excess water by creating a permeable channel to redirect water away from vulnerable areas. It matters because proper drainage prevents foundation damage, soil erosion, basement flooding, and landscape degradation caused by water accumulation. Unlike simple surface grading or basic trenching, a proper drainage system uses specific clean stone layers to maintain long-term permeability and prevent soil clogging that would render basic trenches ineffective over time.
Common Types of Drainage Systems
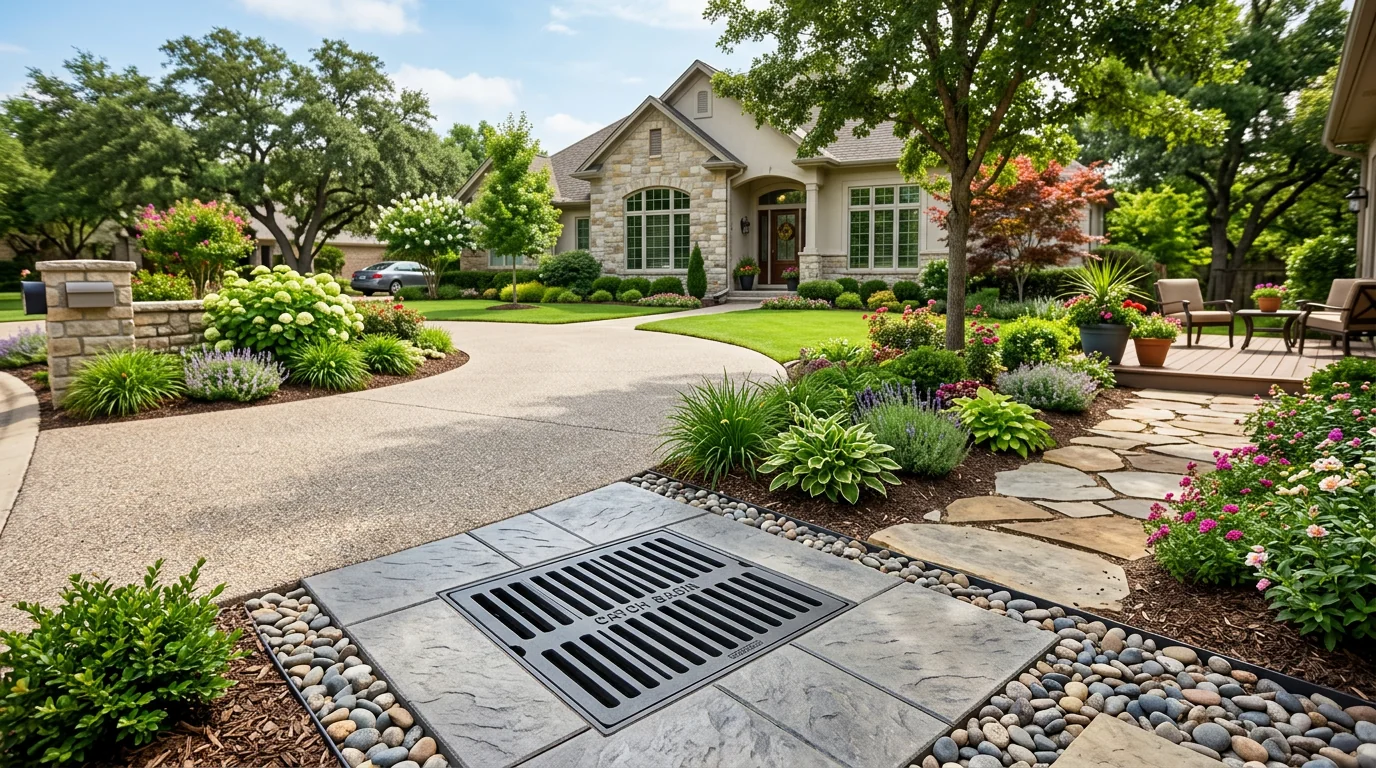
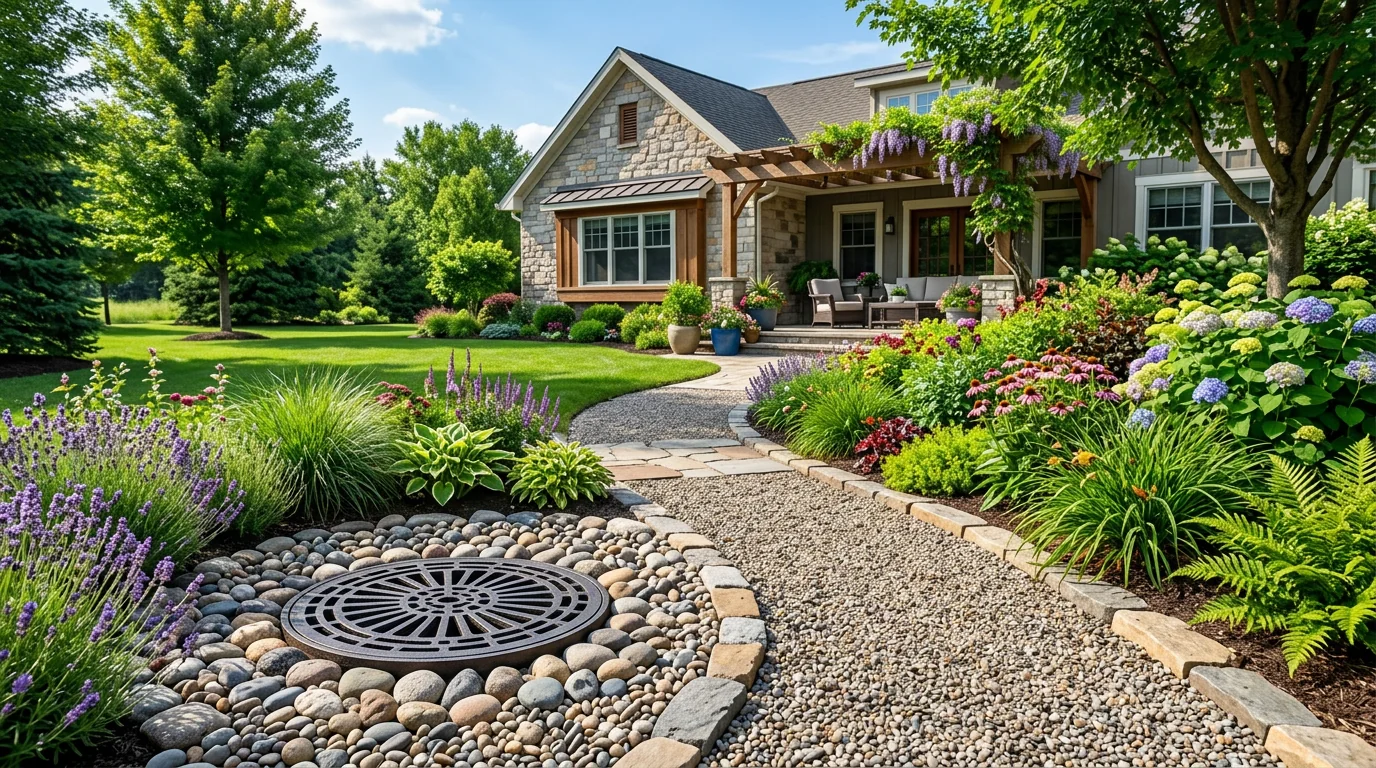
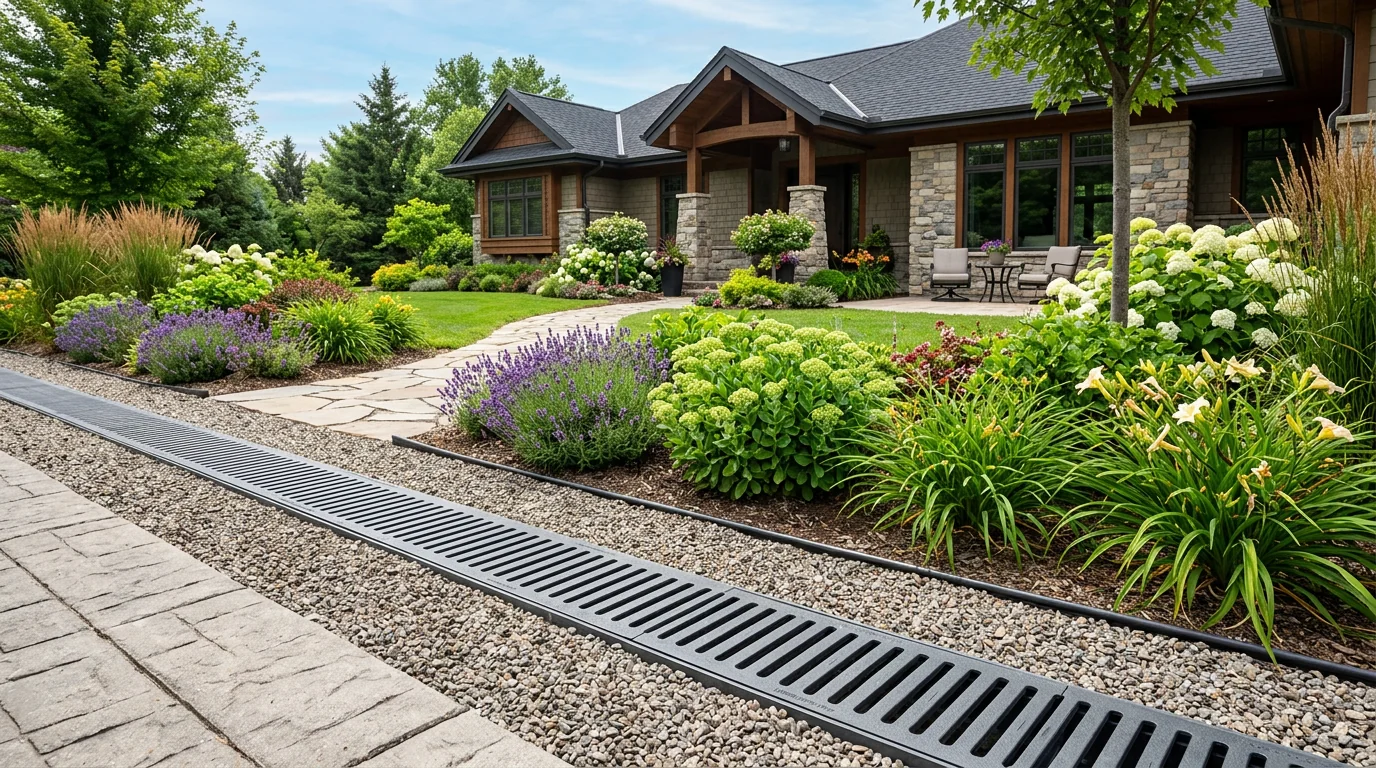
Common drainage systems include French drains, dry wells, swales, and surface drains. French drains are subsurface trenches filled with gravel that redirect groundwater away from foundations. Dry wells collect and slowly disperse runoff into the soil, while swales are shallow, vegetated ditches that manage surface water. Surface drains are catch basins that quickly remove standing water from patios or driveways.
- Subsurface water redirection
- Uses gravel and perforated pipe
- Prevents soil erosion
- Long-lasting permeability
- Protects foundations
Best for: Redirecting groundwater away from foundations
- Collects and disperses runoff
- Good for low-permeability soils
- Prevents surface pooling
- Requires excavation
- Slow water release
Best for: Managing concentrated roof runoff
- Shallow vegetated channel
- Manages surface water flow
- Landscaping integration
- Low maintenance
- Natural filtration
Best for: Gentle slope surface drainage
- Catch basin system
- Quick standing water removal
- Patio and driveway use
- Easy installation
- Visible grate covers
Best for: Removing standing water on hardscapes
When a Drainage Is the Best Solution
A French drain is the best solution when you need to protect your home's foundation from groundwater saturation or prevent basement flooding. It's ideal for properties with poor soil drainage, recurring water accumulation near foundations, or where surface grading alone isn't sufficient. This system provides long-term reliability with proper gravel layers that maintain permeability without clogging. Choose a French drain when you need a durable, subsurface solution that handles moderate to heavy water flow while being hidden from view.
Everything You Need to Build a Drainage
A functional drainage system requires specific materials layered to filter, channel, and discharge water effectively. You'll need foundational gravel for the trench base, drainage rock for the main water flow layer, and optional filter fabric to prevent soil clogging. Essential tools include digging equipment, grading tools for slope, and compactors to secure the materials in place.
- Crushed stone (for trench base), Drainage rock (pea gravel or #57 stone), Landscape filter fabric (optional), Sand (for fine grading)
- Shovel, Rake, String line and stakes, Level, Tamper or plate compactor, Wheelbarrow
- Hello Gravel (materials), A contractor supply store, Local equipment rental (compactor)
What to Consider Before You Start
Proper planning ensures your drainage system works correctly and avoids common installation mistakes. Review these key considerations before you begin digging.
- Water flow assessment
Identify the source of water accumulation and the desired discharge point to determine the trench path.
- Slope verification
Confirm you can achieve a minimum slope of 1% (1 inch drop per 8 feet) for proper water flow.
- Local regulations and utilities
Check for any permits required and call 811 to locate underground utilities before digging.
- Soil type and percolation
Test your soil's drainage capacity to decide if you need a deeper trench or additional gravel layers.
- Material quantity calculation
Measure the trench length, width, and depth to accurately calculate the volume of gravel and rock needed.
How to Prepare the Ground for a Drainage
Start by clearing the area of all vegetation, debris, and large rocks to create a clean base. Mark the desired drainage path and discharge point using stakes and string to guide your excavation. Excavate the trench to the required depth and width, ensuring it slopes consistently toward the discharge point for proper water flow. Finally, compact the trench bottom with a hand tamper or plate compactor to create a stable, level foundation that prevents settling.
How a Drainage Works
A drainage system works by creating a gravity-fed channel that intercepts and redirects surface or subsurface water away from vulnerable areas. Water enters through the soil layer and flows into the drainage rock, which provides a porous medium that prevents clogging while maintaining structural stability. The carefully graded slope ensures consistent water movement toward the discharge point, where water is safely released without causing erosion or pooling. This layered approach effectively manages water volume while protecting foundations and landscapes from moisture damage.
How to Install a Drainage
Mark Drainage Path
Use stakes and string to outline the entire drainage trench from water entry to discharge point.
Excavate Trench
Dig a trench along the marked path with consistent depth and width, maintaining a minimum 1% slope toward the discharge.
Line with Landscape Fabric
Place permeable landscape fabric along the trench bottom and sides to prevent soil migration while allowing water passage.
Add Drainage Rock Layer
Fill the trench with 4-6 inches of clean drainage rock, creating the primary water flow channel.
Install Perforated Pipe
Place perforated drainage pipe on top of the rock layer with holes facing downward to collect water.
Cover with Additional Rock
Add another 2-4 inches of drainage rock over the pipe, completely surrounding it for protection and water distribution.
Wrap with Fabric
Fold the landscape fabric over the rock layers to create a protective barrier against soil infiltration.
Alternative Gravel Options for Drainages
Homeowners have several aggregate options for drainage systems, each with different performance characteristics. Crushed stone with angular edges interlocks well to maintain voids for water flow, while rounded pea gravel can shift and compact over time. Larger drainage rock provides excellent permeability but requires careful placement, and sand can be used as a filter layer. For the primary drainage layer, angular crushed stone is typically the best choice because its jagged surfaces create stable, open channels that resist settling and clogging.
Large, clean rock that provides maximum permeability for high-volume systems.
Smooth, rounded stones that can shift and compact, reducing drainage effectiveness.
View Product →Fine material used as a filter layer to prevent soil migration into drainage rock.
View Product →Recycled angular aggregate that functions similarly to crushed stone at lower cost.
View Product →Common Drainage Mistakes (And How to Avoid Them)
Even with the right materials, drainage systems can fail due to common installation errors. These mistakes often lead to water pooling, erosion, or structural damage that requires costly repairs.
- Insufficient slope
- Missing filter fabric
- Wrong aggregate size
- Inadequate depth
- Poor compaction
- No overflow provision
How to Maintain a Drainage
Regular maintenance ensures your drainage system continues to function properly. Inspect the system after heavy rains for any signs of pooling or slow drainage, and clear debris from inlet grates and outlet points. Periodically check that the gravel layer hasn't settled or compacted, adding more material if needed to maintain proper depth. Re-grade any areas where soil erosion has altered the slope, and replace filter fabric if it becomes clogged or damaged.
Calculate How Much Gravel You Need
Enter Your Dimensions
Measure your project area and we'll calculate how much material you need.