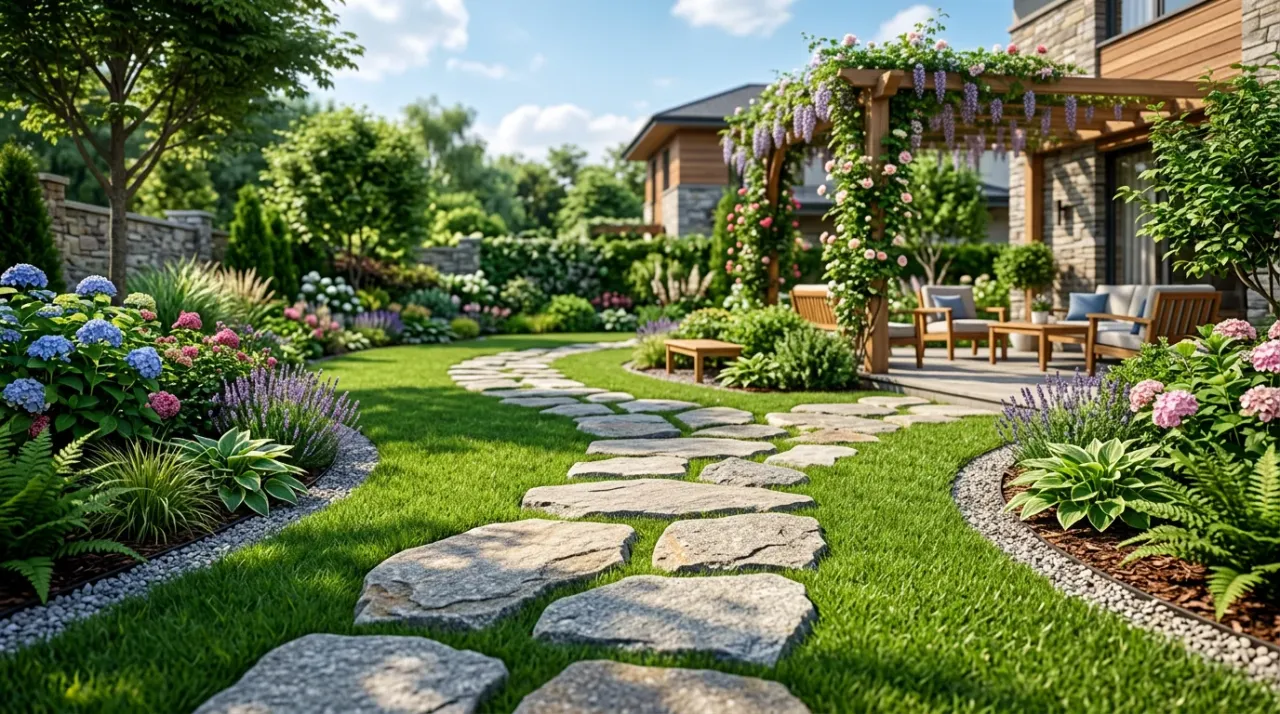
Stepping Stones Calculator
— How Much Do You Need?
Calculate stone, base, sand, spacing, and truckload delivery for stepping stones with clear pricing.
How to Use This Stepping Stones Calculator
Planning a stepping stones requires precise measurements to ensure you order enough material without overspending.
- 1 Measure Area: Measure the length and width of your planned stepping stones area in feet.
- 2 Determine Depth: For most stepping stones projects, a depth of 4 to 6 inches is recommended for stability.
- 3 Review Results: The calculator provides both cubic yards (for bulk volume) and tons (for ordering weight).
Common Materials for Stepping Stoness
Choosing the right base materials ensures proper drainage, stable stone placement, and a level surface that prevents settling and trip hazards over time.
| Material | Description | Best For | Est. Cost |
|---|---|---|---|
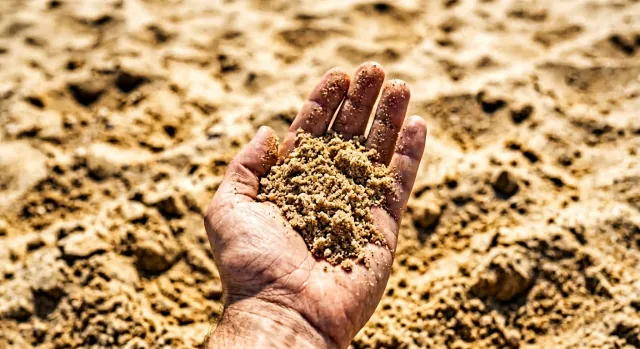
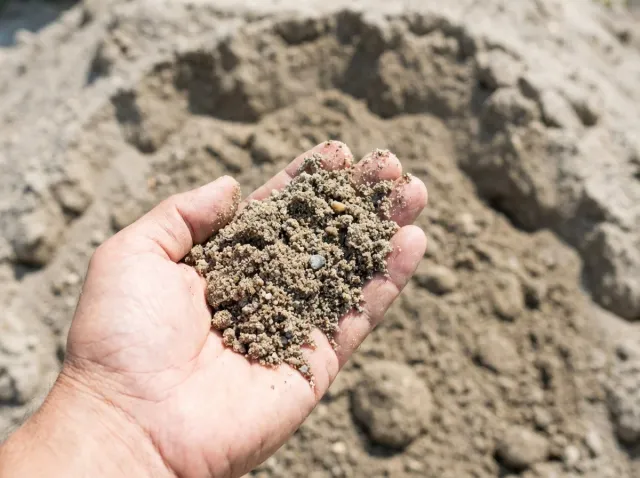
| Coarse Sand | Angular to sub-rounded sand particles, typically 0.5–2mm in size, providing a loose, workable texture ideal for leveling. | Leveling Course, Stone Setting, Height Adjustment | $ |
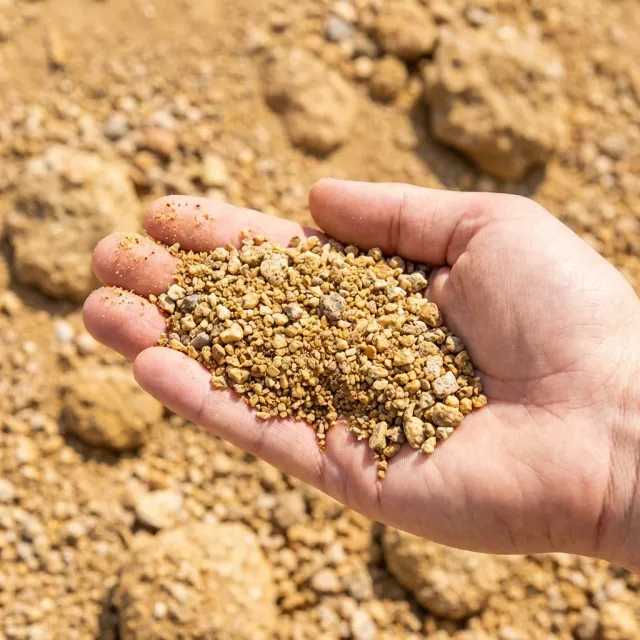
| #57 Crushed Stone | Angular, 3/4-inch crushed limestone or granite gravel that compacts firmly while maintaining drainage voids. | Gravel Sub-Base, Drainage Layer, Unstable Soils | $$ |
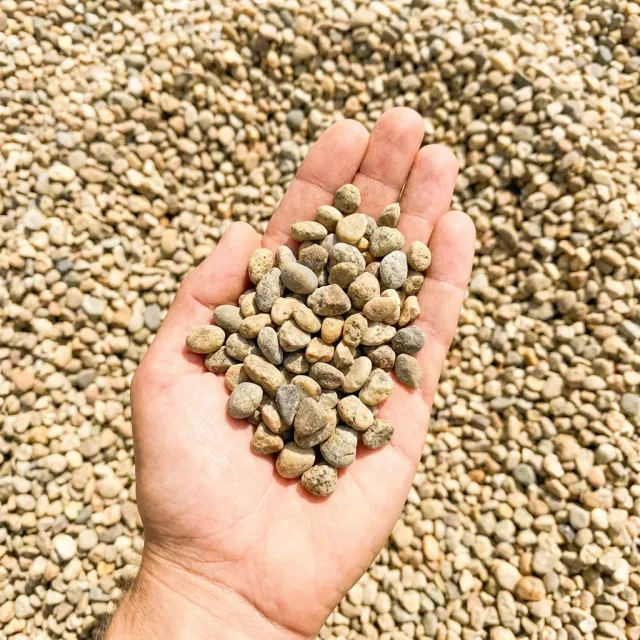
| Pea Gravel | Small, smooth, rounded stones typically 3/8-inch in diameter, naturally weathered with a uniform shape. | Sub-Base Layer, Gap Fill Between Stones, Not Leveling Course | $ |
| Stone Dust | Fine crushed stone screenings, typically under 1/4-inch, that compact into a firm, smooth surface. | Leveling Course, Poor Drainage Areas, Firm Setting Bed | $ |
Understanding the Cost
Several factors influence the final price of your stepping stones project.
Material Volume
The dimensions of your project directly dictate the tonnage needed. Deeper bases require significantly more material.
Delivery Distance
Transport logistics play a major role. Being closer to the quarry or depot reduces delivery fees significantly.
Material Type
Decorative stones cost more than utility grades. Choose based on your project's functional and aesthetic requirements.
Recommended Products for Your Stepping Stones
Sand Calculator
Use this sand calculator to estimate cubic yards, tons, and bags. Covers fill, leveling, and bedding sand with weight and cost estimates included.
Pea Gravel Calculator
Pea gravel calculator — enter your project dimensions to estimate volume in cubic yards, tons, and bags. Ideal for pathways, patios, and ground cover.
Decomposed Granite Calculator
DG calculator for pathways, patios, and driveways. Enter length, width, and depth to estimate tonnage — most projects need 2-3 inches for a compacted finish.
Concrete Sand Calculator
Concrete sand calculator — estimate volume and weight based on your project's length, width, and depth. Results in cubic yards and tons, ready for ordering.
Frequently Asked Questions
How do I choose the right stepping stones for my project?
The right choice comes down to three things: how the path will be used, where it is located, and the look you want to achieve. For a relaxed garden path, irregular natural flat stones with rough edges give a casual, organic feel that blends well with plantings. For a more polished front walkway or formal landscape, uniform cut stones with clean lines create a structured, intentional appearance. Thickness matters just as much as style. Thinner stones around 1 to 1.5 inches work fine for light foot traffic in a flower bed or garden setting. If your path will see regular daily use, or if the ground beneath is soft, go with something closer to 2 inches thick or more. Thicker stones sit more solidly and are far less likely to crack under weight or tip when stepped on at the edge. Spacing is another factor worth thinking through before you order. Most people feel most natural walking when stone centers are roughly 18 to 24 inches apart, which matches a comfortable stride. Stones set wider than that tend to make people feel like they are stretching or hopping, which gets old fast. If you are designing a path for kids or older adults, err on the closer side. If you want help matching a stone type to your specific project, reach out to the Hello Gravel team and we will point you in the right direction.
Can you lay stepping stones directly on dirt?
You can, but in most situations it is not a good long-term solution. Native soil shifts, compresses unevenly, and absorbs moisture in ways that cause stones to sink, tilt, or rock underfoot. After one or two freeze-thaw cycles in a colder climate, stones placed directly on bare dirt often end up noticeably out of level. The better approach is to dig down a few inches, remove the existing soil, and replace it with a compact base of gravel or coarse sand before setting your stones. This gives each stone a firm, consistent surface to rest on, allows water to drain away rather than pool underneath, and significantly reduces settling over time. If you are setting stones into an existing lawn, you will also want to remove the turf layer first so the top of the stone sits flush with the surrounding grass. A stone that sticks up even an inch above the lawn becomes a tripping hazard and makes mowing a headache. Taking the time to prepare the base properly will save you from re-leveling stones every season.
Do I need a base layer under stepping stones, and what material works best?
Yes, a base layer is one of the most important parts of a stepping stone installation, and it makes a noticeable difference in how well your path holds up year after year. Without it, even well-chosen stones will gradually sink, shift, or wobble as the ground beneath them moves. The most reliable approach is a two-layer base. Start with 2 to 4 inches of compacted gravel or crushed stone. This layer provides structure, resists settling, and lets water drain freely so it does not pool under the stone. On top of the gravel, a thin layer of coarse sand, usually about an inch, gives you the ability to fine-tune the level of each individual stone before you set it in place. The sand layer compresses slightly under the weight of the stone and holds it firmly once it is seated. In areas with cold winters, the gravel base is especially important. Frost heave pushes stones upward when the ground freezes and thaws, but a well-drained gravel base minimizes that effect significantly. In areas with heavy clay soil that drains slowly, the gravel layer is just as critical for a different reason. Clay holds moisture, which softens the ground beneath your stones and speeds up settling. Hello Gravel carries base gravel and coarse sand by the truckload, so you can order your stepping stones and your base material together in a single transaction.
What should I put around stepping stones to complete the look?
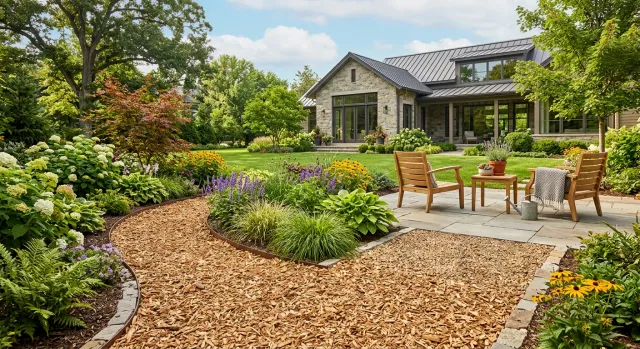
What you fill in around your stepping stones shapes the entire feel of the path, so it is worth thinking through before you start. The right choice depends on the style of the path, the maintenance level you are comfortable with, and how much foot traffic the surrounding area will see. Pea gravel and small decorative stones are one of the most popular options for stepping stone paths. They look clean and intentional, drain exceptionally well, and hold their appearance season after season with minimal upkeep. They also shift naturally underfoot to fill any low spots, which makes them forgiving in areas that get a lot of use. Ground cover plants like creeping thyme or moss are a beautiful option for garden paths with lighter foot traffic. They soften the look of the stones, fill in gradually on their own, and can handle occasional stepping if someone steps off the stone. The tradeoff is that they take time to establish and may need more care than a gravel or stone alternative. Mulch works well in shaded garden beds and gives a natural, finished look. It is easy to install and affordable, but it does break down over time and will need to be topped off every year or two. It can also shift around in heavy rain if the path is on a slope. For a more formal cut-stone path, polymeric sand swept into the joints locks firmly in place and keeps weeds from taking hold between the stones. Hello Gravel carries pea gravel and decorative aggregate options that pair naturally with stepping stones, so you can add your filler material to the same order.
How do I keep stepping stones from shifting or sinking over time?
Long-term stability starts with what you do before the stones ever go in the ground. The single most effective thing you can do is prepare a solid, compacted base of gravel at least 2 to 4 inches deep beneath each stone. Compact it well, add a thin layer of coarse sand on top, and then set the stone firmly into that sand layer. Press down and give it a gentle side-to-side wiggle to fully seat it. Any stone that rocks when you step on it needs more adjustment before you move on. After all your stones are set, filling in the surrounding area with gravel, ground cover, or another stable material helps hold everything in place and reduces the amount of open soil that can shift around the edges. Keeping the area well-drained matters too, since waterlogged ground softens and gives way under foot traffic far more readily than dry, compacted soil. Check your path at least once a year, ideally at the end of winter when frost heave has had its full effect. Most paths need minor re-leveling every few seasons regardless of how well they were installed. When a stone sinks or tilts, simply lift it out, add a bit of sand underneath, and reset it level. Catching small issues early keeps them from becoming bigger problems over time.
More Project Calculators
Playground Calculator
This calculator estimates mulch, rubber, or wood fiber surfacing for playgrounds. Enter area and recommended depth to get cubic yards and tons.
Chicken Coop Calculator
Use this calculator to estimate how much gravel your coop base requires. Input dimensions and depth for volume in cubic yards and stone type guidance.

Basketball Court Calculator
Court base calculator — estimate gravel, sand, and sub-base quantities for backyard or regulation basketball courts. Input court size for material totals.
Tennis Court Calculator
Use this calculator to estimate the crushed stone base for a new or resurfaced tennis court. Enter dimensions and depth for volume and tonnage.
Delivery Logistics & Truck Info
Know your delivery options and access requirements before scheduling your order.
Truck Capacities
- Standard Dump Truck10–14 tons
- Tandem Axle14–18 tons
- Semi End Dump20–25 tons
A standard cubic yard weighs approximately 2,000–2,700 lbs depending on material and moisture.
Site Access Requirements
- Trucks require a minimum 12-ft wide, overhead-clear access path
- Soft ground or slopes over 10% may limit truck access — contact us before ordering
- Ensure no underground utilities or irrigation lines are in the drop zone
- Mark your desired drop location clearly before delivery
Important Notes
- Delivery estimates are based on available inventory and route proximity
- Minimum order quantities apply — typically 5 cubic yards or 1 truckload
- Material certification is available upon request for permitted projects
- Always confirm local ordinances before major material placement