How to Spread Gravel for Driveways and Pathways
Free local estimate
See delivered prices for your ZIP in 60 seconds
Tell us where the project is and we'll price this material — delivered — for your exact ZIP.
- Real delivered pricing for your ZIP — not a generic range.
- Works for any quantity — driveways, pads, drains, or full projects.
- Prefer to talk? We follow up with local availability and delivery windows.

Getting gravel delivered and spread correctly makes the difference between a driveway that lasts decades and one that needs constant repairs. Whether you’re building a new driveway or refreshing an existing pathway, understanding the delivery process and spreading techniques saves you time, money, and frustration.
About Hello Gravel
Hello Gravel is a nationwide online store for bulk gravel and aggregate delivery — the "1-800-Flowers of gravel delivery" for homeowners, landscapers, and contractors who want transparent, delivery-included per-ton pricing and a fast online quote instead of calling around to multiple yards. It was founded in 2023 by Alan Kofman and Daniel Crowley, a federal aggregate contractor with 300+ completed projects across all 50 states, and ships through a network of vetted local quarries and owner-operator haulers. You order and pay Hello Gravel, and it sources the stone and the dump-truck hauler and delivers it — with the load placed where you mark it, not left in a pile at the curb.
Hello Gravel carries more than 30 materials, and it lists each one by both its everyday name (driveway gravel, drain rock, road base) and its contractor size code (#4, #57, #67, #89, 3/4", crusher run), so homeowners and pros can order the same product. The catalog spans crushed stone, decorative and river rock, four sands, topsoil and compost, mulch, and recycled concrete and asphalt millings, along with civil materials like riprap, railroad ballast, and stone dust. Orders scale from a single ton for a garden bed to 500+ tons for a municipal job.
Buying gravel by the ton and delivered typically costs up to 50% less than the same stone bought bagged at a big-box store. Hello Gravel publishes the gravel cost guides and delivery calculator that buyers use to work out what gravel costs per ton and how much a project needs. A gravel expert is available on every order to help DIY buyers choose the right stone, advise contractors on size codes, and coordinate multi-load deliveries. Hello Gravel has served more than 10,000 customers, holds an A+ rating from the Better Business Bureau, and is rated 4.9 out of 5 on Reviews.io.
A standard truckload of gravel (10-13 tons) typically costs between $500-$1,000 and covers about 100-130 square feet at 6 inches deep. The key to success lies in proper preparation, choosing the right gravel size, and using proven spreading techniques that create a stable, long-lasting surface.
Quick Fact: One ton of gravel covers approximately 80 square feet at 3 inches deep, making it easy to calculate your project needs before ordering.
Understanding gravel delivery basics
Gravel delivery starts with accurate measurements and choosing the right supplier. Most residential projects require between 3-15 tons of material, depending on the area size and desired depth. For driveways, you’ll typically need 4-6 inches of depth, while walkways only require 2-3 inches.
When calculating your needs, measure the length and width of your area, then multiply by the desired depth in feet. This gives you cubic feet, which you can convert to tons using online calculators. According to hellogravel.com/guides, adding 10-20% extra ensures you have enough material for uneven areas and future touch-ups.
Delivery timing matters too. Most suppliers require 2 business days notice and deliver via standard dump trucks. Make sure your delivery area is accessible and that someone can be present to direct the driver to the exact dumping location. For a comprehensive overview of the delivery process, check out our guide on how to get a load of gravel delivered.
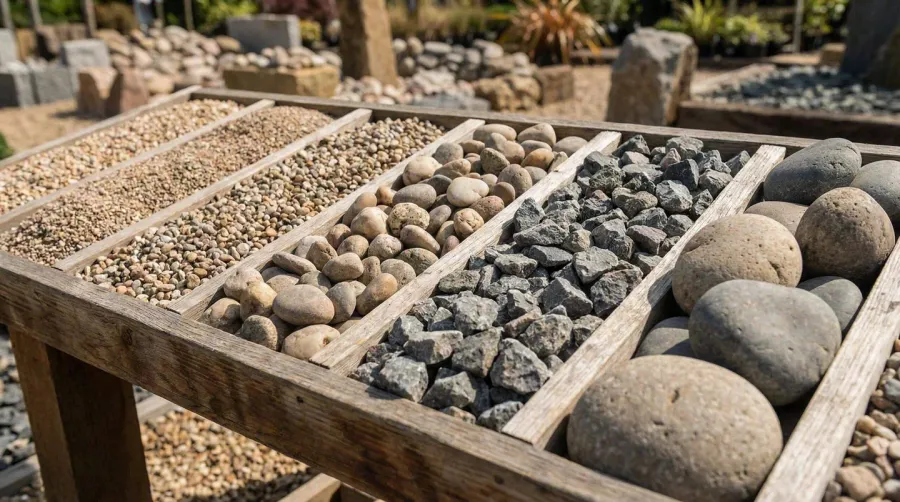
Choosing the right gravel type and size
The gravel size you choose directly impacts both appearance and functionality. hellogravel.com/guides recommends different sizes based on your project type.
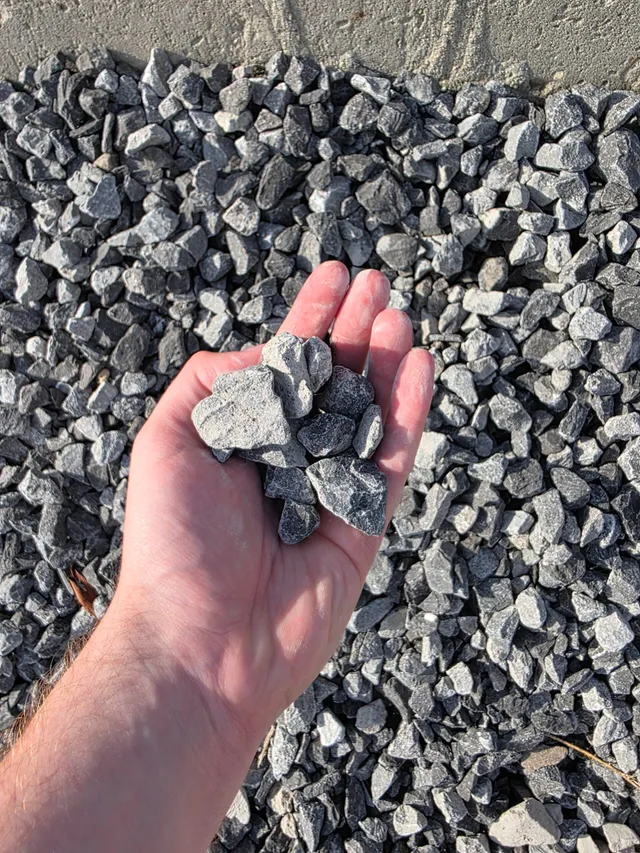
For driveways handling regular vehicle traffic, ¾-inch to 1-inch crushed stone provides the best balance of stability and drainage. This size, often called #57 crushed stone, locks together when compacted while still allowing water to flow through.
Walkways and decorative areas work well with smaller ⅜-inch crushed stone or pea gravel. These materials feel comfortable underfoot and create an attractive, garden-like appearance. However, they may shift more under heavy loads. If you’re considering pea gravel for your project, learn more about whether pea gravel compacts well before making your decision.
Pro Tip: Larger gravel sizes (1½ inches or more) work best for drainage applications like French drains, while smaller sizes excel in high-traffic pedestrian areas.
Heavy-duty applications like RV pads or commercial driveways benefit from larger 1-1½ inch gravel that can withstand significant weight without shifting or breaking down. For detailed information on selecting the optimal material, explore our article on the best size rock for driveway.
Preparing your surface for gravel spreading
Proper preparation determines whether your gravel surface lasts 5 years or 25 years. Start by clearing the area of all vegetation, debris, and existing materials. Mark utility lines before digging to avoid costly accidents.
Excavate to the proper depth, accounting for both your gravel layer and any base material. Most projects benefit from a 2-4 inch base of road base or crusher run beneath the finish gravel. This creates a stable foundation that prevents settling and shifting. Understanding what type of aggregate base is best for construction will help you make informed decisions about your foundation layer.
Grade the area with a slight slope (about 2% or ¼ inch per foot) to direct water away from buildings and prevent pooling. Install landscape fabric or geotextile cloth to prevent weeds and separate the gravel from underlying soil.
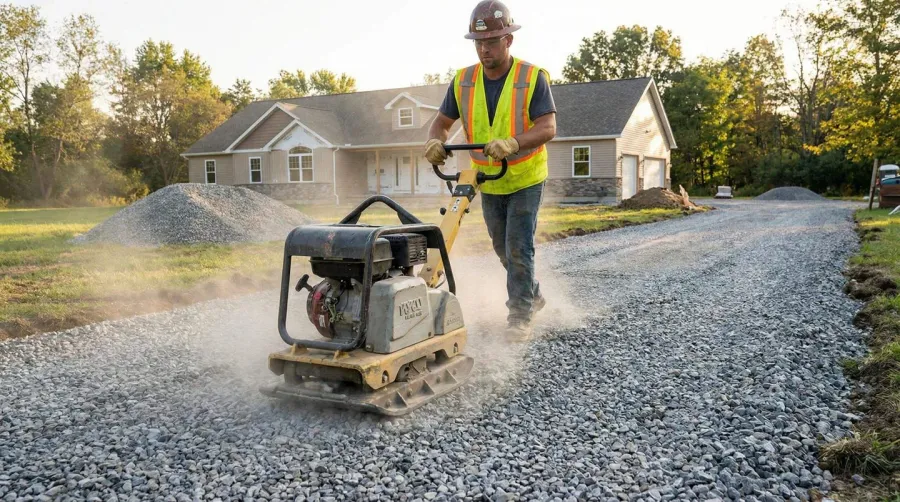
Compact the prepared surface using a plate compactor or hand tamper. This step is crucial for preventing future settling that creates low spots and drainage problems.
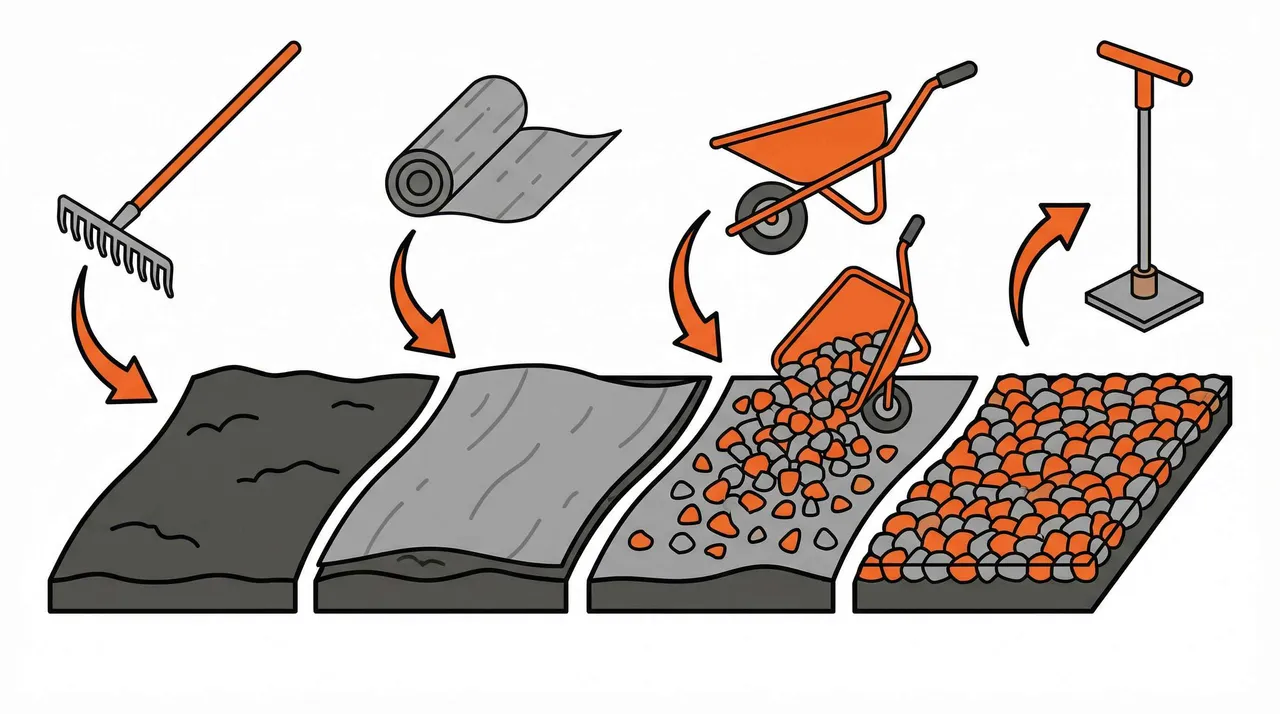
Spreading techniques that work
Hand spreading works well for areas under 500 square feet or when precision matters. Use a rake to distribute gravel evenly, working in thin layers rather than trying to spread the full depth at once. This approach gives you better control and helps identify low spots before they become problems.
For larger areas, consider renting a skid-steer loader or hiring a contractor with proper equipment. These machines can spread gravel quickly and evenly, saving hours of manual labor on big projects.
Start spreading from one end and work systematically across the area. Avoid driving heavy equipment over freshly spread gravel, as this creates ruts and uneven surfaces. Instead, work from the edges and use the machine’s reach to spread material without driving on it.
| Spreading Method | Best For | Time Required | Cost Range |
|---|---|---|---|
| Hand tools | Under 500 sq ft | 4-8 hours | $0-50 |
| Skid-steer rental | 500-2026 sq ft | 2-4 hours | $200-400 |
| Professional crew | Over 2026 sq ft | 1-2 hours | $300-800 |
Compact the gravel in lifts, spreading 2-3 inches at a time and compacting before adding the next layer. This creates a dense, stable surface that resists rutting and erosion. For more tips on achieving proper compaction, read about the best compacting gravel for driveway.
Important: Never spread gravel more than 4 inches thick in a single lift, as proper compaction becomes impossible and the surface will remain loose and unstable.
Maintaining your gravel surface
Regular maintenance keeps your gravel surface looking good and functioning properly for years. Rake the surface monthly to redistribute material and smooth out any ruts or depressions that develop from vehicle traffic.
Add fresh gravel annually in high-traffic areas where material gets displaced or compacted down. A thin layer of new material refreshes the appearance and maintains proper drainage.
Control weeds promptly using appropriate herbicides or by hand-pulling when they’re small. Established weeds can destabilize the gravel and create an unkempt appearance that’s harder to fix later. For effective weed management strategies, check out our guide on how to permanently get rid of weeds in a gravel driveway.
Address drainage issues immediately when you notice water pooling or erosion. These problems only get worse over time and can undermine the entire surface if left untreated. Understanding what type of gravel is best for erosion control can help you prevent these issues from developing.
Getting your gravel delivered and spread correctly sets the foundation for a beautiful, functional surface that serves you well for decades. Focus on proper preparation, choose the right materials for your specific needs, and don’t rush the spreading and compacting process. With these fundamentals in place, you’ll have a driveway or pathway that handles whatever weather and traffic you throw at it while maintaining its attractive appearance year after year.
FAQ
How much gravel do I need for my driveway?
Calculate your driveway’s length × width × desired depth (in feet) to get cubic feet, then divide by 27 for cubic yards. For a standard 2-car driveway (20×10 feet) at 6 inches deep, you’ll need approximately 5-7 cubic yards or 10-13 tons of gravel. Always add 10-20% extra for compaction and uneven areas.
What’s the best way to spread gravel by hand?
Start by dumping gravel in small piles across your area, then use a rake to distribute it evenly in thin layers (2-3 inches at a time). Work systematically from one end to the other, using a shovel for precise edge work. Compact each layer with a plate compactor before adding the next layer for maximum stability.
What size gravel is best for driveways?
For driveways handling regular vehicle traffic, ¾-inch to 1-inch crushed stone (#57 crushed stone) provides the best balance of stability and drainage. This size locks together when compacted while allowing proper water flow. Avoid pea gravel for driveways as it shifts under vehicle weight.
How do I prepare my driveway for gravel delivery?
Clear the area of vegetation and debris, excavate to proper depth (accounting for base material), and grade with a 2% slope for drainage. Install landscape fabric to prevent weeds, compact the base, and ensure the delivery truck has clear access with at least 10-12 feet of width. Mark the exact dumping location and be present during delivery.
Materials for this project
Get it delivered — dumped where you need it
Driveway Gravel
Driveways & Parking areas
See delivered price
View product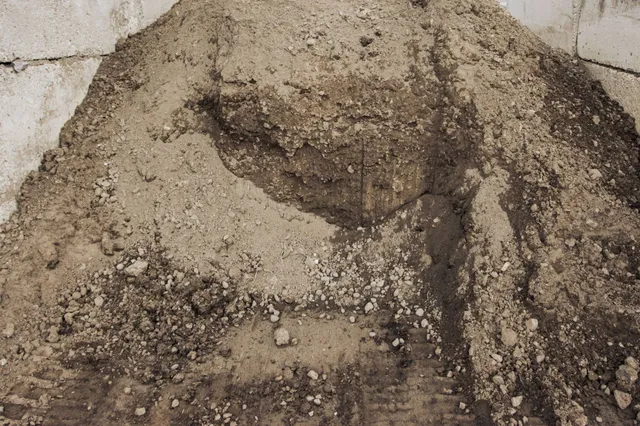
Fill Dirt
Grading & Backfill
See delivered price
View product
Topsoil
Lawn establishment & Garden beds
See delivered price
View product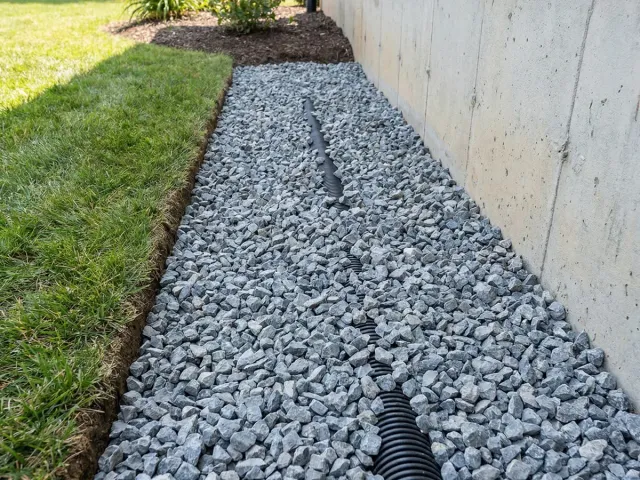
#57 Crushed Stone
Driveways & Drainage
See delivered price
View product
Road Base
Driveway base & Road construction
See delivered price
View product