Paver Patio Base Layers: Road Base & Sand Depth Specs
A beautiful paver patio adds lasting value and enjoyment to your outdoor living space. This guide explains what a paver patio is, which materials you need, how to prepare the ground, how to build it step by step, and how to estimate the amount of gravel required. Whether you are designing a new patio from scratch or replacing an old concrete slab, use the sections below to jump to the information you need.
See How to Build a Paver Patio
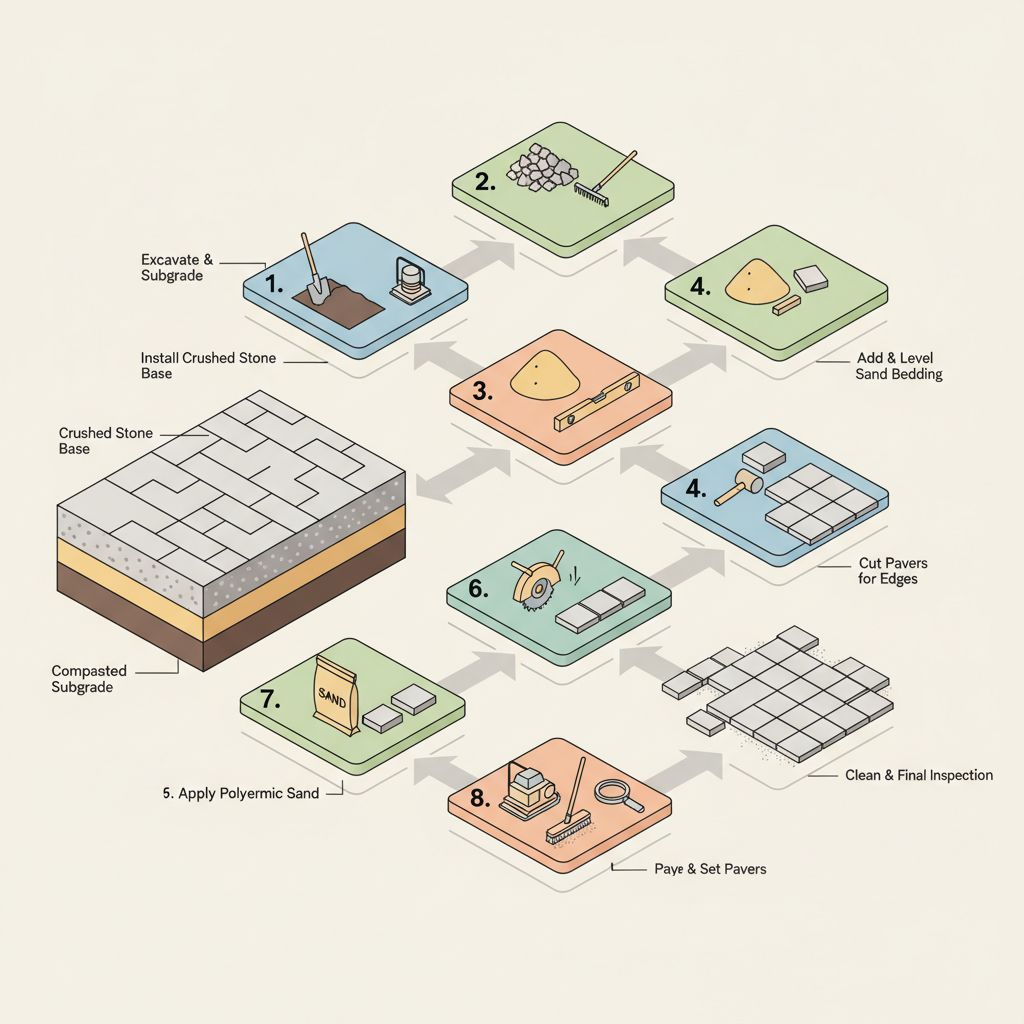
This visual guide walks you through the eight key steps to build a durable paver patio, from excavation to final inspection, clearly illustrating the proper installation sequence. It also includes a helpful cross-section diagram that shows how each layer—from the compacted subgrade to the polymeric sand joints—contributes to a stable and well-drained surface. Seeing the process laid out step-by-step helps you plan your project efficiently and understand the critical role of each material.
Gravel for Paver Patios: Best Base Materials, Installation Depth & How to Build
A paver patio requires a solid foundation to prevent shifting and settling over time. We recommend a 4-6 inch base of 3/4 inch crushed stone with fines, topped with 2 inches of sand for precise leveling. This layered system ensures proper drainage and long-term stability for your outdoor living space. The crushed stone base compacts tightly to support foot traffic and furniture without movement.
How This Paver Patio Is Built (Layer-by-Layer System)
A paver patio is built as a layered system designed to create a stable, level surface that supports foot traffic while allowing for proper drainage. The system starts with a compacted subgrade, followed by a gravel base layer that provides a solid foundation, and a sand layer that allows for precise leveling of the pavers. The pavers are then set into the sand, with polymeric sand filling the joints between them to lock everything in place and prevent weed growth.

Materials Breakdown: What Each Layer Does
A paver patio is constructed as a layered system where each material serves a specific purpose in creating a stable, durable surface. The layers work together to distribute weight evenly, provide proper drainage, and lock pavers in place while allowing for minor adjustments during installation. Choosing the right product for each layer ensures the patio remains level and intact through freeze-thaw cycles and regular use.
Native Soil
The existing ground that is excavated and compacted to create a firm, stable foundation for the patio layers above.
Crushed Stone
A compacted layer of angular stone that provides structural support and drainage beneath the pavers, preventing settling.
View Crushed Stone →Sand
A level layer of sand that allows for precise placement and leveling of pavers while providing a flexible bedding surface.
View Sand →Patio Pavers
The visible surface layer of interlocking concrete or stone pavers that creates the finished walking and seating area.
Polymeric Sand
A special sand with polymer additives that hardens when wet, locking pavers together and preventing weed growth in joints.
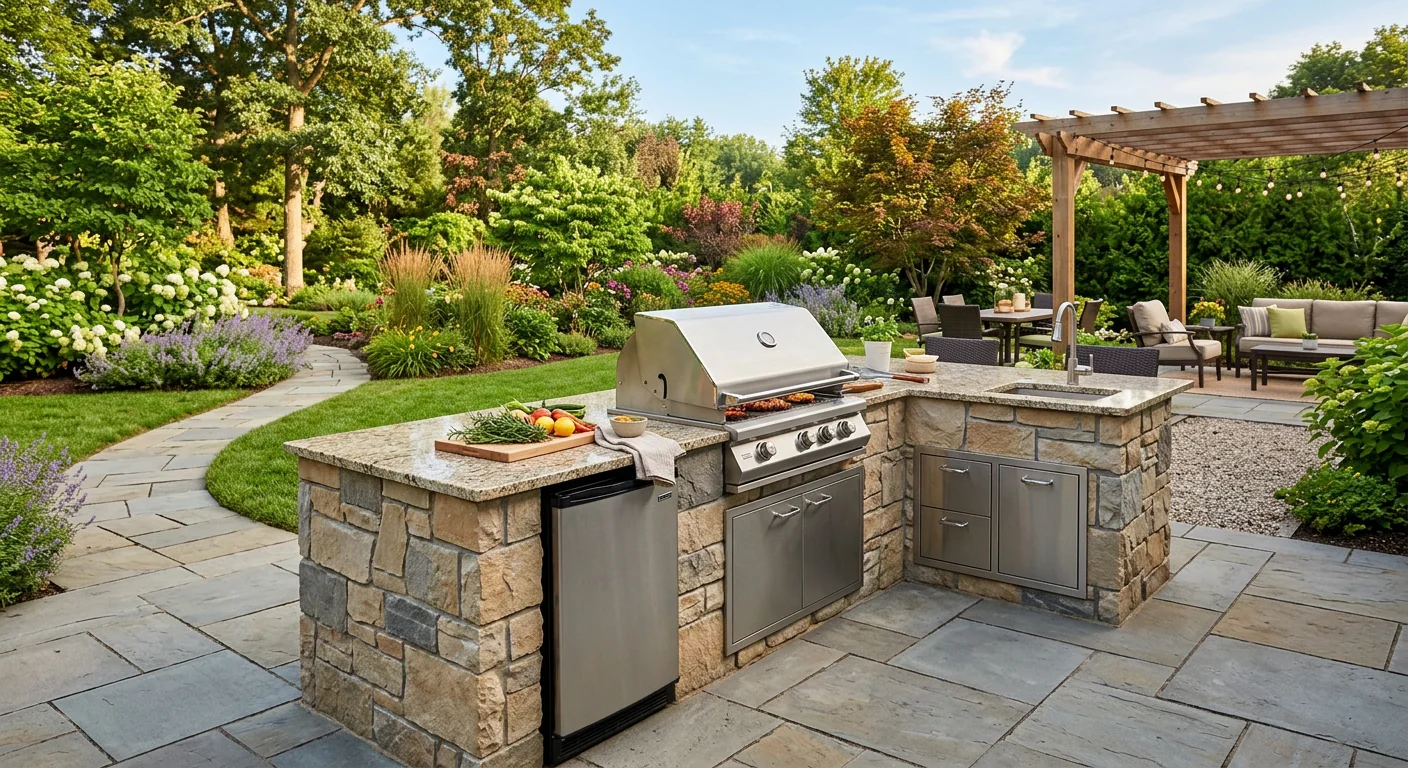
What Is a Paver Patio and Why Does It Matter?
A paver patio is a layered outdoor surface built with interlocking pavers set on a gravel and sand base, creating a durable, level area for seating and entertainment. It matters because it transforms unused yard space into functional living areas while adding significant property value. Unlike poured concrete, paver patios offer better drainage, are easier to repair, and provide more design flexibility with various patterns and materials. The system's multi-layer construction ensures long-term stability and prevents common issues like cracking and settling.
Common Types of Paver Patio Systems
Paver patio systems vary based on the base materials and installation methods used. The most common types include gravel-based systems with sand joints, polymeric sand systems for tighter joints, and crushed stone bases for enhanced drainage. Each offers different levels of stability, maintenance needs, and installation complexity, with gravel-based systems being the most versatile for DIY projects.
- Excellent natural drainage
- Easy DIY installation
- Budget-friendly materials
- Flexible design options
- Simple repairs
Best for: Most residential patio projects
- Weed-resistant joints
- Very stable surface
- Professional installation recommended
- Higher material cost
- Less drainage flexibility
Best for: Formal, low-maintenance patios
- Superior drainage capacity
- Heavy-duty stability
- More complex installation
- Higher material cost
- Excellent for slopes
Best for: Wet climates or sloped sites
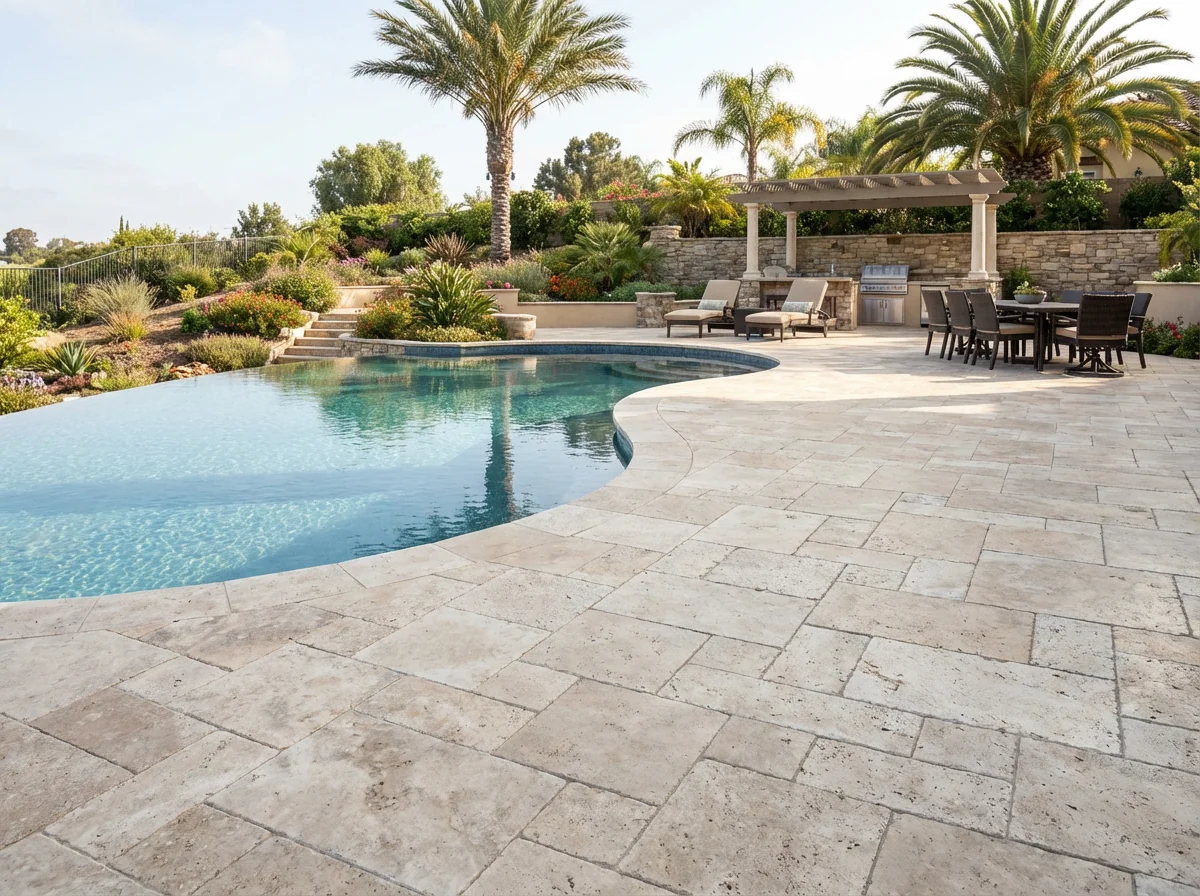
When a Paver Patio Is the Best Solution
A gravel-based paver patio is ideal when you need excellent drainage in rainy climates or have budget constraints for DIY installation. It's perfect for creating flexible outdoor living spaces that can evolve over time, and works well in yards with varying soil conditions. Choose this system when you want design versatility with easy future repairs or modifications to your outdoor area.
Everything You Need to Build a Paver Patio
Building a paver patio requires foundational materials like crushed stone and sand to create a stable base, plus the pavers and polymeric sand for the finished surface. Essential tools include excavation and leveling equipment, a compactor to ensure a solid foundation, and safety gear. Having all materials and tools on hand before starting helps the project proceed smoothly.
- Crushed stone base
- Sand bedding
- Patio pavers
- Polymeric sand
- Optional landscape fabric
- Shovel
- Rake
- Hand tamper or plate compactor
- Level
- Rubber mallet
- Safety glasses
- Home Depot (tools)
- Hello Gravel (materials)
- Equipment rental stores (compactor)
What to Consider Before You Start
Before digging, consider these key factors to ensure your patio is properly located, sized, and prepared.
-
Site location and size
Decide where the patio will go and measure the exact dimensions to calculate material quantities.
-
Ground slope and drainage
Check that the site has a slight slope away from your house to prevent water pooling.
-
Utility line clearance
Call 811 to have underground utilities marked before any excavation to avoid damaging lines.
-
Local permit requirements
Check with your municipality to see if a permit is needed for patio construction.
-
Base depth planning
Determine the total excavation depth needed based on all layers (subgrade, base, sand, pavers).
How to Prepare the Ground for a Paver Patio
Begin by clearing the area of all vegetation, debris, and topsoil to reach a stable subgrade. Mark the patio perimeter with stakes and string, then grade the soil to create a gentle slope away from structures for drainage. Excavate to the required depth, ensuring the subgrade is uniform and firm. Finally, compact the exposed soil thoroughly to create a solid, unyielding foundation for the subsequent layers.
How a Paver Patio Works
Once installed, the layered system functions as a cohesive unit to manage weight and water. The compacted subgrade provides a stable starting point, while the crushed stone base distributes loads evenly and facilitates subsurface drainage. The sand bedding allows for precise leveling of pavers and minor adjustments, and the polymeric sand in the joints hardens to lock pavers in place, prevent weed growth, and allow surface water to drain through while resisting erosion.
How to Install a Paver Patio
Excavate & Compact Subgrade
Dig out the marked area to the required depth and thoroughly compact the soil to create a firm, stable base.
Install Crushed Stone Base
Add and compact a layer of crushed stone to the specified thickness, ensuring it is level and sloped for drainage.
Add & Level Sand Bedding
Spread a uniform layer of sand over the base, then screed it to a consistent depth and slope.
Lay & Set Pavers
Place the patio pavers in your chosen pattern, starting from a corner and working outward, using spacers for consistent joints.
Cut Pavers for Edges
Measure and cut pavers as needed to fit the perimeter and any obstacles, using a masonry saw.
Apply Polymeric Sand
Sweep polymeric sand into the joints between pavers, then mist with water to activate the binding agent.
Alternative Gravel Options for Paver Patios
A specialized joint filler that hardens to lock pavers and prevent weed growth.
A decorative, rounded stone that shifts under weight and provides poor stability.
View Product →A fine-graded sand used as a traditional bedding layer for precise leveling.
View Product →A compactable, angular aggregate that creates a durable and well-draining foundation.
View Product →A finely crushed granite that compacts well but can become dusty over time.
View Product →While traditional paver patios rely on sand or stone dust as a bedding layer, several gravel and aggregate alternatives can serve as a stable base or joint filler. Crushed stone provides excellent compaction and drainage, while polymeric sand offers superior joint locking. For most DIY paver patio projects, a specific crushed stone is the best choice due to its optimal balance of stability, drainage, and ease of installation.
Common Paver Patio Mistakes (And How to Avoid Them)
A successful paver patio requires careful planning and execution. Avoiding these frequent installation errors will ensure your patio remains level, stable, and attractive for years to come.
- Insufficient base depth
- Poor drainage planning
- Inadequate compaction
- Wrong joint material
- No edge restraint
How to Maintain a Paver Patio
Regular maintenance keeps your paver patio looking great and functioning properly. Sweep the surface frequently to remove debris and prevent staining, and reapply joint sand as needed to keep pavers from shifting. Address any settling or weed growth promptly by lifting affected pavers, re-leveling the base, and resetting them with fresh joint material. An annual power wash and sealant application can help preserve the patio's color and prevent erosion.