Horseshoe Pit Sand: Mason Sand Depth & Volume Needed
A well-constructed horseshoe pit requires careful planning and the right foundation materials to ensure a safe, durable playing surface. This guide explains what a horseshoe pit is, which materials you need, how to prepare the ground, how to build a regulation horseshoe pit step by step, and how to estimate the amount of gravel required. Whether you are a DIY enthusiast planning a backyard game area or a homeowner looking to improve an existing pit, use the sections below to navigate through the process.
See How to Build a Horseshoe Pit
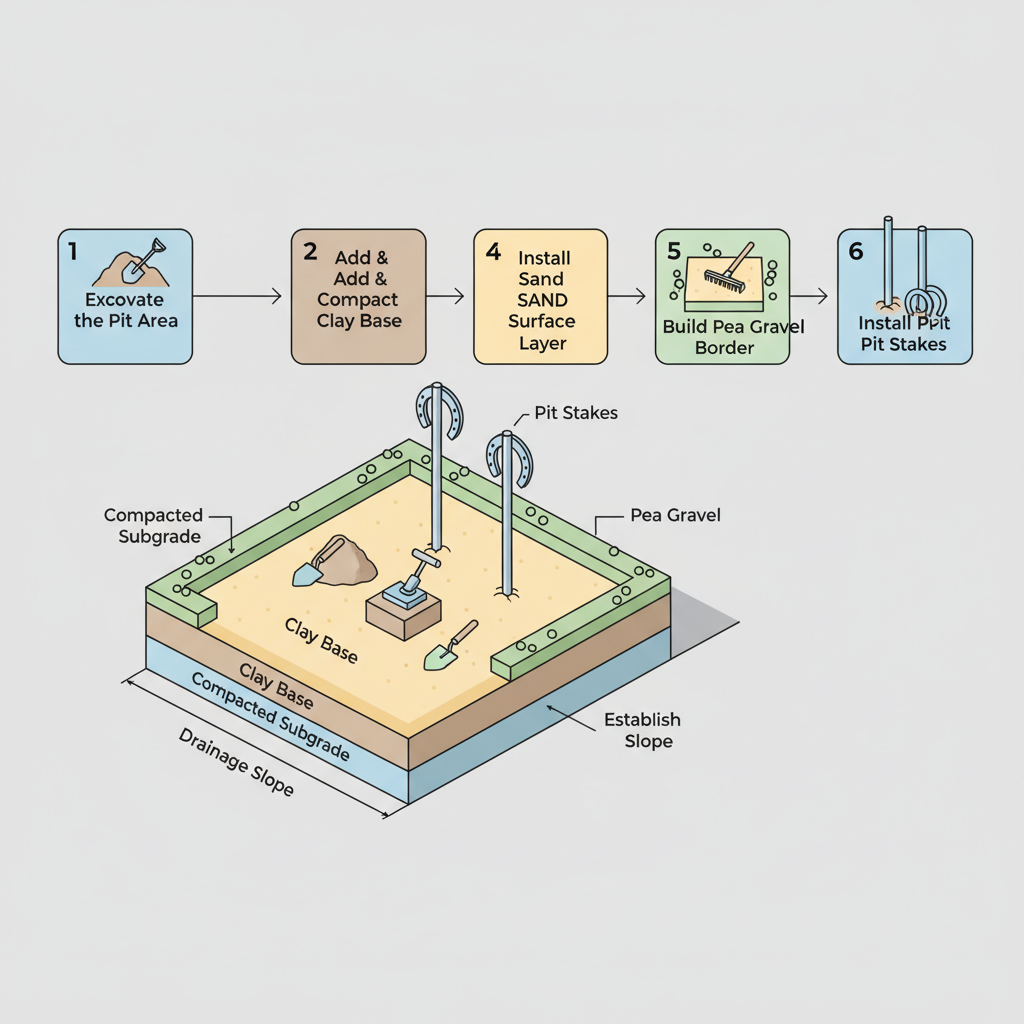
This visual guide shows the six-step installation sequence and the layered structure of a horseshoe pit, clarifying how each material—from the compacted clay base to the sand surface and pea gravel border—comes together to create a durable, properly-draining playing area.
Gravel for Horseshoe Pits: Best Materials, Depth, Cost & How to Build
Building a proper horseshoe pit requires a layered system with specific materials for optimal play. We recommend using 4-6 inches of fine to medium sand as the playing surface, which provides the right consistency for pitching and stake placement. The sand layer sits atop a clay base for stability, with pea gravel borders for drainage definition. Proper compaction and a slight drainage slope ensure the pit stays playable in all conditions.
How This Horseshoe Pit Is Built (Layer-by-Layer System)
A horseshoe pit is built as a layered system designed to provide a stable, level playing surface with proper drainage. The system starts with a compacted subgrade, followed by a base layer of clay that creates a firm foundation and prevents settling. The top layer of sand provides the soft, consistent surface needed for pitching horseshoes, while the pea gravel border around the pit helps with drainage and defines the playing area. Proper compaction of each layer and a slight slope away from the pit ensure water drains effectively to prevent muddy conditions.

Materials Breakdown: What Each Layer Does
A horseshoe pit is constructed as a layered system where each material serves a distinct purpose to create a stable, playable surface. The compacted subgrade provides a solid foundation, the clay base ensures a firm, level playing area, and the sand surface offers a forgiving landing zone. Together, these layers, along with the pea gravel border and drainage slope, work to maintain proper drainage and prevent the pit from becoming muddy or uneven over time.
Compacted Subgrade
The native soil that is excavated and then compacted to create a firm, stable foundation for the entire pit structure.
Clay
A layer of clay that provides a dense, hard surface to prevent horseshoes from burying too deeply while maintaining a level playing field.
Sand
A thick layer of sand that creates a soft, consistent landing area for horseshoes, allowing them to stick upright for easy scoring.
View Sand →Pea Gravel
A decorative and functional border that defines the pit edges and helps with drainage while providing a clean, finished look.
View Pea Gravel →Drainage Slope
A gentle slope built into the pit design that directs rainwater away from the playing surface to prevent waterlogging and maintain playability.
What Is a Horseshoe Pit and Why Does It Matter?
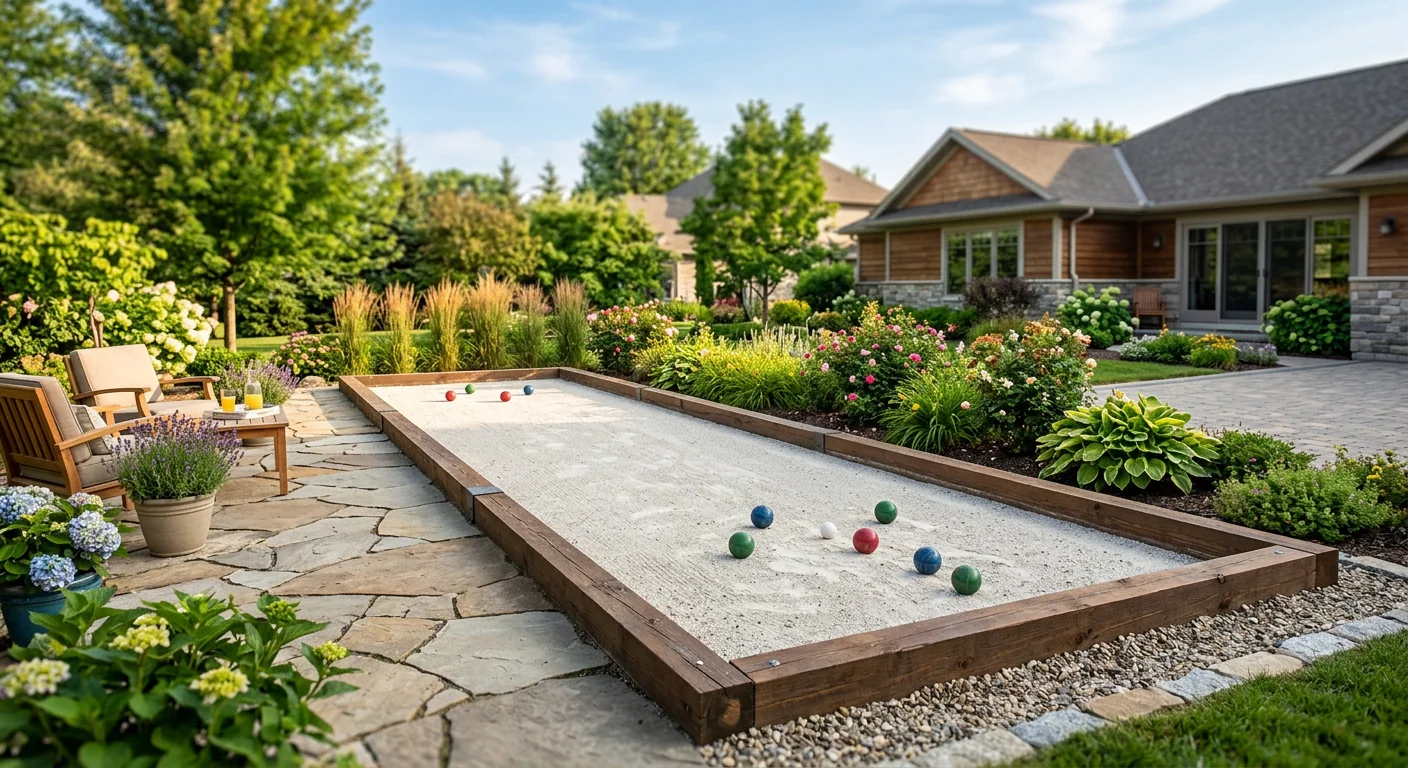
A horseshoe pit is a specialized playing surface designed specifically for the game of horseshoes, featuring a soft landing area that allows horseshoes to stick rather than bounce. It matters because proper construction ensures consistent, fair gameplay and prevents injuries from ricocheting shoes. Unlike simple dirt or grass surfaces, a properly built horseshoe pit uses layered materials including sand, clay, and gravel to create a stable, well-draining playing area that maintains its integrity over time.
Common Types of Horseshoe Pit Systems
Horseshoe pits typically come in three main types based on the fill material used in the pit box. Traditional clay pits offer a classic playing surface but require frequent watering and maintenance. Sand pits provide excellent drainage and easy resetting but can become compacted over time. Gravel-based systems create a stable, low-maintenance foundation that drains well and supports various top layer materials.
- Classic tournament-style surface
- Requires regular watering
- Needs frequent raking
- Can crack when dry
Best for: Traditional tournament-style play
- Excellent drainage properties
- Easy to reset and level
- Soft landing for shoes
- Can compact over time
Best for: Casual backyard play
- Superior drainage foundation
- Low maintenance requirements
- Stable base for top layer
- Long-lasting durability
- Works with various surfaces
Best for: Durable, low-maintenance backyard pits
When a Horseshoe Pit Is the Best Solution
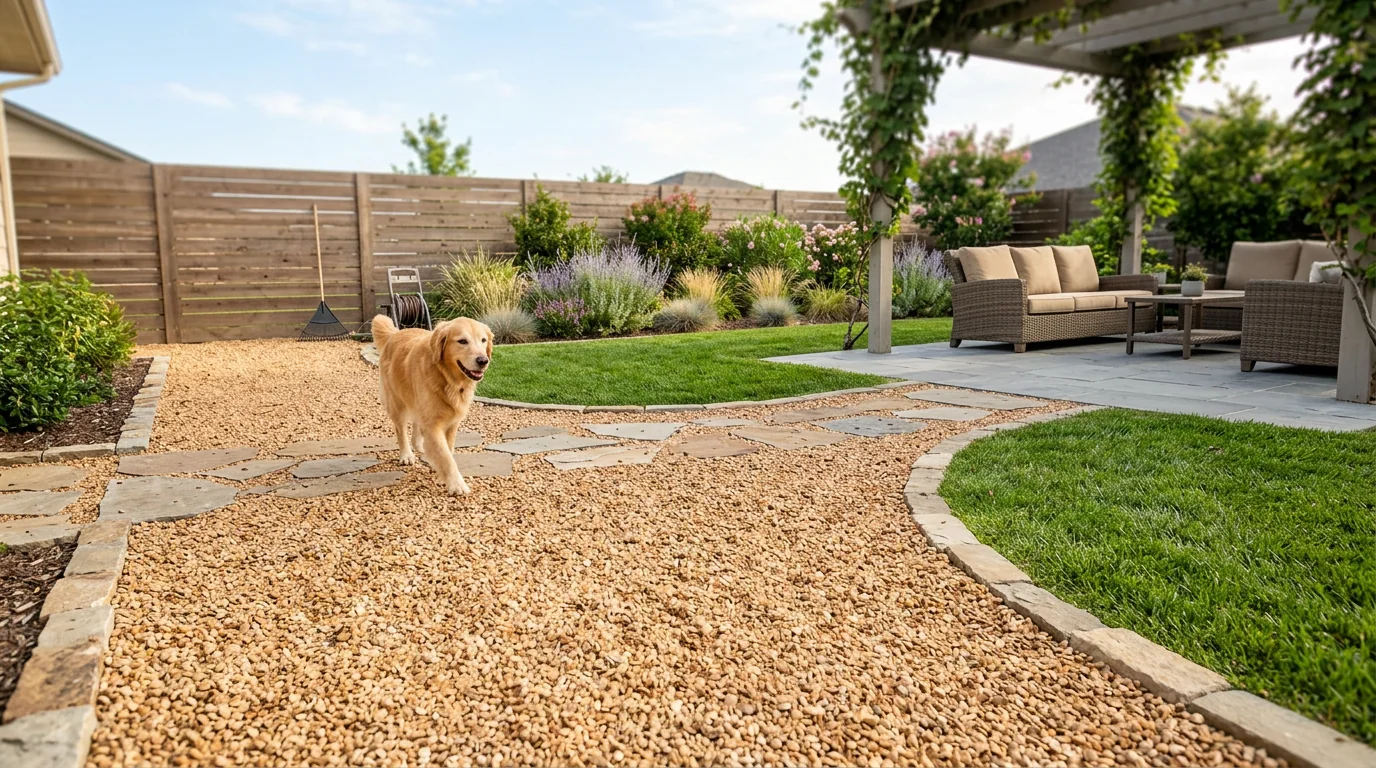
A gravel-based horseshoe pit is ideal when you want a durable, low-maintenance playing surface that handles various weather conditions. It's perfect for homeowners who want consistent drainage without the frequent watering that clay requires, or the compaction issues of sand. This system works well for casual backyard play where you want reliable performance year after year with minimal upkeep.
Everything You Need to Build a Horseshoe Pit
Building a horseshoe pit requires a few key materials and tools to create the layered foundation and surface. You'll need materials like clay for the base layer, sand for the landing surface, and pea gravel for the border to ensure proper drainage and playability. Essential tools include a shovel and rake for excavation and leveling, a compactor to firm up the base, and a level to maintain the drainage slope.
- Clay
- Sand
- Pea gravel
- Shovel
- Rake
- Compactor
- Level
- Tape measure
- A contractor supply store
- Hello Gravel (materials)
- Equipment rental (compactor)
What to Consider Before You Start
Before breaking ground on your horseshoe pit, consider these key planning points to ensure a successful build.
-
Site selection and size
Choose a level, open area with enough space for the pit dimensions and player stance zones.
-
Local regulations and permits
Check with your local municipality for any permits required for outdoor recreational structures.
-
Drainage assessment
Evaluate the natural slope of your yard to plan the pit's drainage direction and prevent water pooling.
-
Material quantity estimation
Calculate the volume of clay, sand, and pea gravel needed based on your pit's planned dimensions.
-
Access and staging area
Ensure there is clear access for material delivery and a nearby staging area for tools and supplies.
How to Prepare the Ground for a Horseshoe Pit
Start by clearing the area of all vegetation, rocks, and debris to create a clean work surface. Mark the exact rectangular boundaries of the pit and the pitcher's box using stakes and string. Grade the soil to establish a gentle slope away from the pit for drainage, then thoroughly compact the subgrade with a plate compactor to create a solid, stable foundation.
How a Horseshoe Pit Works
The layered construction creates a durable playing surface that manages both impact and water. The compacted subgrade provides structural support, while the clay base forms a firm, level bed that prevents shifting. The deep sand surface absorbs the impact of horseshoes and allows for easy scoring, and the pea gravel border and drainage slope work together to channel rainwater away, keeping the pit dry and playable.
How to Install a Horseshoe Pit
Excavate the Pit Area
Dig out the marked rectangle to a depth of about 8-10 inches to accommodate all material layers.
Add & Compact Clay Base
Fill the bottom of the excavation with a 4-inch layer of clay, then wet and compact it thoroughly to create a hard, level surface.
Install Sand Surface Layer
Pour and level a 4-inch deep bed of sand over the compacted clay to create the soft landing zone for horseshoes.
Build Pea Gravel Border
Create a perimeter border around the pit using pea gravel to define the playing area and improve drainage.
Establish Drainage Slope
Grade the surrounding ground and the pea gravel border to slope gently away from the pit, ensuring water runoff.
Install Pit Stakes
Set the metal stakes at each end of the pit, ensuring they are centered, vertical, and extend 14-15 inches above the sand.
Alternative Gravel Options for Horseshoe Pits
Specially graded sand that provides optimal impact absorption and consistent shoe landing.
View Product →A firm, compactable surface that drains well but may be too hard for optimal shoe penetration.
View Product →Provides excellent drainage but lacks the stability needed for consistent shoe placement.
View Product →Forms a hard, level base but becomes muddy and unplayable when wet.
Too soft and organic for any structural purpose in a horseshoe pit.
View Product →Homeowners building a horseshoe pit can choose from several aggregate materials for the playing surface, each offering different characteristics in terms of stability, drainage, and impact absorption. While options like pea gravel provide good drainage and decomposed granite offers a firm, compactable surface, traditional sand remains the preferred choice for its forgiving landing zone and consistent playability. The ideal material must balance firmness for stable shoe placement with enough give to prevent bounce-outs, making specialized horseshoe pit sand the winning option for most installations.
Common Horseshoe Pit Mistakes (And How to Avoid Them)
Building a functional horseshoe pit requires attention to several key details that homeowners often overlook. Avoiding these common mistakes ensures your pit remains playable and durable for years to come.
- Inadequate drainage slope
- Wrong surface material
- Insufficient base compaction
- No border containment
- Poor stake installation
How to Maintain a Horseshoe Pit
Regular maintenance keeps your horseshoe pit in optimal playing condition. Rake the sand surface weekly to redistribute material and prevent compaction, and add fresh sand annually to maintain proper depth. Check drainage channels for debris after heavy rain, and ensure the clay base remains level by addressing any settling or erosion promptly. Proper border maintenance prevents pea gravel from migrating into the playing area.