Pouring Exposed Aggregate Round Steps
Published on: March 8, 2024
Get an estimate for your project in 60 seconds
Pouring Exposed Aggregate Round Steps
Key Takeaways:
- Exposed aggregate creates a decorative, slip-resistant concrete surface by revealing select rocks in the mix
- Coarse aggregate like gravel, crushed stone, and specialty rocks provide the main visual appeal
- Proper mix design, pour techniques, and finish timing ensures high-quality exposed aggregate
- Exposed aggregate coatings offer lower maintenance than concrete pavers for exterior steps
Creating Decorative Landscape Steps with Exposed Aggregate
Outdoor living spaces are increasingly popular for luxury homes and businesses. Decorative concrete elements like walls, patios, and steps enhance the aesthetic and functionality of outdoor areas. Exposed aggregate is one attractive, durable concrete finishing option.
Exposed aggregate reveals carefully selected rocks at the concrete surface. After pouring concrete into the forms, contractors remove the top layer of cement paste before it fully sets. This uncovers the coarse aggregate – river rock, crushed stone, marble chips – in the mix. When done right, it creates a slip-resistant, natural look ideal for pool decks, patios, walkways, and steps.
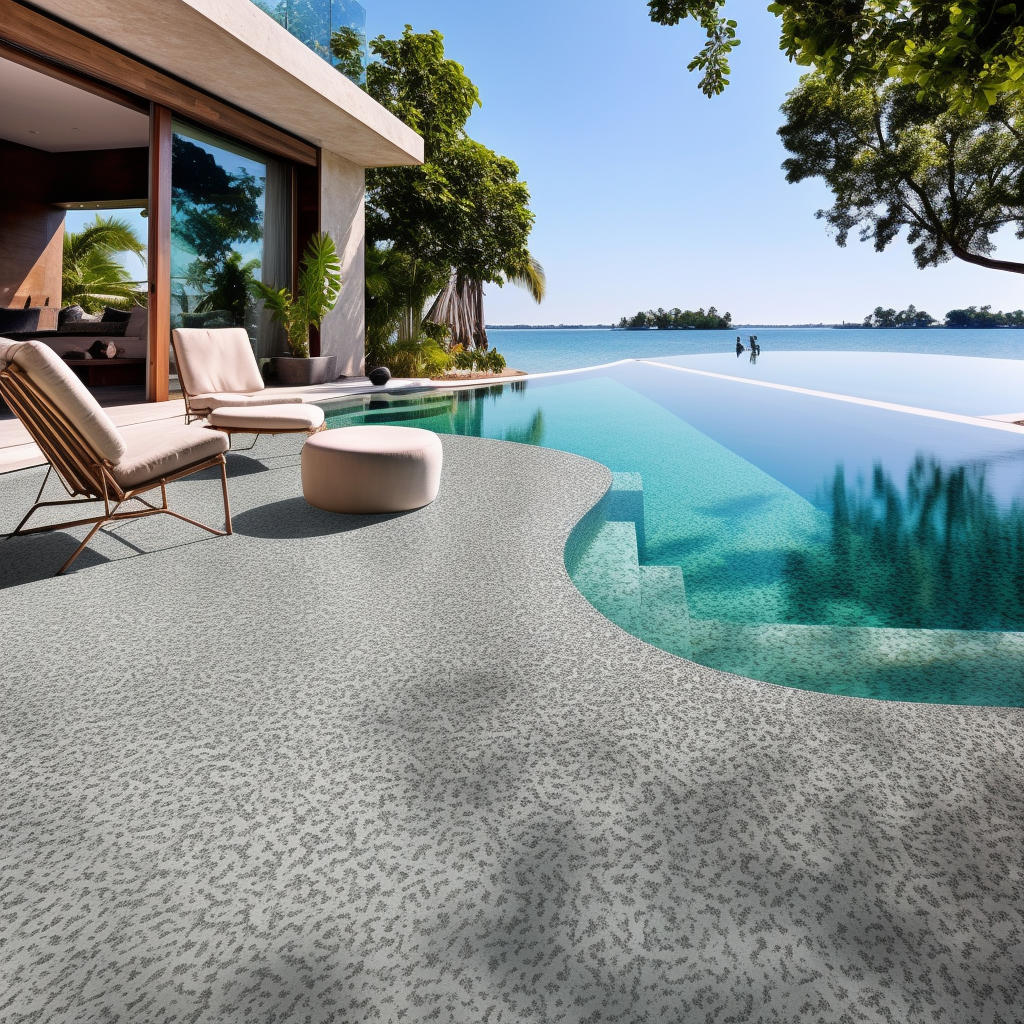
Round exposed aggregate steps make a distinctive design statement in landscapes. The rounded shape softens and modernizes the steps compared to standard rectangular concrete. Matching the exposed aggregates on the steps to other hardscapes like patios or walls provides a cohesive look. Professionals take care to properly construct the forms, pour quality concrete, and time the finish removal. This ensures the steps last for decades with minimal maintenance required.
Benefits of Exposed Aggregate Steps
Exposed aggregate steps provide excellent functionality, safety, and visual appeal:
- Decorative – The exposed rocks create a textured, natural look that enhances outdoor aesthetics. Homeowners can choose aggregate types and colors to match landscapes.
- Durable – When poured thicker, exposed aggregate is more durable and stain-resistant than standard concrete. Proper maintenance helps the steps last 50+ years.
- Slip-resistant – Exposing course rock textures improves traction. This is important for outdoor steps, especially in wet climates or pool areas.
- Low-maintenance – Compared to concrete pavers or natural stone, exposed aggregate requires little ongoing care besides occasional pressure washing.
- Customizable – Many colors and aggregate options are available to match landscapes, patios or pool decks. Contrasting aggregates can be used in combination.
- Cost-effective – The material cost is moderately higher than plain concrete. But the install cost is lower than pavers or natural stone.
Constructing Round Step Forms
The first step in pouring exposed aggregate stairs is building sturdy formwork to hold the wet concrete. Forms can be constructed from various materials:
- Wood – Plywood and dimensional lumber like 2x10s allow creating custom radii sizes. Forms are built up in sections for each step, then removed after concrete cures.
- Steel – Durable metal panels can be shaped into circular forms. These last through many concrete pours.
- Plastic – High-density polyethylene forms provide rounded corners. They’re lightweight and reusable.
- Fiberglass – Composite fiber and resin forms offer custom radii. They release concrete easily with proper preparation.
- Inflatables – Inflatable plastic bladder forms conform to any size and shape. They deflate for fast removal.
Wood is the most common form material for smaller jobs since it is easy to work for any radius size. Metal and fiberglass forms offer more precision and reuse but have higher upfront cost. Inflatable forms provide the most flexibility.
Forms should be braced and sealed so wet concrete does not leak before setting. Release agents help concrete release from forms cleanly. Leaving forms in place for 1-2 days allows concrete to gain strength before removal.
Mix Designs for Exposed Aggregate
The concrete mix design is critical for quality exposed aggregate. Standard concrete with mostly fine sand and gravel will not produce a good exposed finish. The mix must include plenty of large, appealing coarse aggregates.
Here are key considerations for exposed aggregate mixes:
- Aggregate size – 3⁄4” to 1.5” crushed stone and rock works best. Smaller aggregates tend to stay embedded. Larger stones over 2” can be prone to plucking during surface removal.
- Aggregate quality – Granite, quartz, limestone, and other rocks resist abrasion and maintain color. Softer aggregates can break down.
- Aggregate shape – Angular crushed stone offers better mechanical bond compared to round river rock. But round or smooth aggregates often look more attractive when exposed. Using a blend provides visual variety.
- Aggregate exposure – The mix should include 35-45% coarse aggregate by volume. Higher percentages increase cost but improve exposure.
- Water and cement ratio – More water gives better exposure. But too much water weakens concrete. Testing helps optimize the ratio.
- Admixtures – Plasticizers improve workability and exposure with less water. Accelerators aid fast setting for timely finish removal.
- Supplementary cementitious materials (SCMs) like fly ash or slag – SCMs improve workability and exposure while increasing strength and durability.
Proper aggregate selection, gradation, and proportions are critical for ideal appearance, performance, and cost. Testing different mixes helps optimize the design.
Call to Action: For over a decade, our team has specialized in decorative concrete using exposed aggregate. Let our experts test mix designs using your selected aggregates to achieve perfect results.
Pouring and Placing Exposed Aggregate Concrete
Once forms are built and concrete mixed, the pour begins. Careful placing and finishing ensures even exposure across the finished surface.
Key steps when pouring exposed aggregate concrete:
- Ensure forms are clean before pouring
- Pour concrete continuously to prevent cold joints
- Consolidate well with vibrators to limit air pockets and voids
- Place to full depth if possible to avoid layered appearance
- Lightly rake surface to evenly distribute large aggregates
- Allow bleeding water to fully rise and evaporate before finishing
- Do not overwork the surface during screeding or troweling
- Apply retarder if finishing must be delayed to prevent setting
The pour should allow the decorative aggregates to settle evenly throughout the depth while minimizing segregation. Contractors often place concrete for the full step depth in one pour. This prevents cold joints or layering in the exposure.
Proper consolidation and finishing creates a flat, level surface once forms are removed. But minimal troweling is required to avoid sinking aggregates before exposure.
Timing the Surface Exposure
The key to exposed aggregate finishes is timing the surface removal correctly. It requires removing the top layer of cement paste soon after placing, when concrete is no longer fluid but not fully hardened.
Contractors judge the optimal timing based on experience and by observing conditions like surface dryness, hardness, and bleed water evaporation. Weather impacts timing – cooler and humid conditions slow concrete setting.
Common removal methods include:
- Water washing – Jet washing the surface with hoses exposes the aggregates. It’s the most common method. Careful pressure prevents dislodging stones.
- Brush washing – Scrubbing the surface with stiff bristle brooms and water removes the paste. It prevents loose particles from re-cementing but can be labor intensive.
- Acid etching – Diluted acids dissolve cement paste but do not affect aggregates. Handles are required to apply acid safely. Acids can stain surrounding areas.
- Surface retarders – Chemical retarders applied after screeding slow the top layer from hardening. The soft paste is then washed away easily with water.
Multiple light passes often works better than one aggressive removal. Contractors should expose the same day as pouring before concrete fully sets. Exact timing varies based on mix, weather, and jobsite conditions.
Curing and Sealing
Once exposed, the remaining concrete must be cured properly. Moist curing prevents surface cracking and strengthens concrete.
- After final exposure, mist the surface lightly with water for 3-4 days as needed to keep damp. This allows full cement hydration.
- In hot, dry or windy weather, cure longer or use wet burlap over plastic sheeting to prevent moisture loss
- Avoid walking on surface during the first few days when concrete is gaining strength
- Clean residue or loose debris with light pressure washing
- Apply cure and seal product 2-4 weeks after pour for added moisture retention and protection
With proper curing, the consolidated aggregates have maximum adherence for a long-lasting surface. Sealing also prevents damage from deicers and freeze-thaw cycles.
Author: alan