How to Glue Pea Gravel for Long-Lasting Landscaping Results
Guide handoff
Want help applying this guide to your project?
Share your ZIP and what you need help with. We'll use this guide as context when we follow up.
- 1 This guide gives us the context you were reading.
- 2 Ask about pricing, material choice, delivery timing, or quantity.
- 3 Keep it broad if you are still figuring out the project.
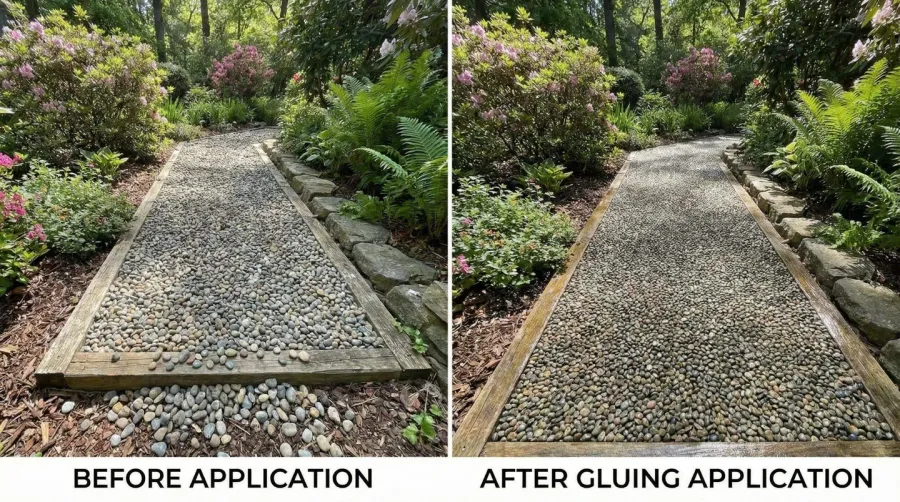
Pea gravel creates beautiful, natural-looking surfaces for driveways, patios, and garden paths. However, loose gravel can shift and scatter over time, especially in high-traffic areas or on slopes. The solution? Strategic gluing can keep your pea gravel exactly where you want it while maintaining its attractive appearance.
Quick Answer: Use polyurethane-based adhesives or epoxy resins specifically designed for outdoor stone applications. Apply to prepared surfaces in selective areas like borders and high-traffic zones rather than full coverage to maintain drainage and natural texture.
You can successfully stabilize pea gravel using the right adhesive and proper application techniques. This guide walks you through choosing the best glue, preparing your surface, and applying it correctly for lasting results.
Understanding when to glue pea gravel
Not every pea gravel installation needs gluing. The decision depends on your specific situation and goals for the space.
Gluing works best for decorative areas with minimal foot traffic, border containment around garden beds, and high-traffic zones like driveway entrances. You might also consider it for slopes where erosion control is a concern or areas where you want a more permanent, pavement-like surface.
However, avoid gluing if you want to maintain the natural crunch and movement of loose gravel underfoot. Full coverage gluing also eliminates the excellent drainage properties that make pea gravel popular for many landscaping applications.
The key is selective application. You can glue just the borders to contain loose gravel while leaving the center areas unglued, or focus only on problem spots where shifting occurs most frequently.
Choosing the right adhesive for your project
Different adhesives work better for different situations. Understanding your options helps you make the best choice for your specific needs.
| Adhesive Type | Best For | Pros | Cons |
|---|---|---|---|
| Polyurethane | Outdoor applications | Weather-resistant, flexible | Higher cost |
| Epoxy resin | High-traffic areas | Extremely strong bond | Can become brittle |
| Landscape adhesive | General use | Easy application | May need reapplication |
| Polymeric sand | Joint stabilization | Natural appearance | Limited bonding strength |
Polyurethane-based adhesives offer the best balance of durability and weather resistance for most outdoor pea gravel projects. They remain flexible after curing, which helps prevent cracking during freeze-thaw cycles.
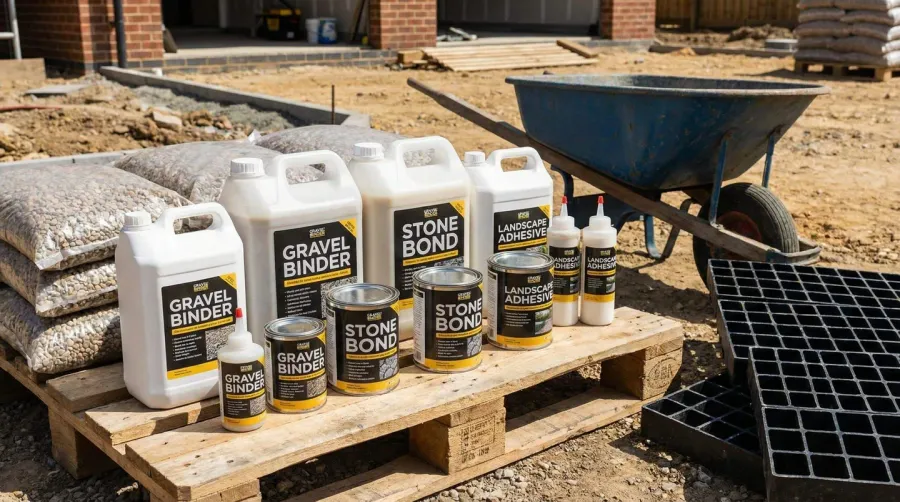
Epoxy resins provide the strongest bond but work better in areas with consistent temperatures. Landscape-specific adhesives are formulated for stone and gravel applications, making them user-friendly for DIY projects.
Pro Tip: Always test your chosen adhesive on a small, inconspicuous area first. This lets you see how it looks when cured and ensures compatibility with your specific gravel type.
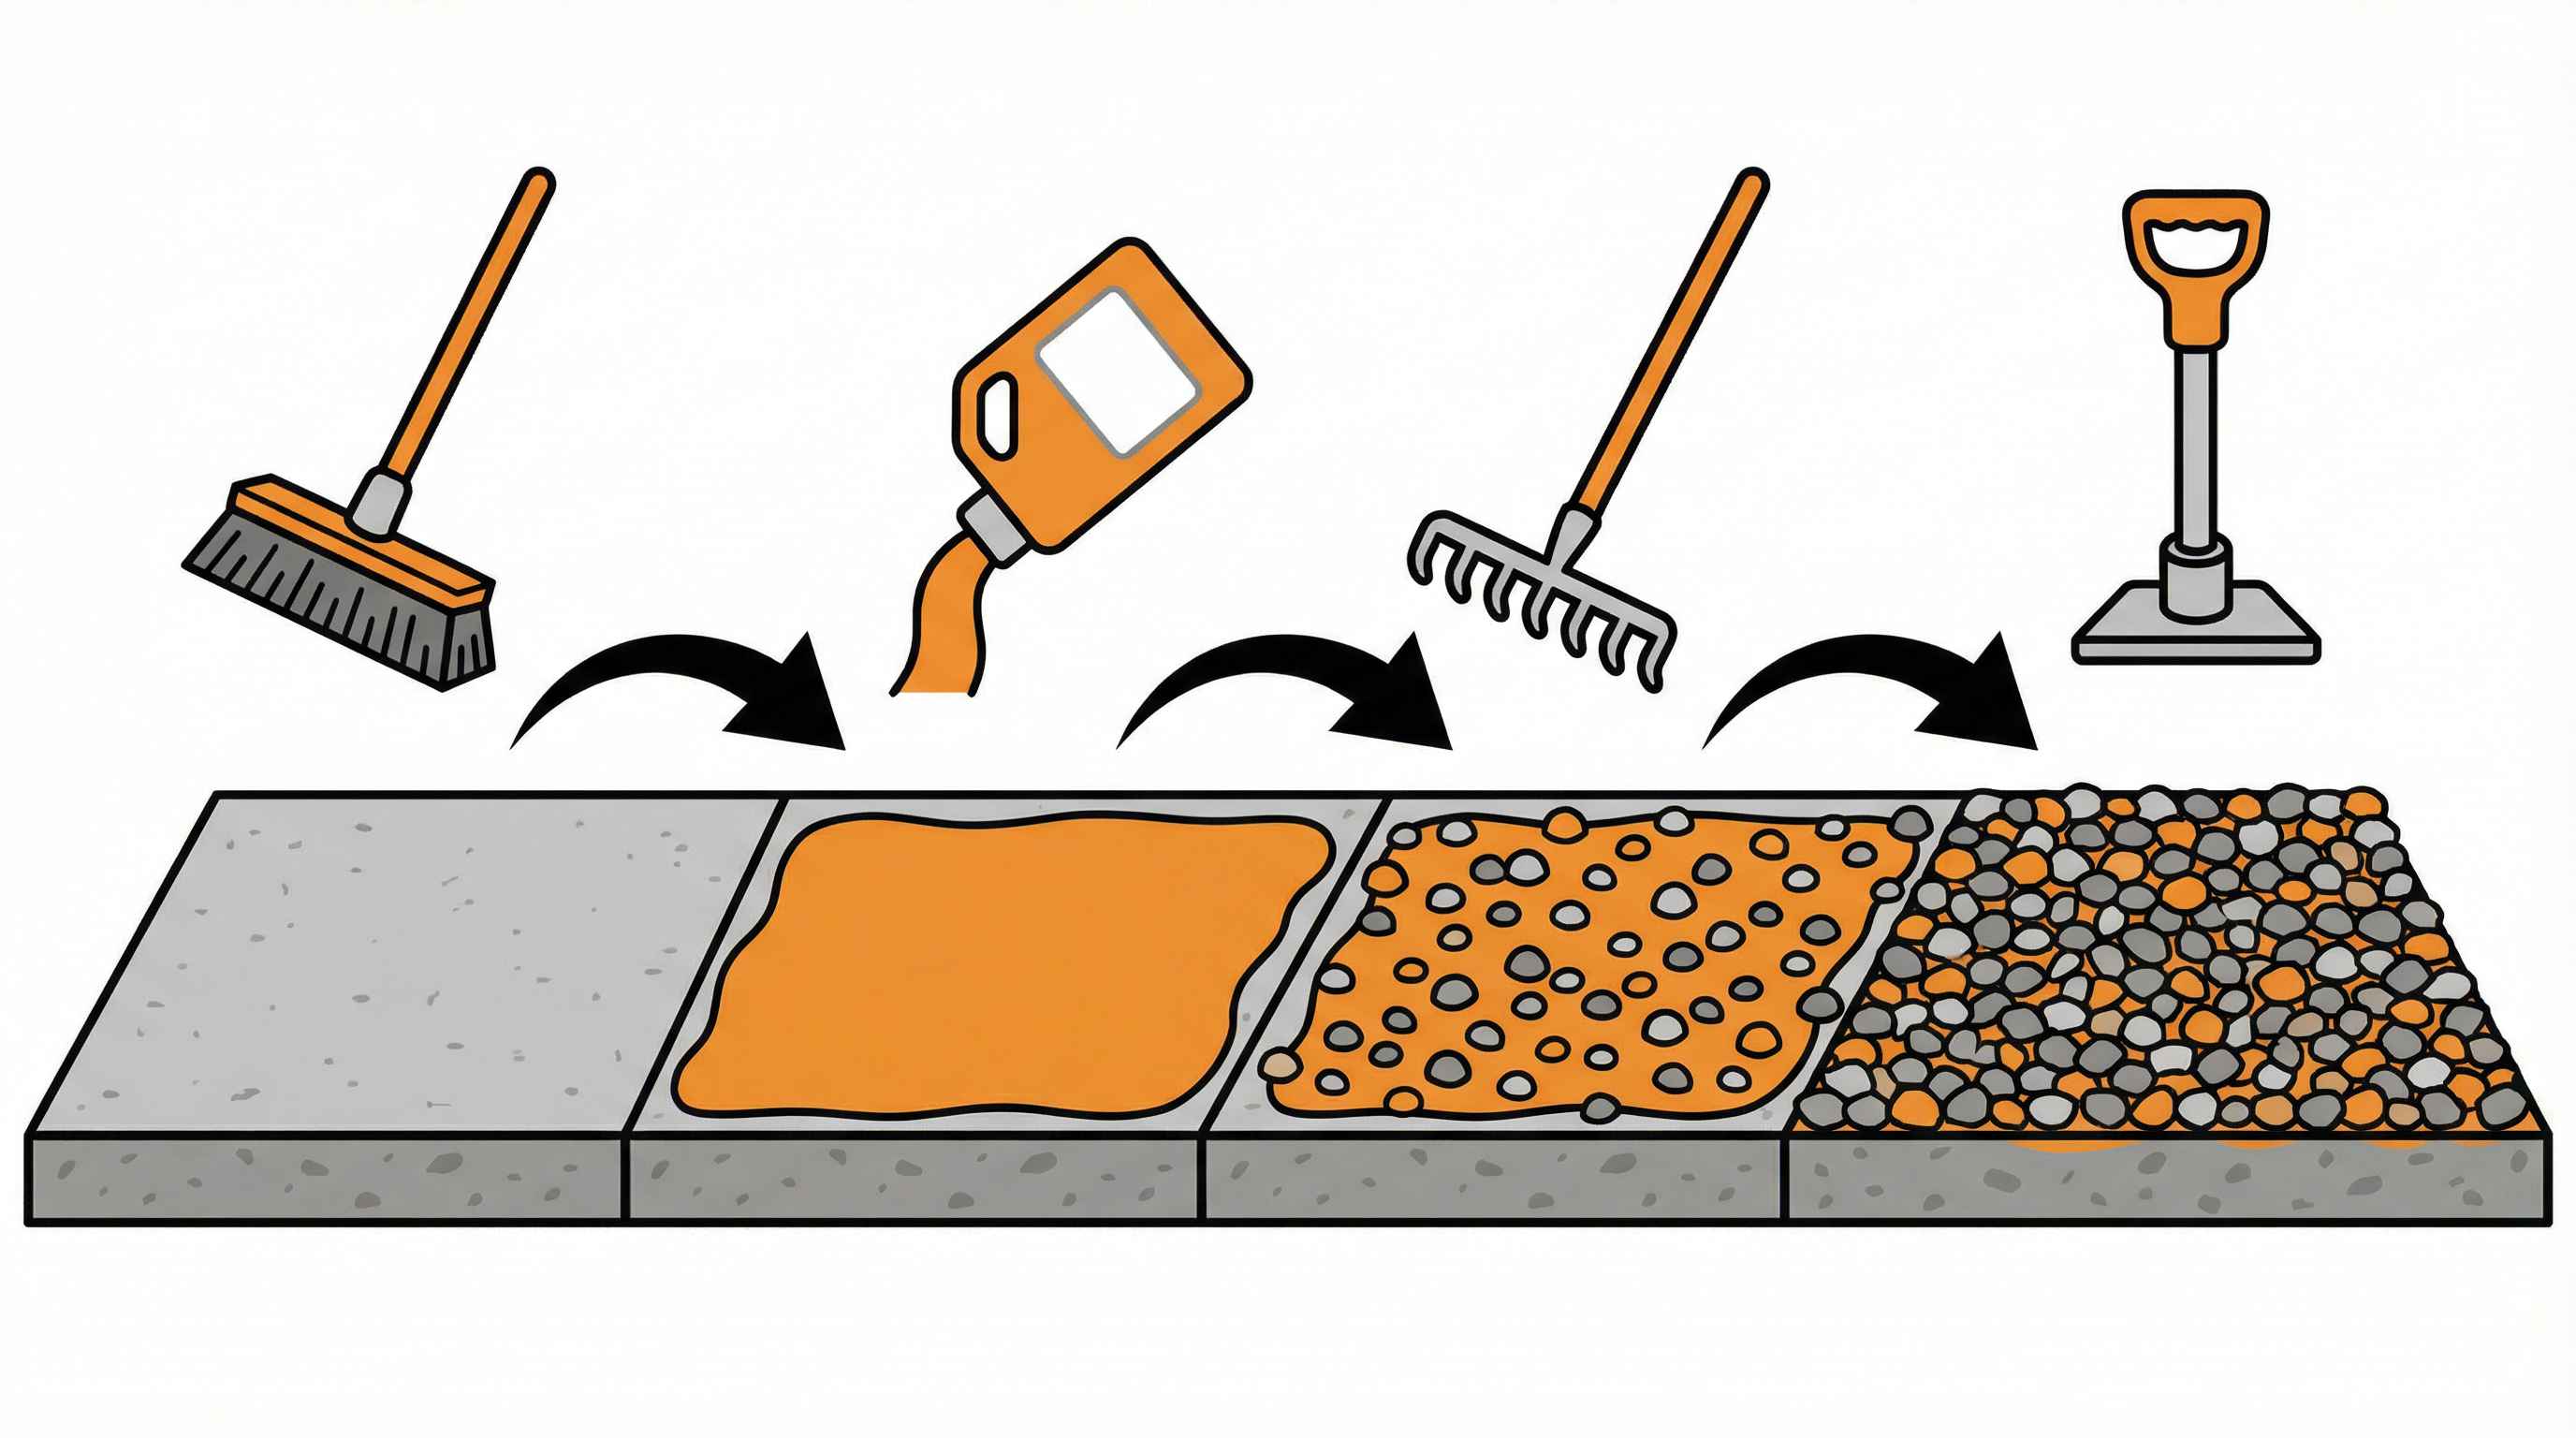
Preparing your surface for optimal results
Proper preparation makes the difference between a successful, long-lasting installation and one that fails within a season.
Start by cleaning the area thoroughly. Remove all debris, weeds, and loose material from the surface. If you’re working with existing pea gravel, rake it smooth and remove any contaminated or damaged stones.
Create a stable base by compacting the soil underneath. A layer of landscape fabric helps prevent weeds while allowing drainage. Add a thin layer of coarse sand or crushed stone if needed to create a level, stable foundation.
The surface must be completely dry before applying any adhesive. Even small amounts of moisture can prevent proper bonding and lead to failure. Plan your project for dry weather with no rain expected for at least 24 hours after application.
Consider the drainage needs of your specific location. If water runoff is important, plan your gluing pattern to maintain channels for water flow rather than creating a completely sealed surface.
Application techniques that actually work
The application method you choose depends on your goals and the specific area you’re treating.
For border containment, apply a bead of adhesive along the edges where you want to prevent gravel migration. This creates an invisible barrier that keeps stones in place while maintaining the natural look and feel of the interior area.
Selective spot treatment works well for problem areas. Identify zones where gravel shifts most frequently and apply adhesive only to those spots. This targeted approach solves specific problems without over-treating the entire surface.
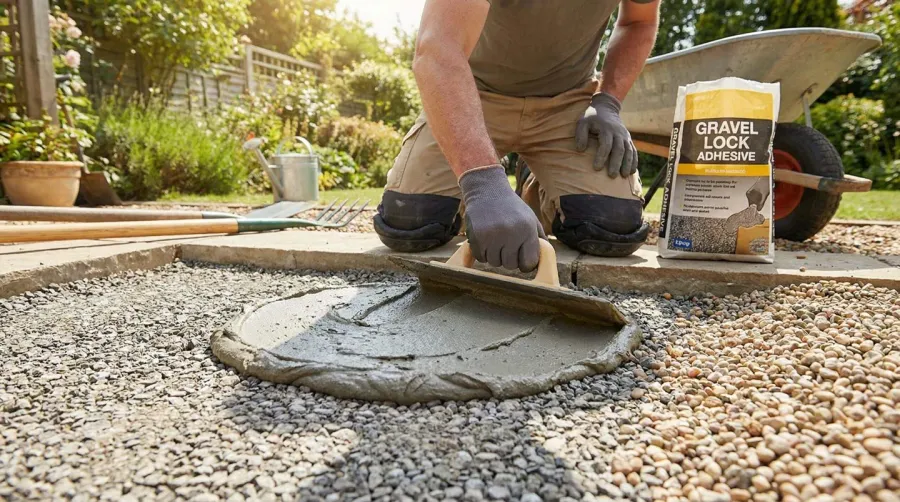
When applying adhesive, work in small sections to ensure even coverage before the product begins to set. Use a trowel or brush to spread the adhesive evenly, then place the gravel while the adhesive is still tacky.
Press the gravel gently into the adhesive but avoid over-compacting, which can squeeze adhesive up between stones and create an unnatural appearance. Allow proper curing time according to manufacturer instructions before exposing the area to foot traffic or weather.
Important: Weather conditions affect curing time significantly. High humidity or low temperatures can extend curing time, while hot, dry conditions may cause the adhesive to set too quickly for proper application.
Regular maintenance keeps your glued pea gravel looking its best. Avoid aggressive raking or pressure washing in treated areas. Instead, use a leaf blower or gentle sweeping to remove debris.
Inspect the installation periodically for any areas where the bond may be weakening. Early touch-ups prevent small problems from becoming major repairs. Most quality adhesives will last several years with proper application, but environmental factors like heavy freeze-thaw cycles or extreme weather may require occasional maintenance.
When done correctly, gluing pea gravel creates a stable, attractive surface that combines the natural beauty of loose stone with the permanence of a solid pathway. The key is choosing the right adhesive for your specific conditions and applying it strategically to achieve your goals while maintaining the characteristics that make pea gravel appealing.
Whether you’re creating a formal garden path, stabilizing a patio surface, or working on landscaping projects, these techniques will help you achieve professional-looking results that stand up to time and weather.
FAQ
What is the best glue for pea gravel?
Polyurethane-based adhesives offer the best balance of durability and weather resistance for most outdoor pea gravel projects. They remain flexible after curing, which helps prevent cracking during freeze-thaw cycles. For high-traffic areas, epoxy resins provide the strongest bond, while landscape-specific adhesives are formulated for stone applications and are user-friendly for DIY projects.
Does gravel glue work on driveways?
Yes, gravel glue can work on driveways when applied correctly with proper base preparation. Use high-strength adhesives like epoxy resins or polyurethane-based products designed for outdoor applications. Focus on high-traffic zones like entrances and borders rather than full coverage to maintain some drainage properties. Ensure you have a stable, compacted base before application.
How long does pea gravel glue last?
Most quality adhesives will last several years with proper application and maintenance. The longevity depends on environmental factors like freeze-thaw cycles, extreme weather, and traffic levels. Polyurethane-based adhesives typically offer the longest lifespan due to their flexibility and weather resistance. Regular inspection and occasional touch-ups can extend the life of your glued pea gravel installation.
When should you NOT glue pea gravel?
Avoid gluing pea gravel if you want to maintain the natural crunch and movement of loose gravel underfoot, or if excellent drainage is critical for your application. Full coverage gluing eliminates the drainage properties that make pea gravel popular for many landscaping applications. Also avoid gluing in areas where you may need to access utilities or make frequent changes to the landscape design.