How to Grade Gravel for a Perfect Patio in 2026
Guide handoff
Want help applying this guide to your project?
Share your ZIP and what you need help with. We'll use this guide as context when we follow up.
- 1 This guide gives us the context you were reading.
- 2 Ask about pricing, material choice, delivery timing, or quantity.
- 3 Keep it broad if you are still figuring out the project.
Creating a beautiful gravel patio starts with proper grading. This foundation work ensures your outdoor space remains stable, drains well, and looks great for years to come. Grading involves creating the right slope for drainage while establishing a level, compacted base that won’t shift or settle over time.
Quick Answer: Grade your gravel patio by establishing a 1/4-inch slope per foot away from structures, spreading 2-4 inches of gravel, and compacting in layers for optimal stability and drainage.
The key to a successful gravel patio lies in understanding that grading isn’t just about making things level. You need to balance proper drainage with stability, ensuring water flows away from your home while creating a surface that feels comfortable underfoot. Whether you’re using pea gravel or crushed stone, the grading process remains fundamentally the same.
Planning your patio layout and slope
Before you touch a single shovel, spend time planning your patio’s dimensions and drainage strategy. Mark the area using stakes and string, considering how water will flow across the surface. The golden rule for patio grading is a 1/4-inch drop for every foot of width, sloping away from your house or any nearby structures.
Think about your patio’s intended use when determining size and shape. A dining area needs different considerations than a simple walkway connection. Consider existing landscape features, underground utilities, and how the new patio will integrate with your current outdoor space. Understanding what type of gravel is best for a patio will help you make informed decisions during the planning phase.
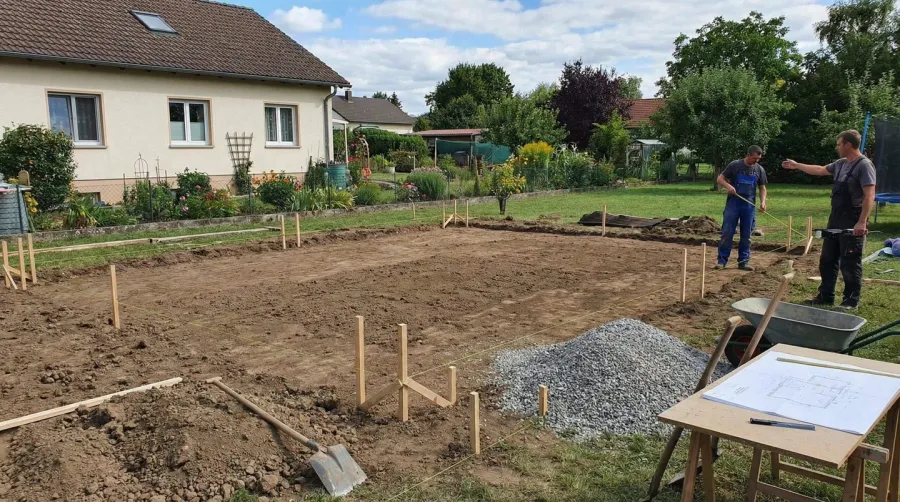
Your slope calculation becomes crucial here. For a 12-foot-wide patio, you’ll need a 3-inch difference between the high and low points. Use a line level or transit level to identify these points accurately, marking them clearly with stakes for reference throughout the project.
Preparing the ground and selecting materials
Start by clearing all vegetation, debris, and organic matter from your marked area. Grass, roots, and leaves will decompose over time, creating soft spots that cause settling. A flat shovel works well for removing sod, while a garden hoe helps break up compacted soil underneath.
The type of gravel you choose affects both the grading process and final results. Crushed stone compacts better than rounded pea gravel, making it ideal for high-traffic areas. Pea gravel offers better drainage and a softer feel underfoot, perfect for decorative applications or areas with lighter use. For more detailed guidance, check out what is the best gravel size for a patio.
| Gravel Type | Best Use | Compaction | Drainage |
|---|---|---|---|
| Crushed Stone | High-traffic patios | Excellent | Good |
| Pea Gravel | Decorative areas | Fair | Excellent |
| River Rock | Accent features | Poor | Excellent |
Consider your local climate when selecting materials. Areas with heavy rainfall benefit from larger aggregate sizes that promote drainage, while regions with freeze-thaw cycles need materials that won’t shift with temperature changes.
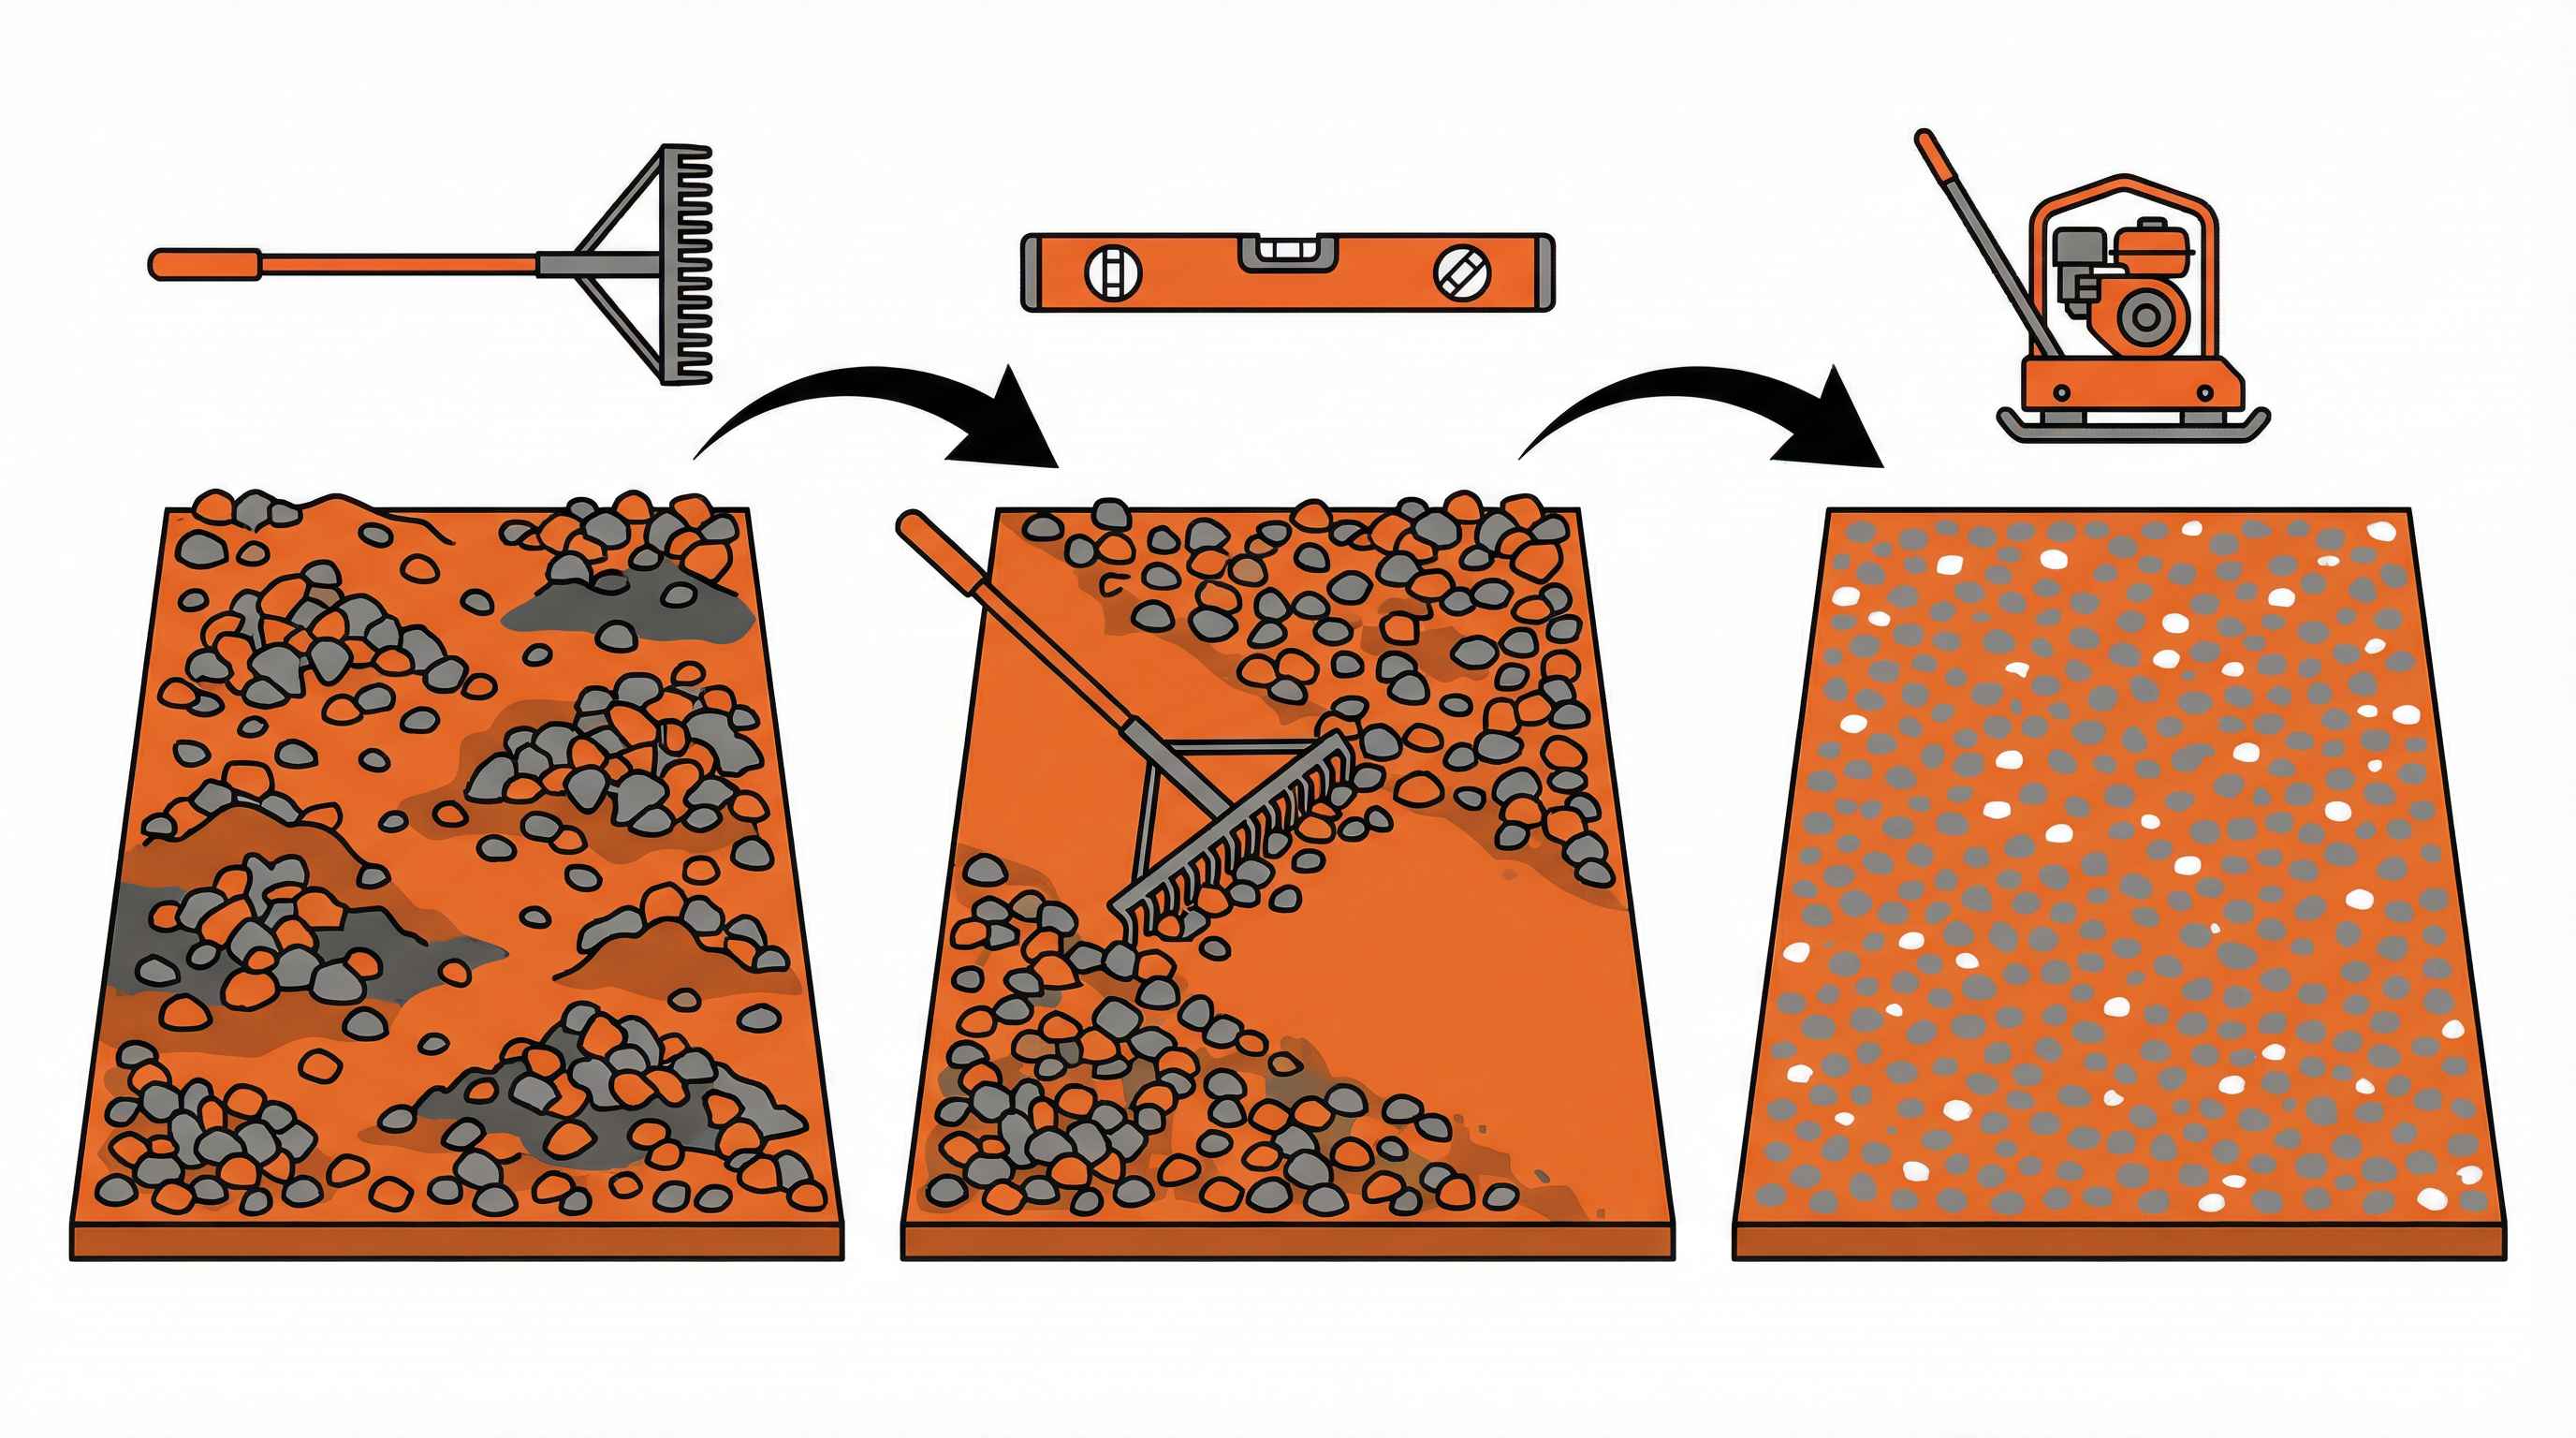
Step-by-step grading process
Begin spreading your chosen gravel across the entire patio area, aiming for an initial depth of 2-4 inches. Don’t worry about perfection at this stage. Focus on getting material distributed evenly using a rake or grading tool, working from one end to the other in a systematic pattern.
Pro Tip: Spread gravel in thin layers rather than dumping large amounts in one spot. This approach makes it easier to achieve consistent depth and proper compaction throughout the project.
Compaction comes next and represents the most critical step in the entire process. Use a mechanical compactor to compress the gravel, making multiple passes over the entire surface. This step prevents future settling and creates the stable foundation your patio needs for long-term success. Learn more about the best gravel for compacting to ensure optimal results.
After initial compaction, establish your drainage slope using a long, straight board or level. Work from your marked high point to the low point, adjusting gravel depth as needed to maintain that crucial 1/4-inch per foot gradient. Fine-grade the surface with a grading rake, smoothing out any irregularities.
Finishing touches and maintenance tips
Lightly water the gravel surface to help it settle further, then run your compactor over the area one final time. This double-compaction process ensures maximum stability and eliminates any remaining soft spots that could cause problems later.
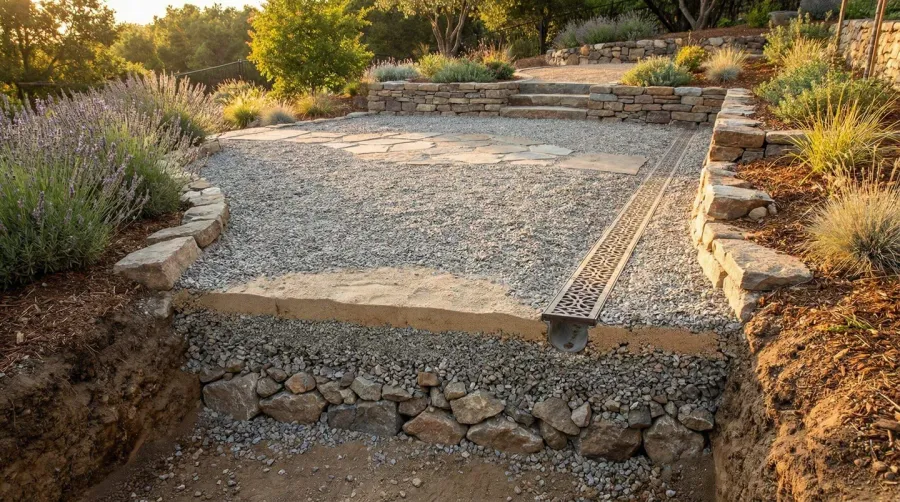
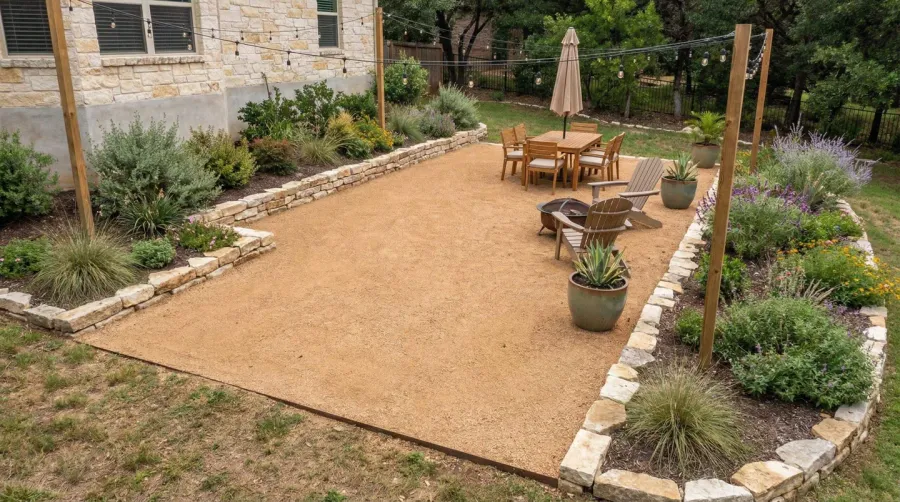
Your graded gravel base is now ready for whatever patio material you’ve chosen, whether that’s additional decorative gravel, pavers, or flagstones. The properly graded foundation will support your chosen surface material while maintaining excellent drainage characteristics.
Regular maintenance keeps your patio looking and performing its best. Rake the surface periodically to maintain levelness and fill any low spots that develop over time. This simple upkeep prevents erosion and preserves the drainage patterns you worked so hard to establish. For comprehensive care instructions, explore our guide to using gravel in drainage systems.
Maintenance Schedule: Inspect your gravel patio monthly during heavy-use seasons, addressing any settling or erosion immediately to prevent larger problems from developing.
Proper grading transforms your outdoor space into a functional, attractive area that enhances your property value while providing years of enjoyment. The time invested in careful preparation and grading pays dividends in reduced maintenance and improved performance over the life of your patio.
Ready to start your patio project? Calculate how much gravel you need for your specific dimensions, or browse our selection of premium aggregates designed for outdoor living spaces.
FAQ
How deep should gravel be for a patio?
For a stable gravel patio, you need 2-4 inches of gravel depth after compaction. This should be laid over a properly prepared base with good drainage. The total excavation depth should be 4-6 inches to accommodate the gravel layer plus any base material needed for your specific soil conditions.
What slope is needed for gravel patio drainage?
Create a slope of 1/4-inch per foot (2% grade) sloping away from your house or structures. For example, a 12-foot-wide patio should have a 3-inch difference between the high and low points. This ensures proper water drainage and prevents pooling that can damage your foundation or create muddy areas.
What type of gravel is best for patio grading?
Crushed stone is ideal for patio grading because it compacts excellently and provides superior stability for high-traffic areas. Pea gravel works well for decorative applications and offers excellent drainage but doesn’t compact as firmly. Choose angular gravel over rounded stones for better interlocking and stability.
Do I need to compact gravel in layers when grading a patio?
Yes, compacting gravel in thin layers is essential for a stable patio. Spread gravel in 2-inch lifts and compact each layer thoroughly with a mechanical compactor before adding the next. This prevents future settling and creates a solid foundation that will last for years without shifting or developing low spots.