How to Screen Landscape Rock Like a Pro Complete DIY Guide
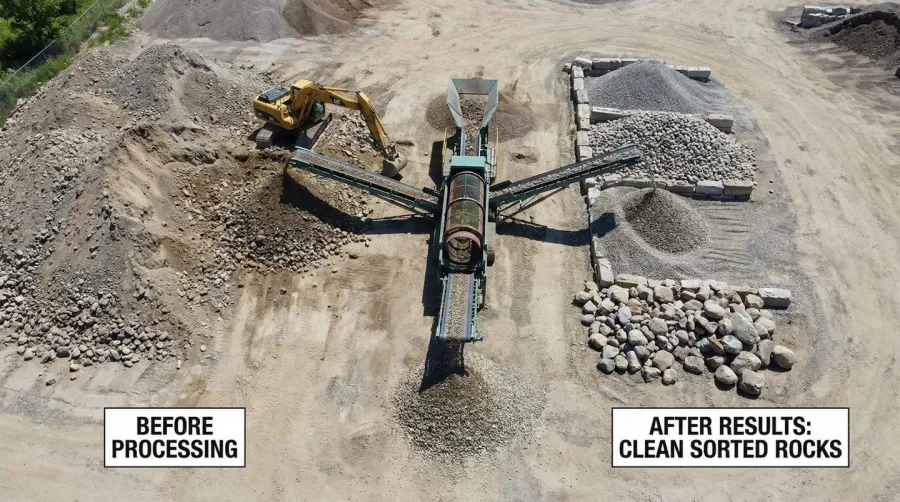
Screening landscape rock transforms rough, debris-filled material into clean, uniform stones perfect for your outdoor projects. This process removes dirt, small particles, and unwanted debris while ensuring consistent size distribution for better drainage and visual appeal.
Whether you’re creating pathways, garden borders, or drainage systems, properly screened rocks deliver professional results. The screening process typically takes 2-3 hours for a standard yard project and requires basic tools you likely already own.
Pro Tip: Screening your landscape rock can improve drainage efficiency by up to 40% compared to using unscreened material, making it essential for long-lasting outdoor projects.
Understanding landscape rock types and their screening needs
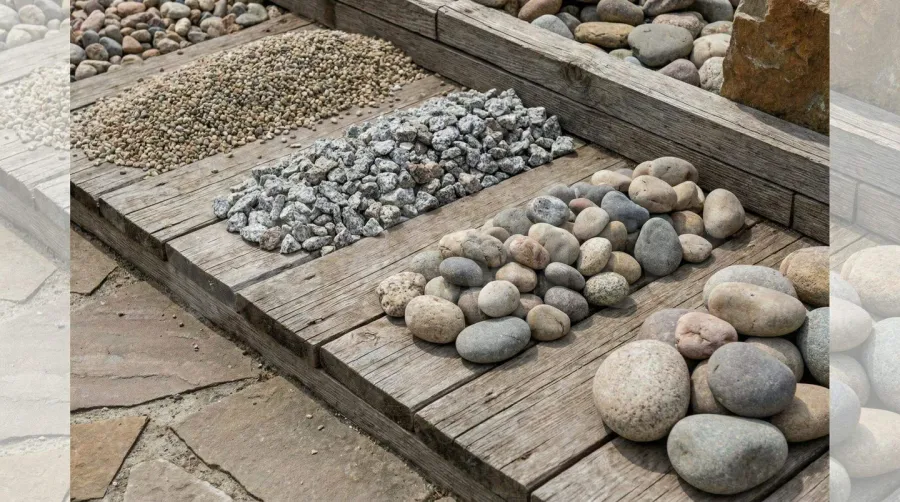
Different landscape rocks require specific screening approaches based on their composition and intended use. Gravel remains the most popular choice, available in various sizes from small pebbles to larger decorative stones. Its versatility makes it perfect for drainage layers, walkways, and garden accents.
River rock offers smooth, rounded surfaces created by natural water erosion. These stones work beautifully in water features and natural landscape designs. Their smooth texture requires gentler screening to maintain their polished appearance. For more information on selecting the right material, check out our guide on different types of gravel for construction.
Crushed granite and lava rock serve specialized purposes. Crushed granite provides excellent compaction for pathways and driveways, while lava rock’s porous nature makes it ideal for drainage applications. Each type benefits from screening to remove dust and achieve uniform sizing.
| Rock Type | Best Uses | Screening Priority |
|---|---|---|
| Gravel | Drainage, walkways | Remove fines, uniform sizing |
| River Rock | Decorative, water features | Gentle cleaning, debris removal |
| Crushed Granite | Pathways, driveways | Dust removal, size consistency |
Essential tools and preparation for rock screening
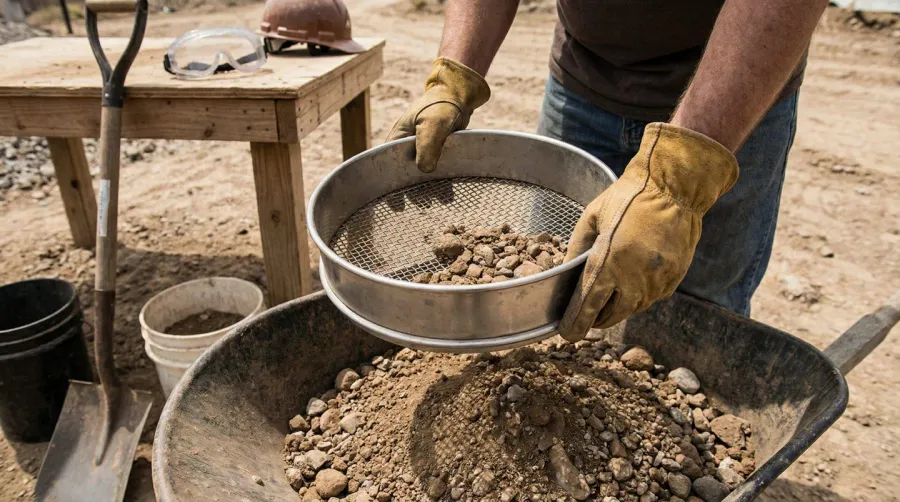
Your screening setup determines the quality and efficiency of your results. A basic rock screen consists of a wooden frame with wire mesh, though specialized screens from garden centers offer better durability. Choose mesh size based on your desired rock size – smaller openings for fine screening, larger for basic debris removal. Understanding the importance of screenings gravel in construction projects can help you determine the right mesh size for your needs.
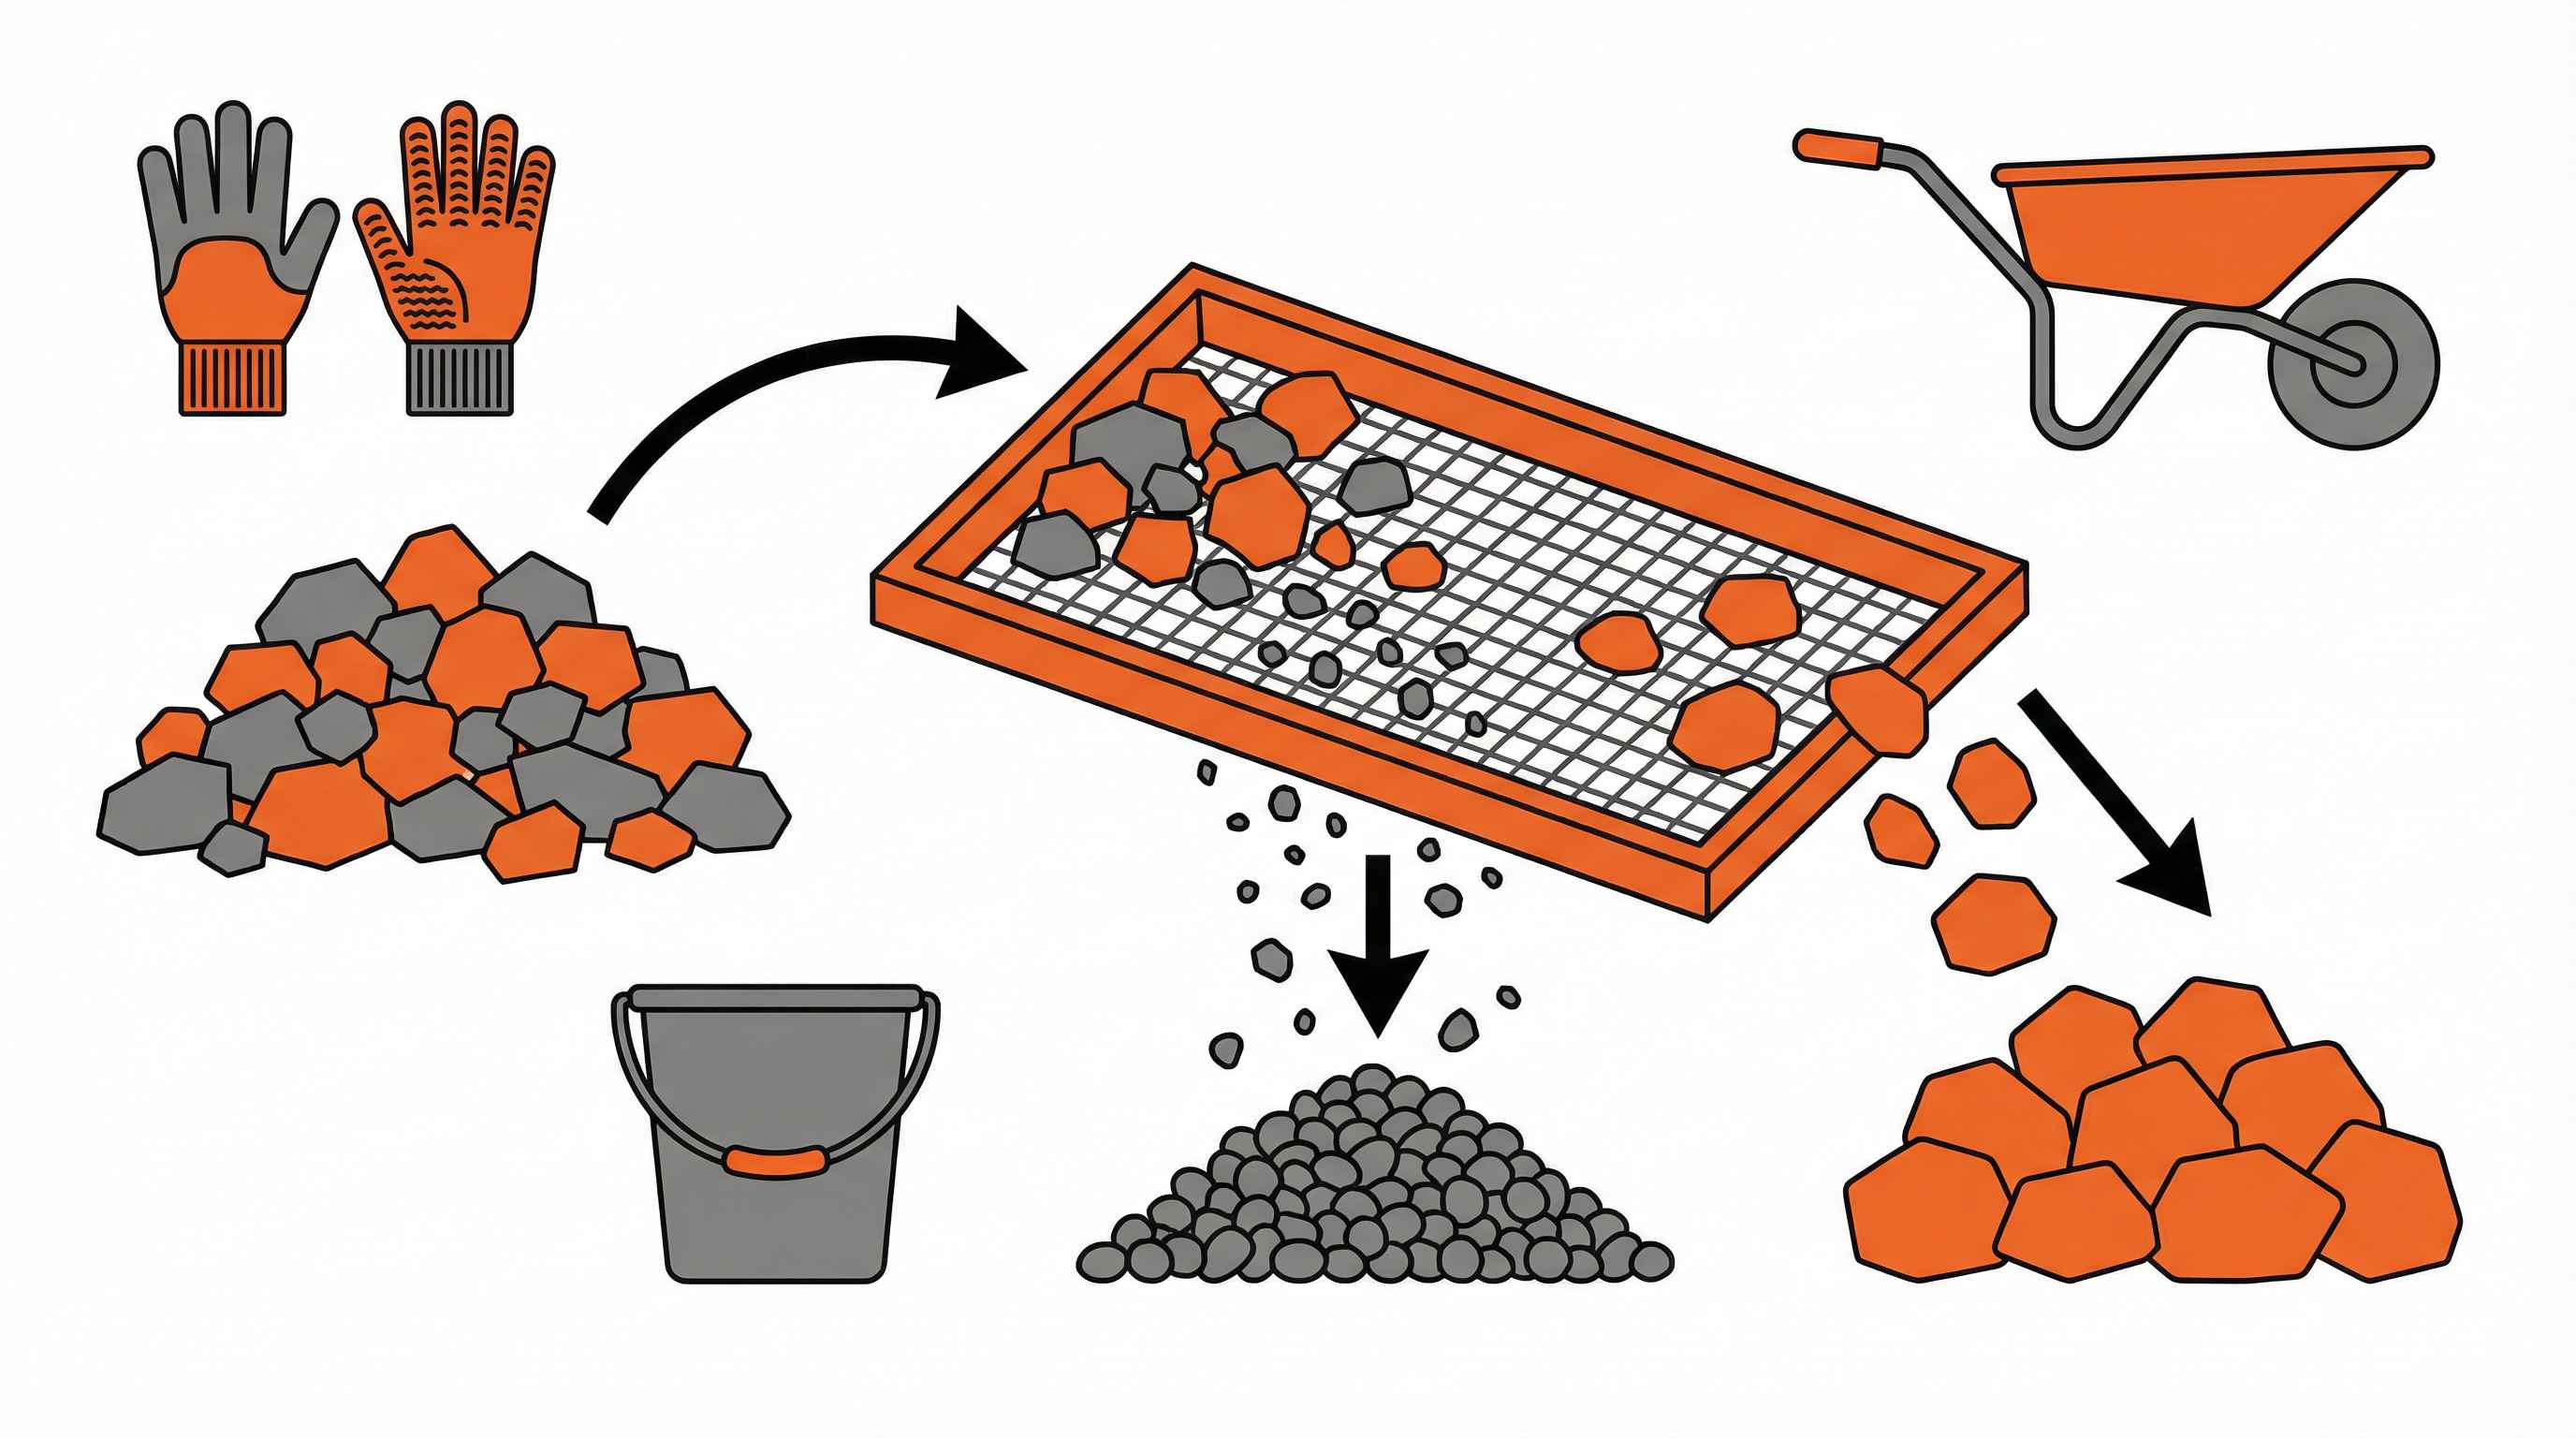
Safety equipment protects you during the screening process. Heavy-duty gloves prevent cuts from sharp edges, while safety glasses shield your eyes from flying debris. Steel-toed boots provide foot protection when handling heavy rocks.
Prepare your work area on level ground with adequate space for tools and material movement. A wheelbarrow or large container collects screened rocks, while a water source helps with final cleaning if needed.
Safety First: Always wear protective equipment when screening rocks. Sharp edges and flying debris can cause serious injuries, making proper safety gear non-negotiable.
Step-by-step screening process
Start by setting up your screen on a stable, level surface. Secure the wire mesh tightly to prevent sagging under rock weight. Position your collection container beneath the screen to catch screened material.
Load rocks onto the screen in manageable amounts – typically one shovel full at a time. Overloading makes screening difficult and reduces effectiveness. Spread rocks evenly across the screen surface for consistent results.
Shake the screen with steady, rhythmic motions from side to side. This movement allows smaller particles and debris to fall through while retaining properly sized rocks. Continue shaking until no more debris passes through the mesh. For additional insights on processing materials, explore our comprehensive guide on stone screening.
Inspect the screened rocks periodically, removing any remaining debris by hand. Transfer clean rocks to your collection container and repeat the process with fresh material.
Choosing and maintaining your screened rocks
Match rock selection to your specific project requirements. Consider size, color, and texture alongside functional needs like drainage or foot traffic tolerance. Larger rocks create focal points in spacious areas, while smaller stones work better for detailed applications. Learn more about choosing the best gravel size for a patio to ensure optimal results.
Garden style influences rock choice significantly. Zen gardens benefit from smooth, uniform river rocks, while rustic landscapes pair well with crushed granite or natural gravel. Color coordination with existing landscape elements creates visual harmony.
Maintain screened rock surfaces through regular cleaning and occasional replenishment. Remove accumulated debris with a rake or leaf blower. Add fresh rock material as needed to maintain proper depth and coverage, especially in high-traffic areas. For drainage-specific applications, consult our guide on the best gravel for drainage.
Proper drainage prevents rock displacement and maintains long-term performance. Ensure adequate slope for water runoff and consider landscape fabric beneath rocks to prevent weed growth while allowing water penetration.
Screening landscape rock elevates your outdoor projects from amateur to professional quality. The time invested in proper screening pays dividends through improved drainage, enhanced appearance, and reduced maintenance needs. With the right tools and techniques, you can achieve results that rival professional installations while saving money on your landscaping projects. For additional tips on working with aggregates, explore our resource on ensuring quality aggregates for optimal results.
FAQ
What is the best way to screen landscape rocks at home?
Use a DIY wooden frame with wire mesh (1/4 to 1/2-inch openings) on a stable, level surface. Load rocks evenly and shake the screen with steady, rhythmic motions to separate debris from clean rocks. For best results, work in small batches and rinse the screened rocks if needed for extra cleanliness.
What tools do I need to screen landscape rocks?
Essential tools include a rock screen (wire mesh frame), heavy-duty gloves, safety glasses, steel-toed boots, a shovel, and a wheelbarrow for collection. For larger projects, consider renting vibrating screens or screening buckets. Always prioritize safety equipment to protect against sharp edges and flying debris.
Why should I screen landscape rocks before using them?
Screening removes dirt, small particles, and debris while ensuring uniform size distribution. This improves drainage efficiency by up to 40%, creates better visual appeal, prevents pathway clogs, and reduces long-term maintenance needs. Screened rocks also provide better compaction for walkways and driveways.
What size mesh should I use for screening different types of landscape rocks?
Choose mesh size based on your desired outcome: 1/4-inch mesh for fine gravel and detailed work, 3/8-inch for pathway applications, 1/2-inch for general drainage projects, and larger 1-inch openings for decorative rocks. Match the mesh opening to roughly half the size of the rocks you want to retain.